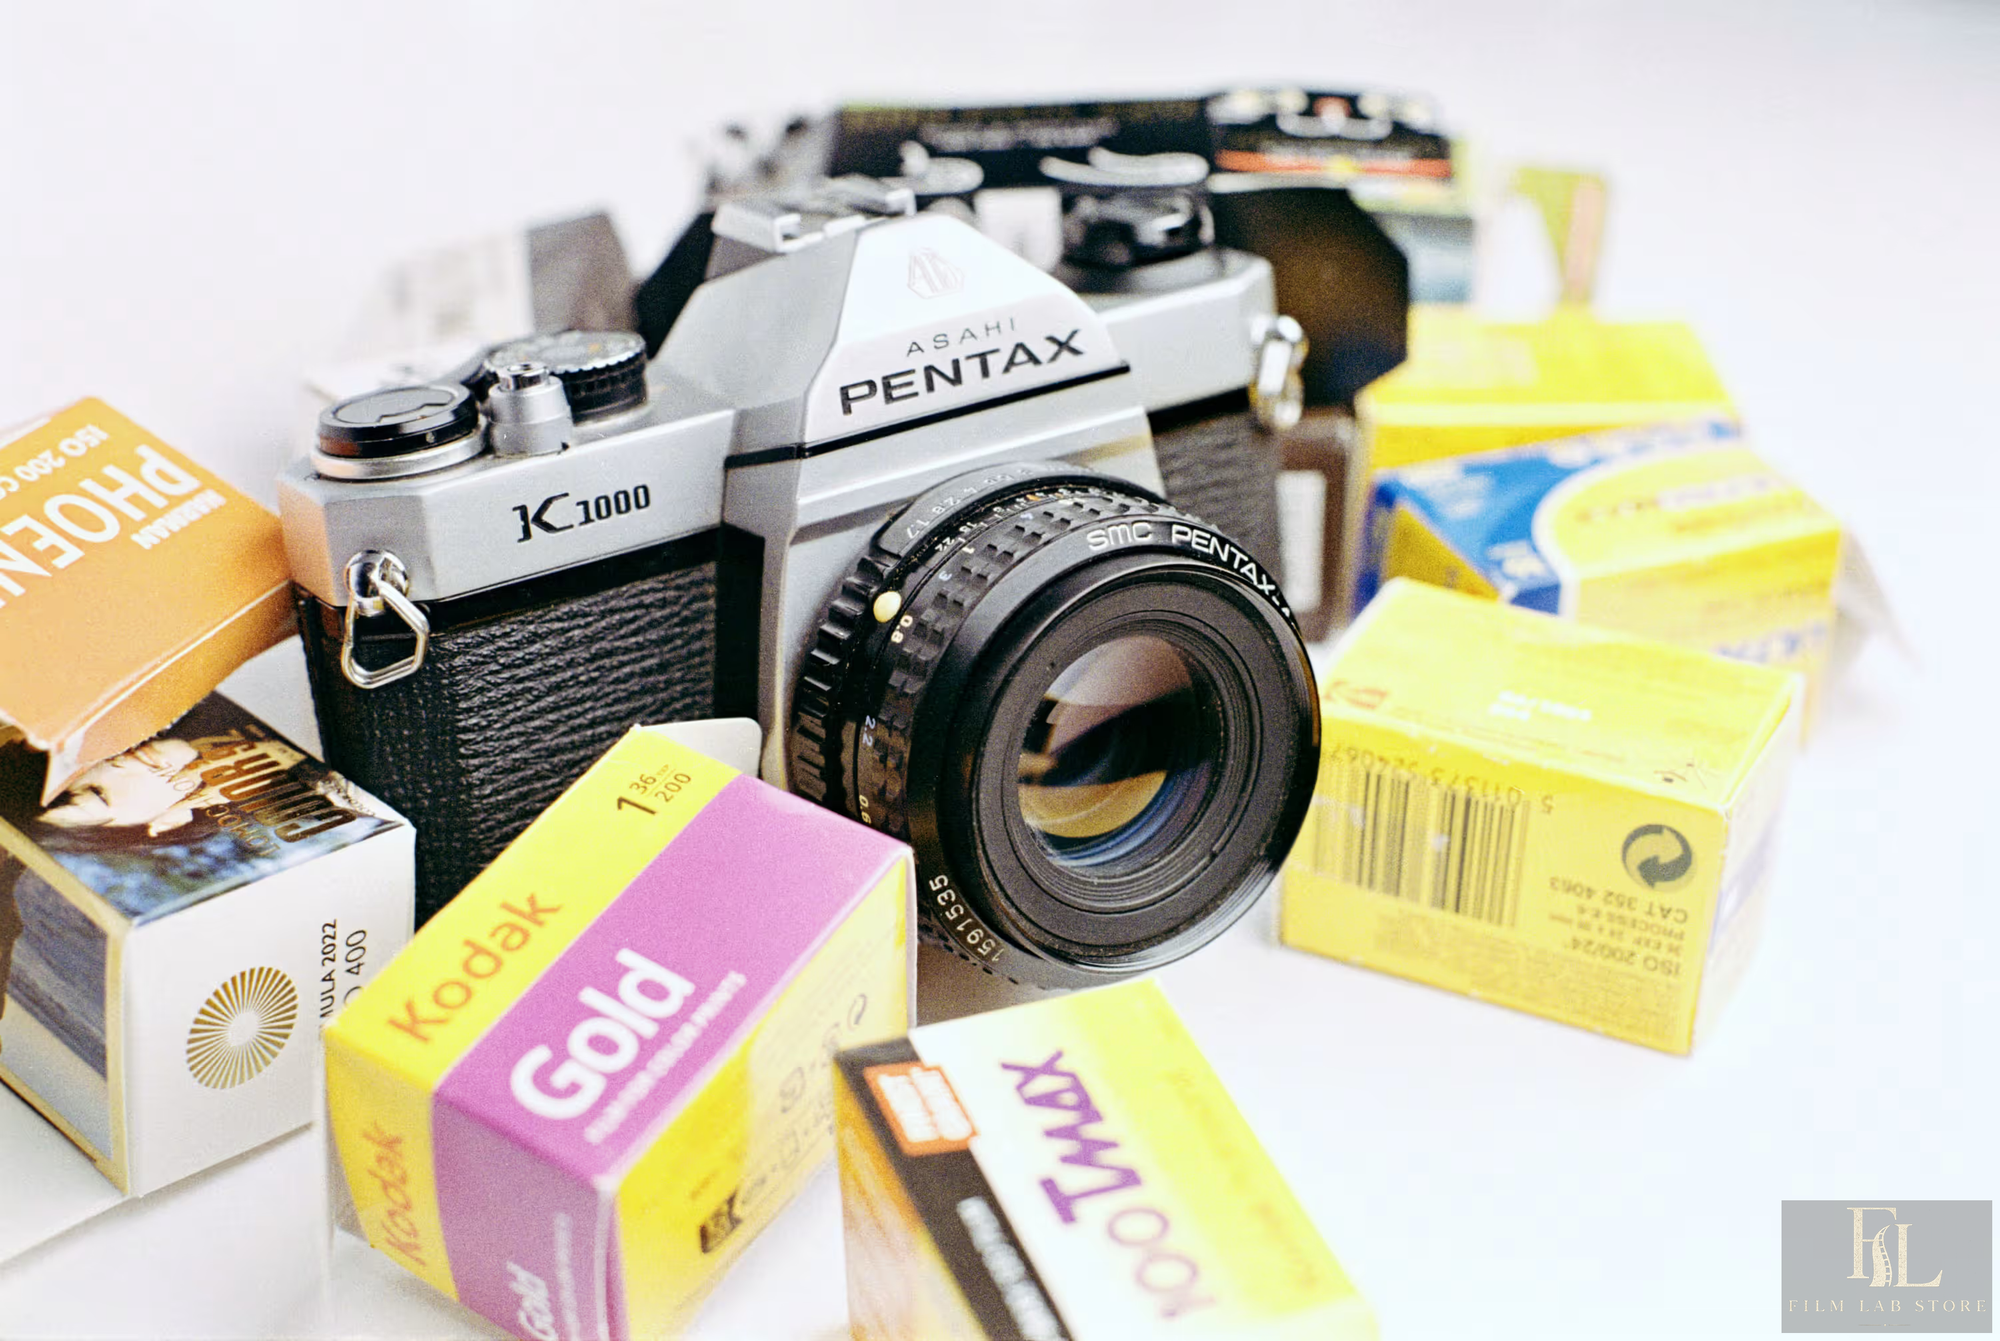
Film photography becomes much easier when you stop treating it as a mysterious aesthetic and start treating it as a chain of understandable decisions. Light passes through a lens. A shutter controls how long that light reaches the film. The emulsion records a latent image. Development makes that image visible and stable. Scanning or printing interprets the negative. Storage determines whether you can return to it years later.
Every weak link changes the result. A famous camera cannot rescue a missed exposure. An expensive film cannot compensate for a shutter that sticks. A beautifully exposed negative can still be made to look dull by an indifferent scan. Conversely, an ordinary camera, a modest film, careful metering, consistent processing, and thoughtful editing can produce exceptional photographs.
This handbook is designed to take a new photographer through the entire workflow while remaining useful after the first few rolls. It covers 35mm, medium format, negative and reversal films, manual exposure, meters, loading, labs, scanning, home development, common failures, travel, storage, and a disciplined way to learn from every roll.
The shortest reliable route to your first good roll
If you want to begin before reading the entire handbook, use this route:
- Choose a tested 35mm camera with a working shutter, film transport, lens, and meter.
- Buy fresh ISO 200 or 400 color-negative film, or a forgiving ISO 400 black-and-white negative film.
- Read the camera manual, especially the loading, ISO-setting, metering, rewind, and battery sections.
- Set the camera to the film’s box speed. Do not begin by pushing, pulling, or deliberately rating the film differently.
- Load in subdued light. Confirm that the film is moving as you advance it.
- Photograph one ordinary roll in daylight. Include front-lit, side-lit, shaded, backlit, close, and distant subjects.
- Meter deliberately and avoid starving negative film of light.
- Rewind fully before opening the camera.
- Use a reputable lab. Ask for development plus useful, not merely tiny, scans.
- Keep the negatives. Compare them with the scans and your notes before changing equipment or film.
This route deliberately removes variables. Once you have a clean baseline, you can make meaningful decisions about different films, metering methods, lenses, developers, scanners, and creative departures.
1. What photographic film actually records
Photographic film is a flexible support coated with one or more light-sensitive emulsion layers. In simplified terms, those layers contain microscopic silver-halide crystals suspended in gelatin. Exposure changes a tiny population of sites inside the crystals, creating a latent image that cannot yet be seen. During development, the exposed sites catalyze a much larger chemical change. Fixing then removes remaining light-sensitive silver halides and makes the image stable enough to view in normal light.
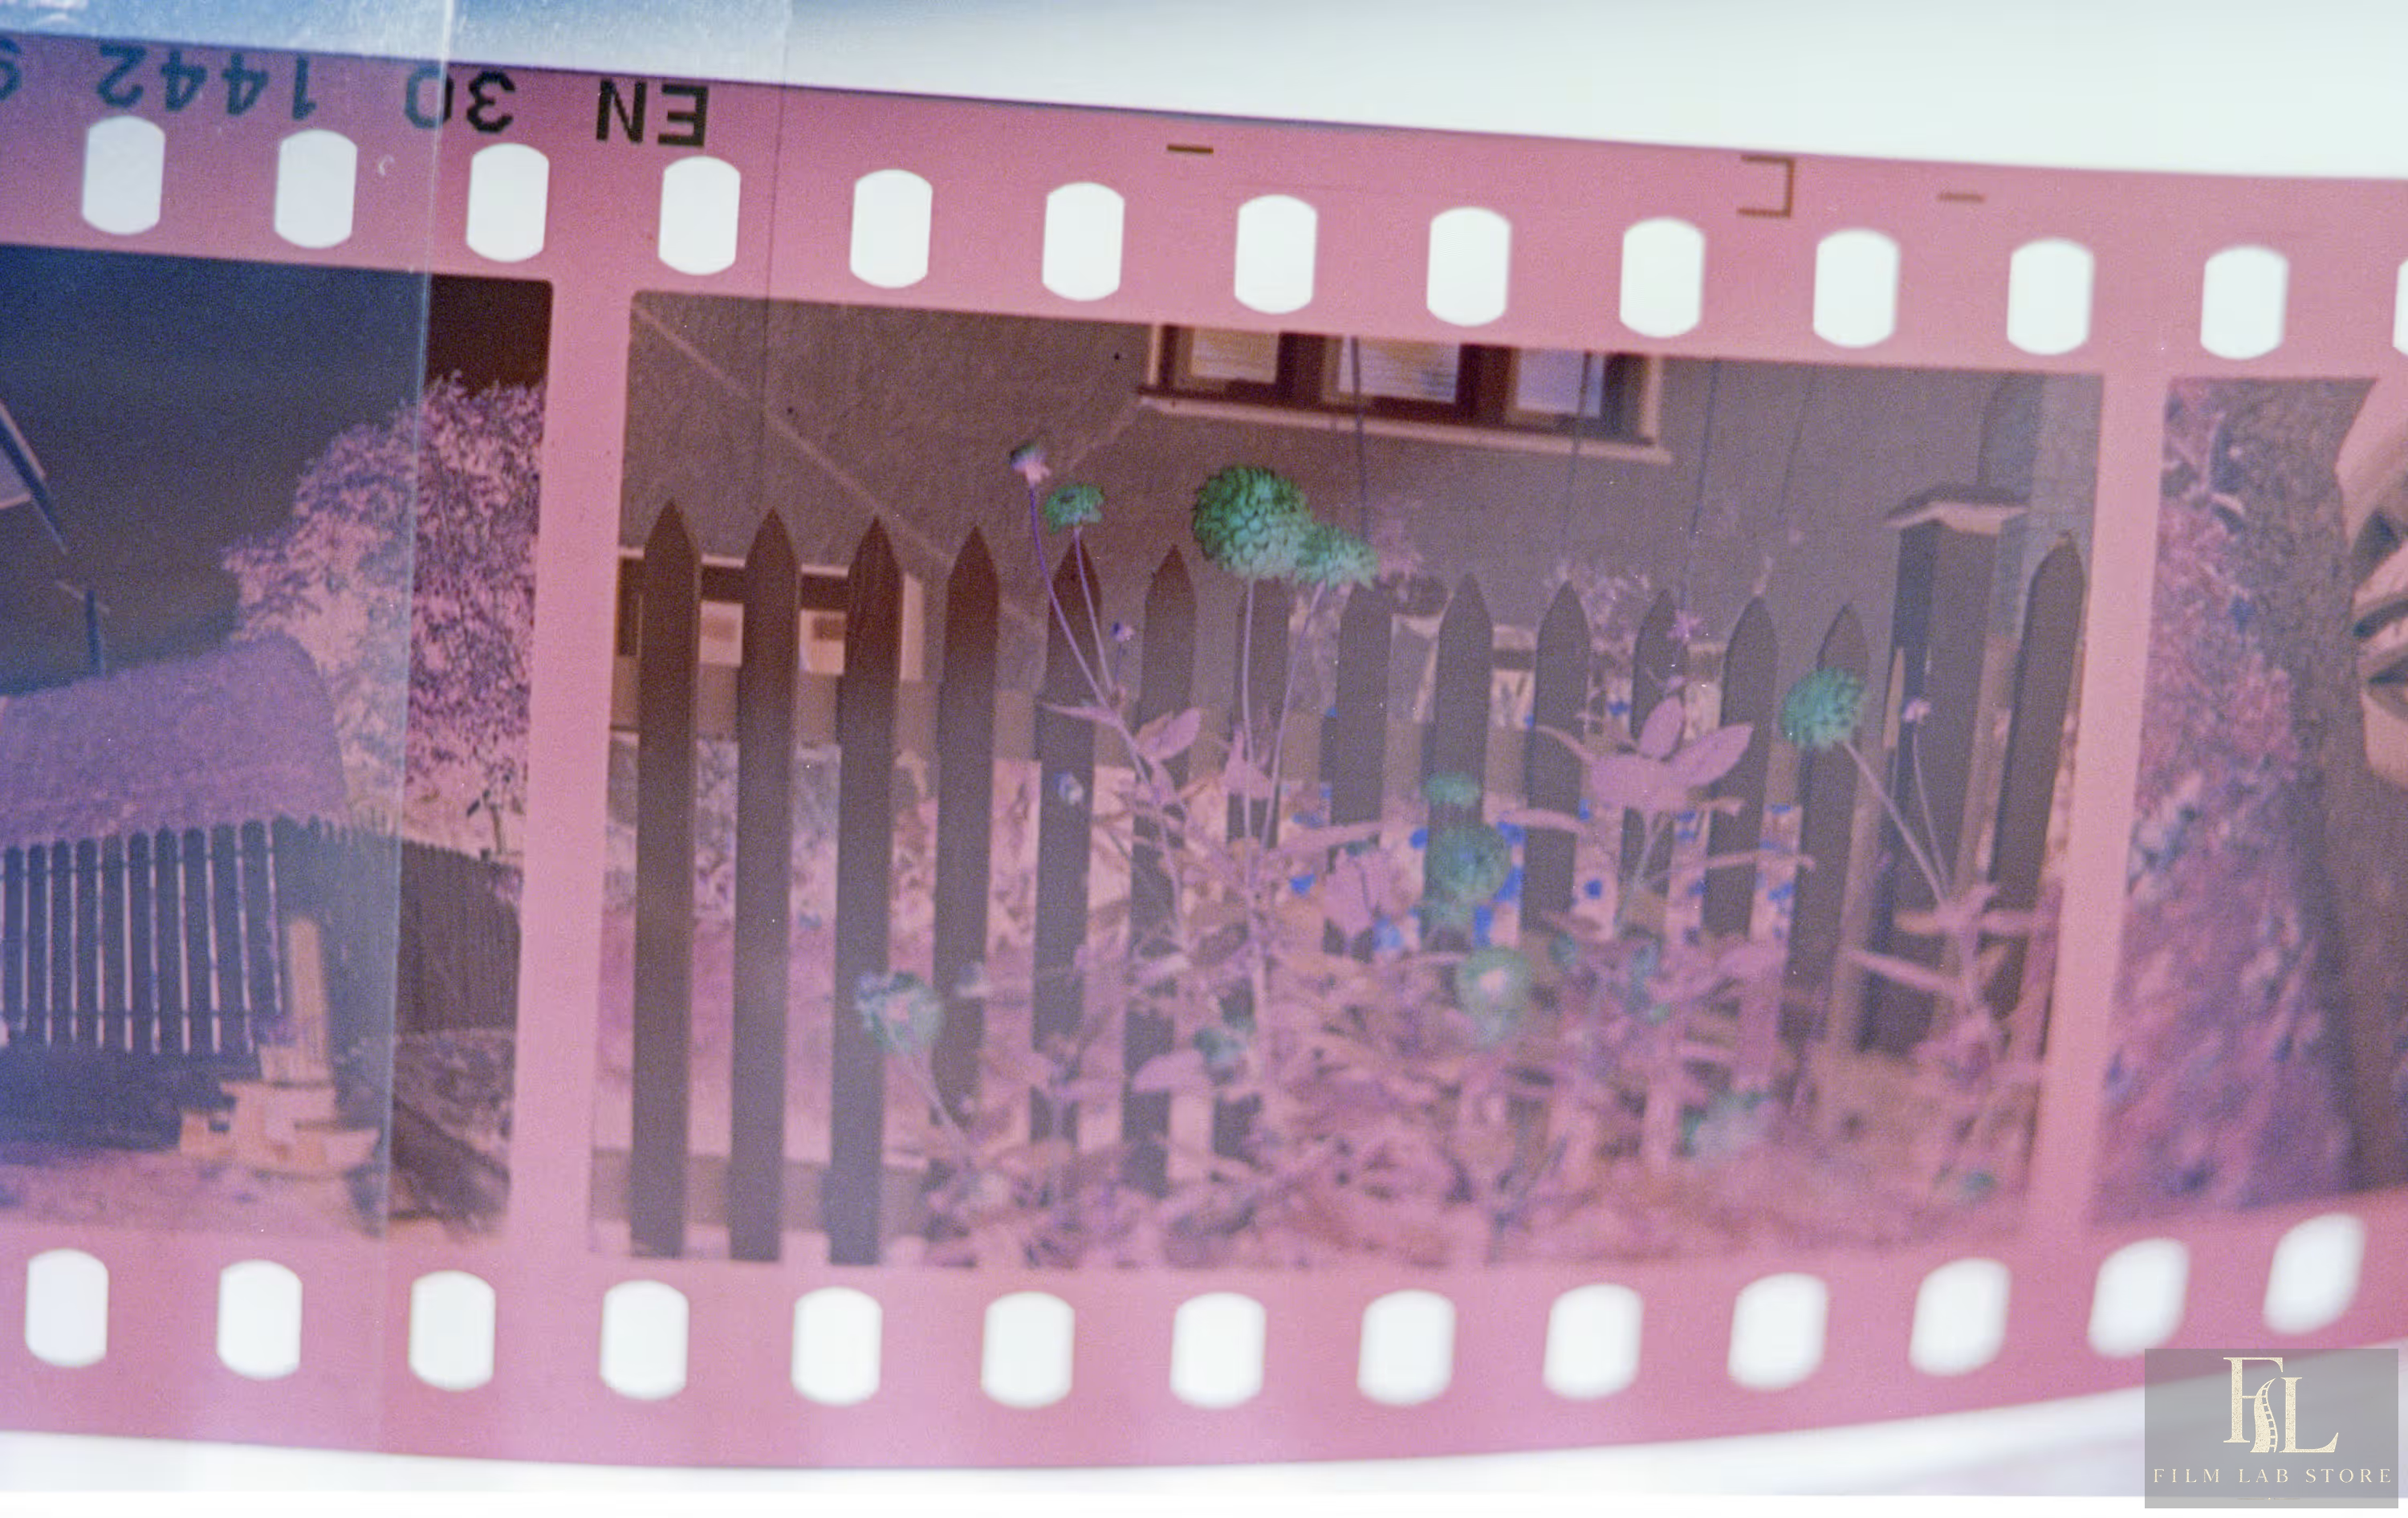
In conventional black-and-white negative film, the visible image is metallic silver. Color materials use multiple spectrally sensitive layers and dye-forming chemistry. Color-negative film produces an image whose brightness and colors are reversed, normally with an orange mask that helps color reproduction during printing or scanning. Reversal film, commonly called slide or transparency film, produces a positive image that can be viewed directly.
Film does not contain a finished look waiting to be extracted. The final photograph is a collaboration among:
- the spectrum, direction, softness, and contrast of the light;
- the lens and any filters;
- exposure;
- the film’s sensitometric and color characteristics;
- age and storage;
- chemical process and process control;
- scanner, camera-scanning setup, or enlarger;
- inversion, color balancing, contrast, and output editing.
This is why two labs can return different-looking scans from the same negative, and why online examples of a film stock are useful references but poor promises.
Negative, positive, and the language of density
A processed negative is easiest to diagnose when you understand density. More exposure normally creates more density in a negative: bright parts of the scene become darker on the film. Less exposure creates a thinner, clearer negative. When that negative is inverted, a thin area becomes dark in the positive image and a dense area becomes light.
This distinction matters when troubleshooting. A black scan does not necessarily mean a black negative. A severely underexposed scene may produce a nearly clear frame that the scanner renders dark and noisy. Opening the camera back may heavily expose the film, creating dense fog or opaque patches that invert into pale, washed-out, or chaotic areas. Always inspect the film itself, including frame lines, edge markings, and density, before deciding what failed.
2. Film formats: 35mm, 120, sheet film, and instant film
The format determines the film dimensions, camera system, number of frames, handling, cost, and potential image area. It does not determine whether a photograph is good.
35mm, also called 135
35mm film comes in a light-tight metal or plastic cassette. The perforated film is typically exposed in frames measuring about 24 x 36mm, though half-frame and panoramic cameras use different frame sizes. A standard roll commonly gives 24 or 36 exposures; careful loading may yield an extra frame or two, but never depend on it.
35mm is the best default for most beginners because cameras, lenses, film, labs, and scanning options are widely available. The smaller frame means grain and focus errors become more visible at large output sizes, but it also makes cameras compact and rolls comparatively economical.
120 roll film
120 film is a paper-backed roll used by many medium-format cameras. The roll has no cassette. Different cameras expose different frame sizes on the same film: 6 x 4.5, 6 x 6, 6 x 7, 6 x 8, 6 x 9, and panoramic variations. A larger frame normally offers smoother tonal transitions and more enlargement potential, but gives fewer photographs per roll and demands more careful loading and handling.
The backing paper protects the film until it is loaded, but a finished roll must be wound tightly and secured. A loose roll can admit light along its edges. Load and unload 120 film in subdued light, and keep an exposed roll protected until processing.
Sheet film and large format
Large-format cameras use individual sheets, often 4 x 5 or 8 x 10 inches. Each sheet sits in a holder and is exposed separately. Large format offers extensive control over focus plane and perspective, and an enormous image area, but it adds bellows, holders, dark slides, a focusing cloth, a tripod, and a slower workflow. It is rewarding, but it is not the most efficient place to learn basic film handling.
Instant film
Instant materials combine exposure and processing in a self-contained system. They are genuine photochemical media but differ from ordinary negative workflows: there is no lab step, and the print or integral image is usually the primary physical object. Instant film is excellent for learning timing, framing, flash behavior, and the discipline of a finite number of photographs, though its exposure latitude and close-focus behavior can be less forgiving than many beginners expect.
3. Choosing a first film camera
You can compare currently available tested equipment in the FilmLabStore camera catalogue.
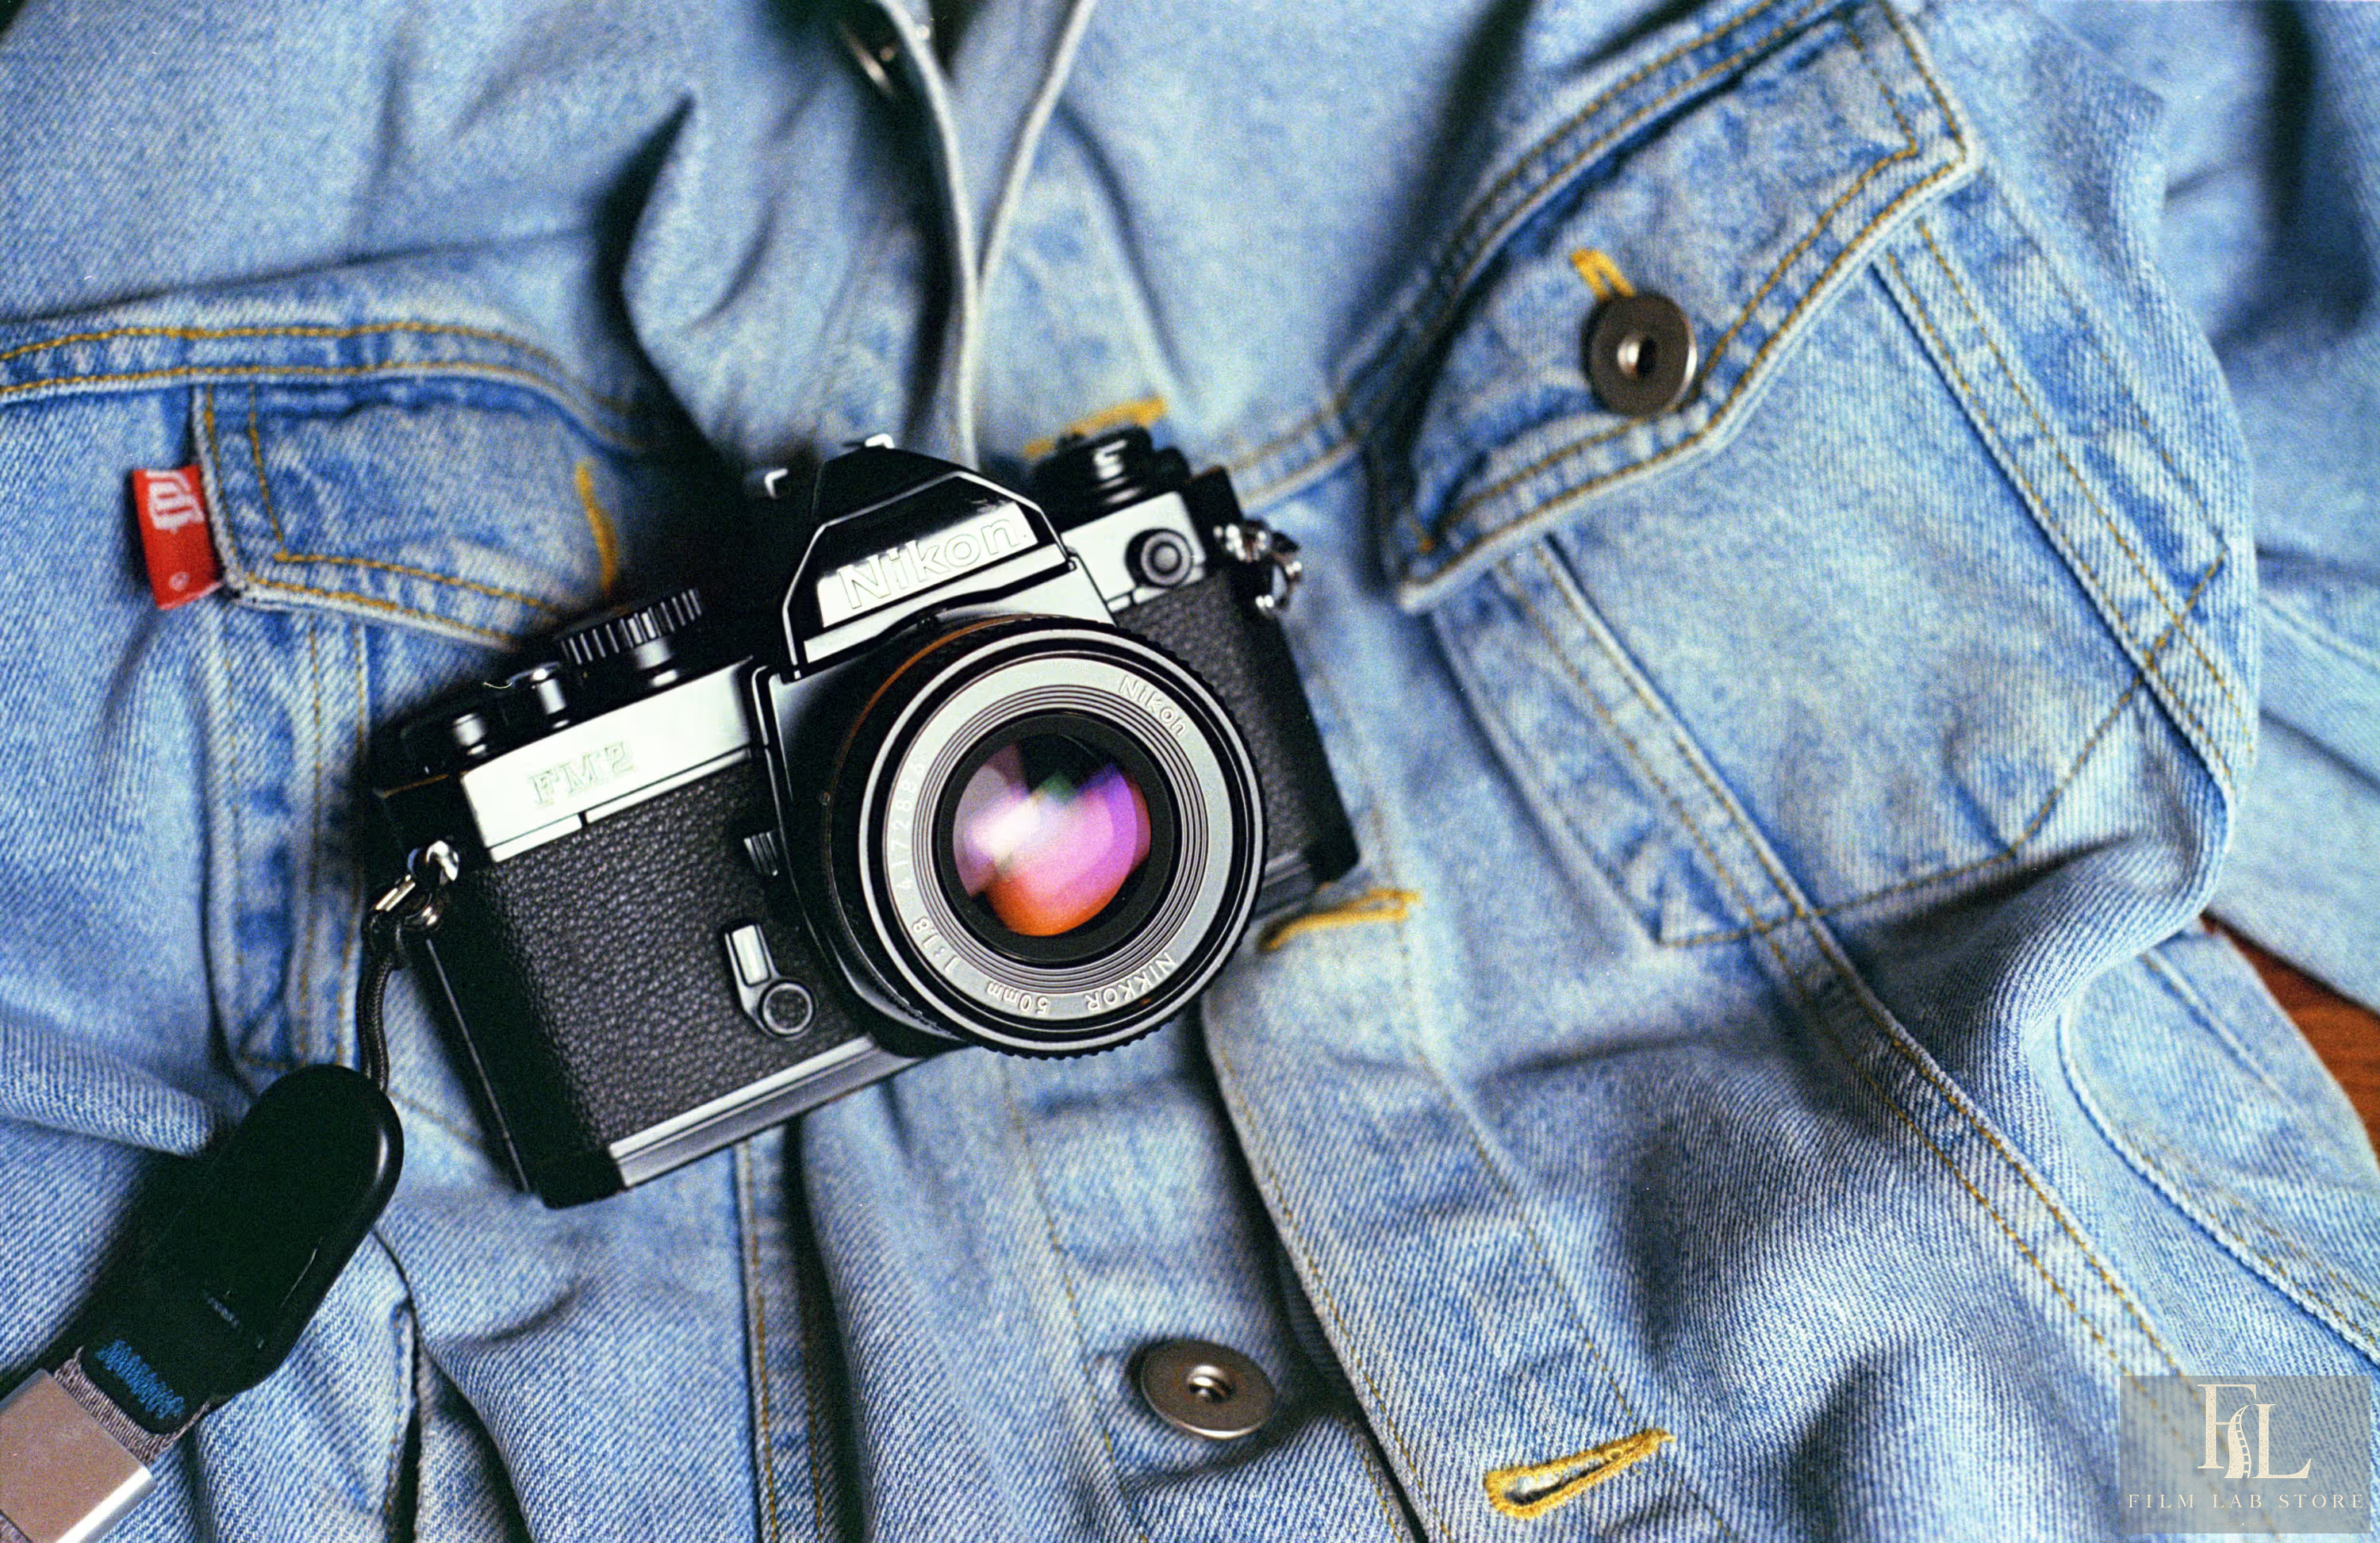
Choose a camera for a kind of work, not for mythology. A street photographer, a studio portraitist, a hiker, and a parent photographing children need different things. The best first camera is the one that works, can be understood, and does not make every roll a test of the camera itself.
The main camera types
Single-lens reflex (SLR). You view through the taking lens via a mirror and prism. An SLR makes lens choice, precise framing, close focusing, and depth-of-field judgment relatively intuitive. Manual-focus 35mm SLRs are often the easiest systems on which to learn exposure and focusing.
Rangefinder. You focus by aligning a split or superimposed image in a separate optical finder. Rangefinders can be compact, quiet, and easy to focus in low light, but framing is not through the lens, close-range parallax must be considered, and the rangefinder mechanism can drift out of alignment.
Point-and-shoot. A compact camera may automate exposure, focus, flash, film advance, rewind, and DX-coded ISO selection. It reduces operational friction, but can conceal mistakes and offer limited override. Many electronic compacts are difficult or uneconomical to repair.
Twin-lens reflex (TLR). One lens forms the photograph and another feeds a waist-level finder. Most TLRs use 120 film and produce square images. They encourage careful composition but introduce viewing parallax at close distances.
Viewfinder or zone-focus camera. You compose through a separate window and focus by estimate, symbols, or scale. These cameras can be wonderfully simple, but you must understand focus distance and the difference between the finder and taking lens.
Medium- and large-format system cameras. These range from folding cameras to modular SLRs and technical view cameras. They offer larger negatives and specialized controls, but cost more per frame and usually slow the process.
Mechanical versus electronic cameras
A mechanical shutter can often operate without a battery, though the meter may still need one. Electronic shutters may provide more accurate timing, automation, and modern conveniences, but total dependence on aging electronics can make a failure terminal.
Neither category is inherently better. Mechanical does not mean immortal, and electronic does not mean unreliable. Condition and service history matter more than slogans.
What to check before buying
Inspect or confirm the following:
- the shutter fires at every speed and the slower speeds sound plausibly longer;
- the shutter curtains or blades are clean, intact, and free from oil;
- the film advance moves smoothly and the rewind mechanism releases correctly;
- the frame counter resets and advances;
- the lens has no severe fungus, separation, haze, deep scratches, or oil on aperture blades;
- the aperture stops down and reopens promptly;
- focus reaches infinity and the focusing mechanism is smooth;
- an SLR mirror returns consistently;
- a rangefinder patch is visible and aligned vertically and horizontally;
- battery contacts are clean and the correct battery type is available;
- light seals are not sticky, crumbling, or absent;
- the meter responds to changes in light and broadly agrees with a known-good meter;
- the back, bottom plate, and film door latch securely.
Do not test a camera by firing only one shutter speed. A camera can sound healthy at 1/125 second and fail at one second, or work dry and then overlap frames under film tension.
Why a test roll is non-negotiable
A dry inspection cannot prove frame spacing, pressure-plate alignment, light tightness, meter calibration, focus accuracy, or shutter consistency under real use. Shoot a fresh, inexpensive roll before a wedding, holiday, commission, or irreplaceable family event.
A useful test roll includes:
- a uniformly lit wall or sky to reveal leaks and unevenness;
- a detailed subject at wide aperture to test focus;
- a distant subject at infinity;
- repeated exposures across several shutter speeds;
- bright sun, shade, and indoor light;
- a frame containing a written note with the camera, lens, aperture, and shutter speed.
Ask the lab to return the negatives uncut if you suspect transport or spacing problems. The entire strip tells a clearer story than isolated scans.
4. Choosing film by process, light, and purpose
If you are ready to choose a first roll, browse the FilmLabStore film catalogue for current 35mm and 120 options.
Film choice becomes manageable when you make three decisions in order: process, sensitivity, and aesthetic preference.
Color-negative film
Most still color-negative film is processed in C-41 chemistry. It is the easiest color material to recommend to a beginner because it generally has useful exposure latitude, is widely supported by labs, and produces negatives that can be interpreted flexibly during scanning or printing.
Color negative is not indestructible. Underexposure can produce weak shadow information, grainy-looking scans, color crossover, and muddy blacks. Heavy overexposure can eventually compress highlights, shift color, and create difficult negatives. Still, a fresh general-purpose color negative at box speed is a sensible baseline.
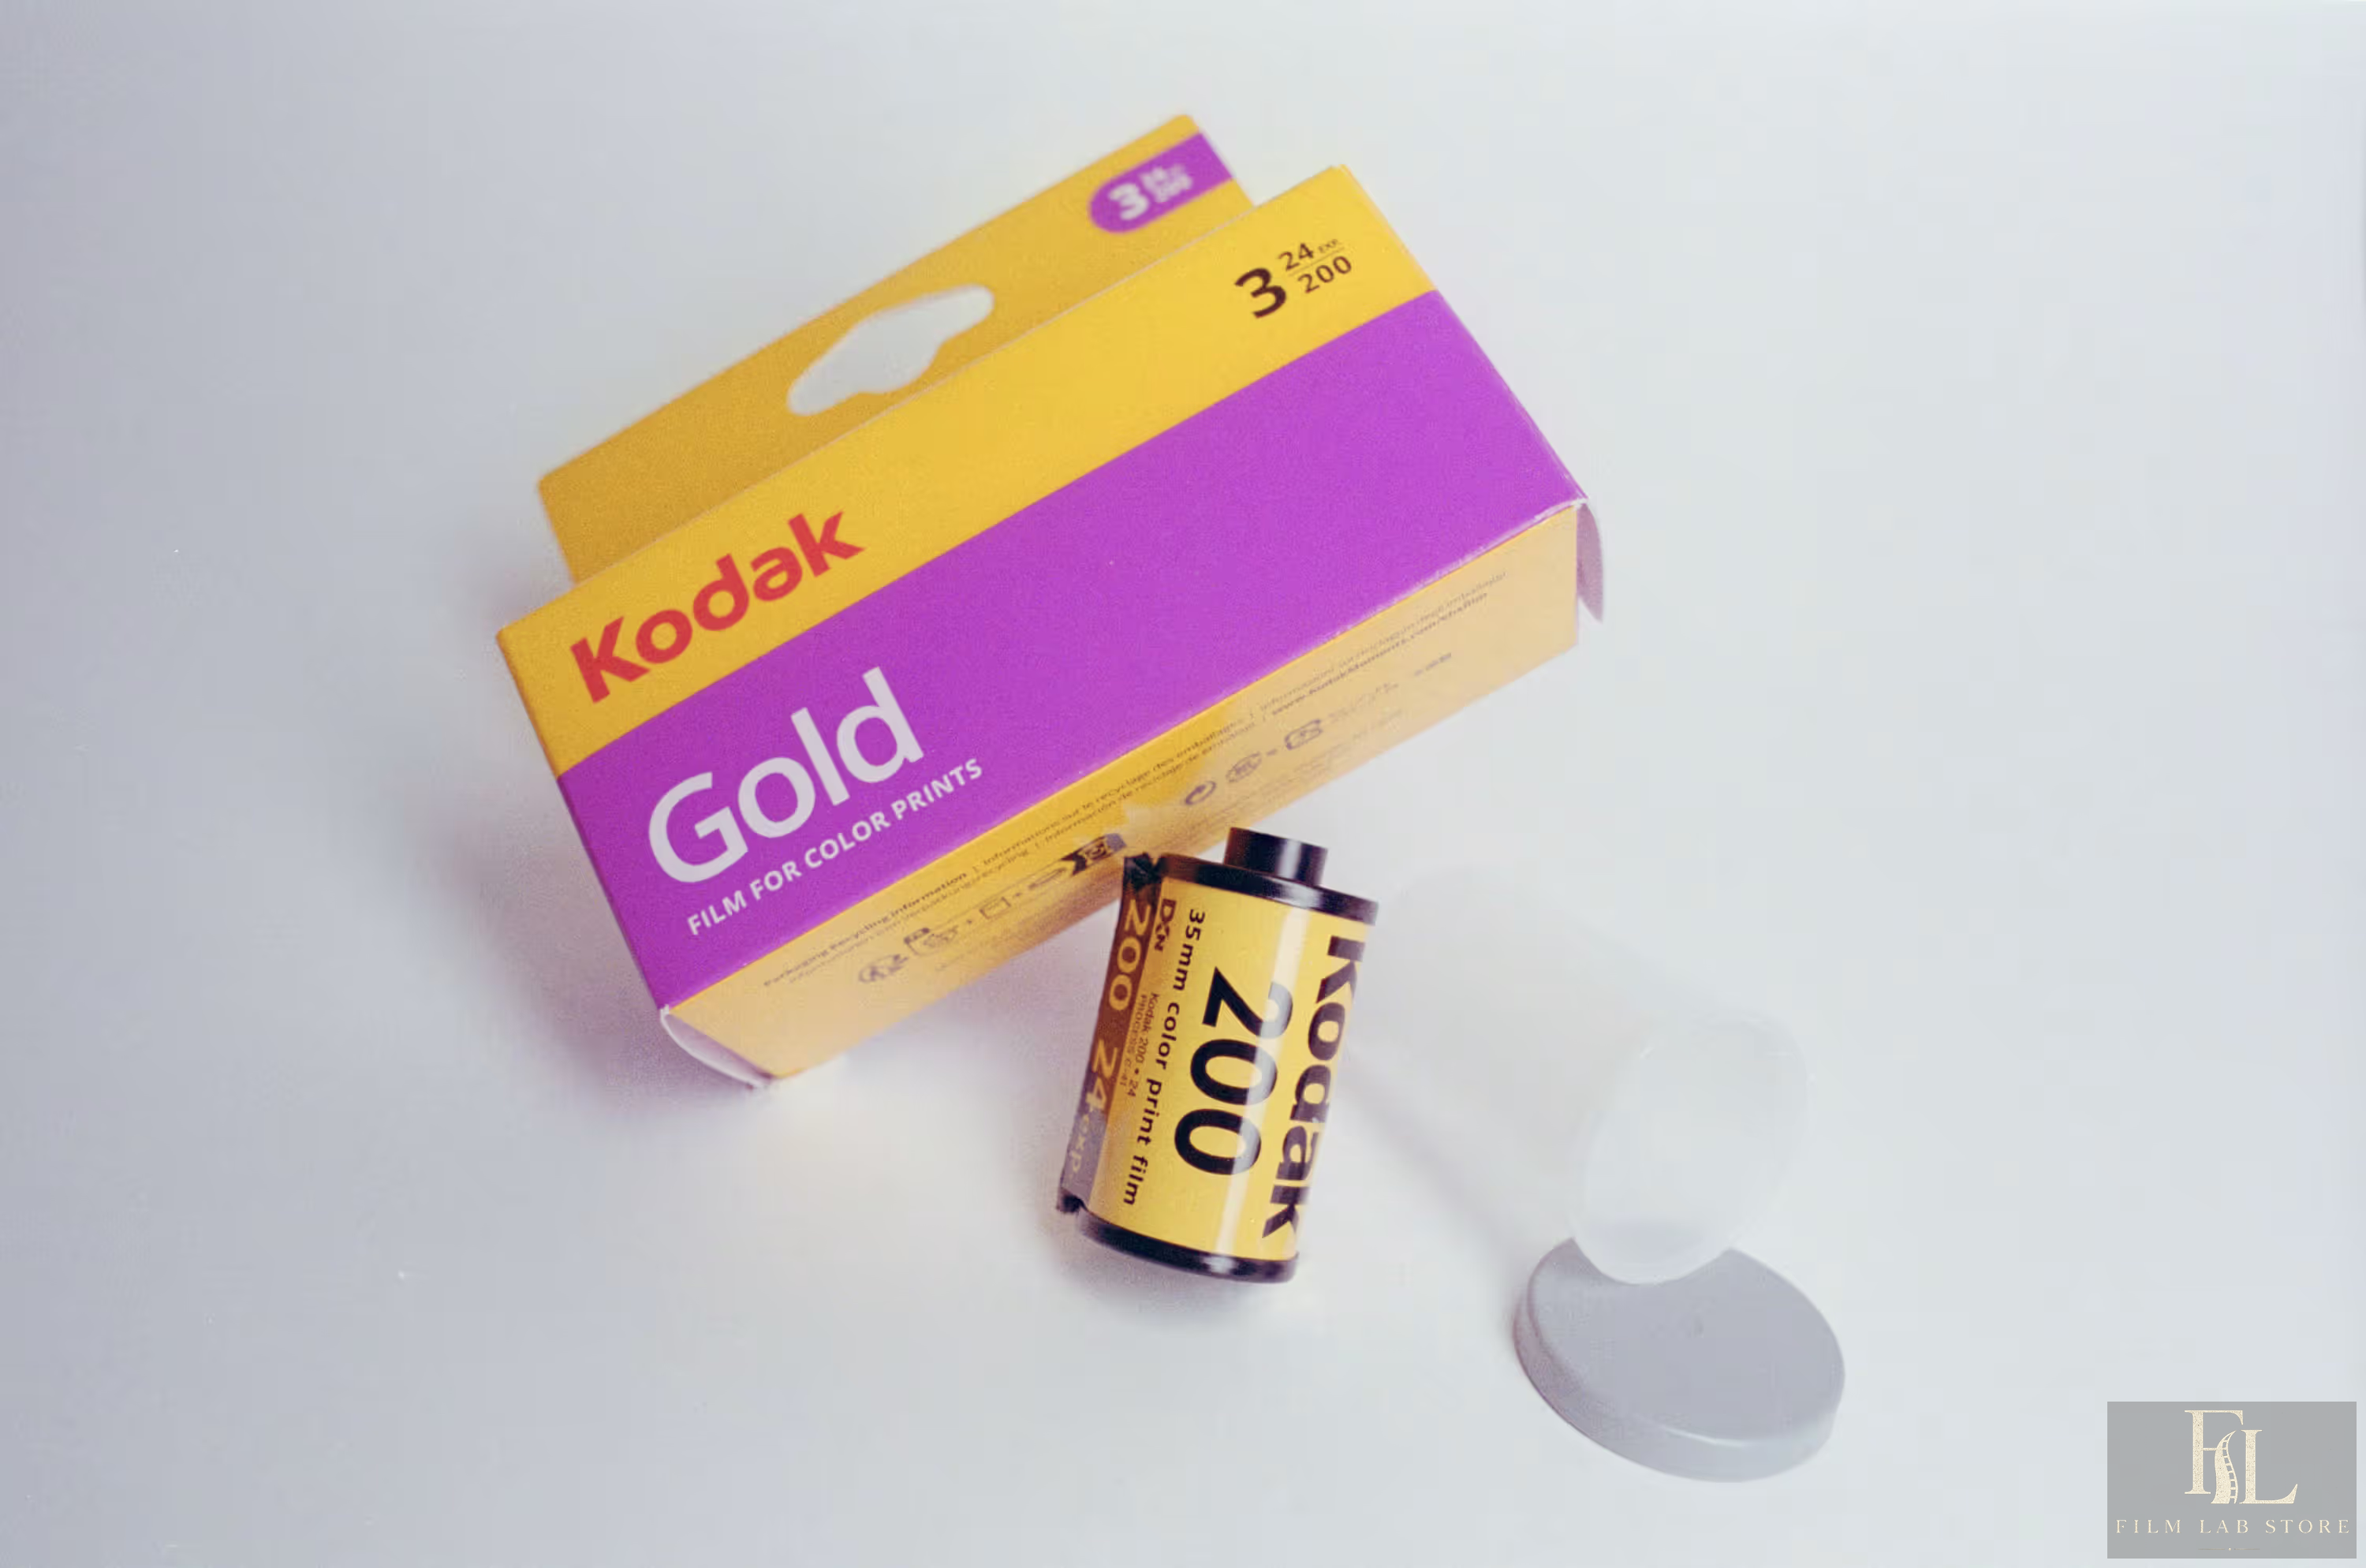
Kodak Gold 200, for example, is officially described as a medium-speed daylight color negative with broad latitude. Kodak currently states a tolerance of two stops under and three stops over under its specified conditions.[1] Treat that as product-specific technical guidance, not permission to meter carelessly and not a guarantee that every scanner will return attractive results at the limits.
Traditional black-and-white negative film
Black-and-white negative film is excellent for learning because it separates the problems of exposure, tone, contrast, development, and printing from color balance. It is also the most accessible material for home processing.
Film and developer form a system. The same film can look fine-grained, sharp, soft, contrasty, or speed-efficient depending on developer, dilution, agitation, temperature, exposure, and output method. Avoid choosing a developer from a single photograph online. Begin with the manufacturer’s published time and one repeatable technique.
ISO 400 films such as Ilford HP5 Plus are practical in varied light and can be push-processed when needed. Ilford publishes different development times for HP5 Plus exposed at EI 400, 800, 1600, and 3200; that is evidence of a designed workflow, not proof that EI 3200 will look identical to box speed.[2]
Chromogenic black-and-white film
Chromogenic black-and-white films form dye images and are commonly processed in C-41 chemistry. Ilford XP2 Super is a notable example. Ilford states that it can be exposed from EI 50 to 800 on one roll and processed in standard C-41, with best overall quality around EI 400.[3] This unusual flexibility should not be generalized to conventional silver-image black-and-white films.
XP2 is useful when local labs process C-41 but not traditional black-and-white film, or when you want compatibility with infrared dust-and-scratch removal systems that do not work reliably on conventional silver-rich black-and-white negatives.
Color-reversal or slide film
Reversal film produces a positive transparency and is commonly processed in E-6 chemistry. It rewards careful exposure, deliberate color-temperature decisions, and controlled contrast. It normally has less tolerance for exposure error than color negative, especially in highlights.
Slide film is an outstanding teacher because you can judge the processed frame without a scanner’s interpretation. It is also an expensive teacher. Use it after you trust your meter and understand how it reads bright, dark, and backlit subjects.
Motion-picture stocks, ECN-2, and rem-jet
Some motion-picture color-negative films use the ECN-2 process and carry a rem-jet backing. Rem-jet protects the base from scratches and static and helps suppress halation. It must be removed as part of the intended process. Putting rem-jet-backed film into a standard lab C-41 machine can contaminate chemistry and other customers’ film.[4]
Films sold by CineStill for C-41 processing have been manufactured or converted without rem-jet. Their visible halation around intense highlights is connected to reflections in the film base and the absence of the original rem-jet protection, not simply to an abstract “cinema emulsion look.”[4]
Never assume that a bulk-loaded cinema stock is safe for C-41. Identify the stock and ask the lab before sending it.
Fresh versus expired film
Fresh film is the correct choice for learning. Expired film introduces unknown age, heat history, background-radiation exposure, latent fog, color drift, speed loss, and processing uncertainty. Cold storage can slow many changes but cannot reverse damage or stop all effects indefinitely.
If you want to experiment with expired film:
- test one roll from the same batch before using the rest;
- do not use it for unique events;
- avoid treating the popular “one stop per decade” rule as science;
- bracket only when the scene and budget justify it;
- tell the lab what the film is and whether it has unusual backing or process needs;
- judge the negative, not only an aggressively corrected scan.
The correct exposure for expired film depends more on storage and stock behavior than on the printed date.
5. ISO, box speed, and exposure index
ISO is the standardized sensitivity rating assigned to the film under defined exposure and processing conditions. Box speed is the ISO printed on the package. Exposure Index, or EI, is the speed value you choose for metering in a particular workflow.
If you load ISO 400 film and set the meter to 400, you are rating it at box speed. If you set the meter to 200, the meter asks for one stop more exposure. If you set it to 800, it asks for one stop less exposure.
Changing the dial does not alter the emulsion. It changes the meter’s recommendation. A digital sensor can change amplification between frames; a roll of film cannot become a different material from one frame to the next.
The distinction becomes important when people say they “shot at ISO 800.” They usually mean they exposed an ISO 400 film at EI 800. Whether that choice works depends on the film, scene contrast, desired shadow detail, development, and output.
Push and pull processing
Push processing combines reduced exposure with extended or otherwise modified development to raise negative density and alter contrast. Pull processing combines increased exposure with reduced development, often to restrain contrast. The entire roll normally shares one processing treatment.
Push processing does not restore shadow information that was never recorded. It primarily changes how exposed densities develop, often increasing contrast and grain or changing color. It can be an effective expressive and practical tool, but it is not free sensitivity.
For a first roll, expose at box speed and request standard processing. Establish a baseline before changing two variables at once.
There is a dedicated guide to choosing a film speed: how to choose ISO 100, 200, 400 or 800.
6. Exposure without superstition
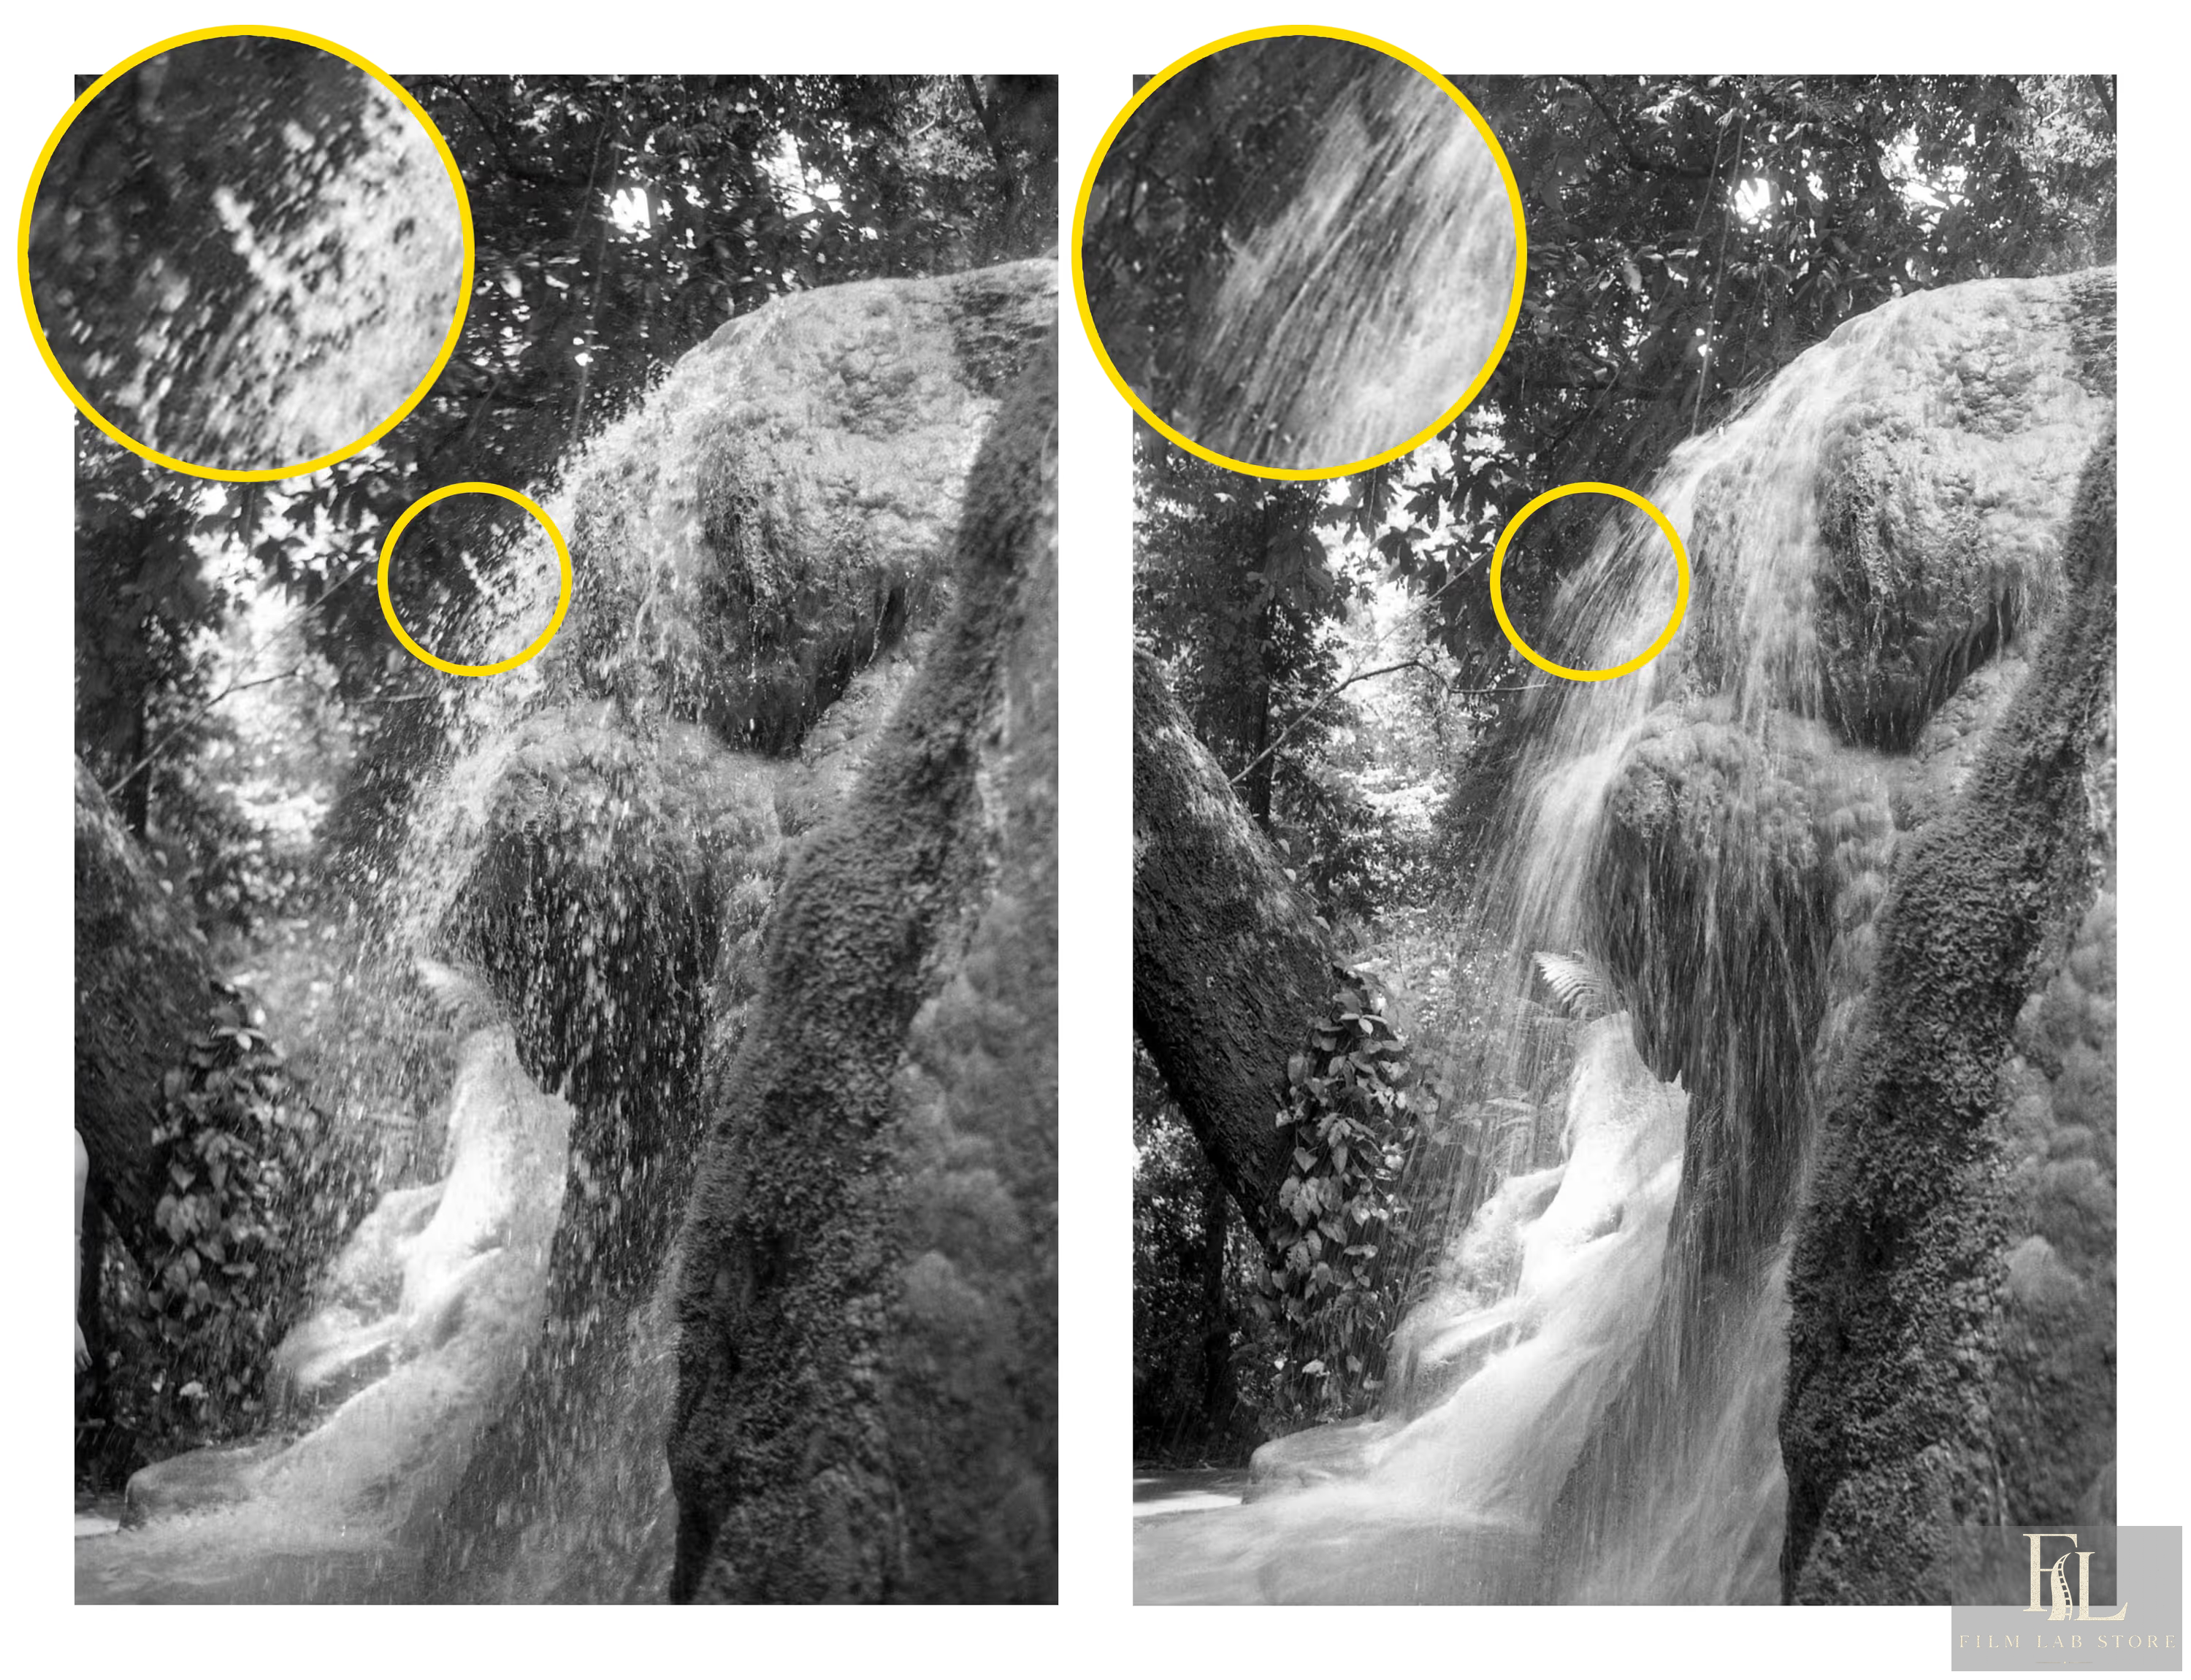
Exposure is the amount of light that reaches the film. You control it mainly with aperture and shutter speed, while the chosen EI tells the meter what exposure target to recommend.
Aperture
The aperture is an adjustable opening in the lens. A lower f-number such as f/2 represents a wider opening than f/8. A wider aperture admits more light and usually reduces depth of field. A smaller aperture admits less light and usually increases depth of field.
Common full-stop values are:
f/1.4 - f/2 - f/2.8 - f/4 - f/5.6 - f/8 - f/11 - f/16 - f/22
Each full stop changes the light by a factor of two. The mathematical sequence may feel counterintuitive because the f-number describes a ratio, but in use the rule is simple: moving one full step toward the smaller number doubles the light; moving toward the larger number halves it.
Aperture also affects lens performance. Very wide apertures may show softness, vignetting, aberrations, and narrow focus tolerance. Very small apertures increase diffraction. The sharpest setting is often somewhere in the middle, but there is no universal instruction to “always stop down.” Motion, focus, depth, and available light matter more than a laboratory maximum.
Shutter speed
Shutter speed controls how long the film is exposed. Common full-stop values are:
1 second - 1/2 - 1/4 - 1/8 - 1/15 - 1/30 - 1/60 - 1/125 - 1/250 - 1/500 - 1/1000
Many dials omit the fraction bar, so 125 means 1/125 second, not 125 seconds. Each move to the next faster full speed halves the light; each move to the next slower speed doubles it.
Shutter speed also controls how motion appears. A fast speed can freeze a gesture. A slow speed can turn water, traffic, or a moving person into a blur. Camera shake depends on technique, lens, camera mass, output size, and stabilization. The familiar suggestion to use at least the reciprocal of the focal length on 35mm - about 1/60 with a 50mm lens - is a starting point, not a law.
Equivalent exposures
Suppose a meter recommends 1/125 at f/8. The following pairs provide the same nominal exposure:
- 1/250 at f/5.6;
- 1/500 at f/4;
- 1/60 at f/11;
- 1/30 at f/16.
They do not create the same photograph. Faster speeds control movement; wider apertures isolate focus. Exposure equivalence gives you creative options rather than one correct setting.
The Sunny 16 rule
In bright, direct sun with distinct shadows, a useful estimate is f/16 with a shutter speed close to the reciprocal of the film speed. For ISO 100, that is approximately 1/125 at f/16; for ISO 400, approximately 1/500 at f/16. Open the aperture as conditions become hazier, overcast, or shaded.
Sunny 16 is valuable for checking whether a meter reading is plausible. It is not a replacement for judgment in backlight, snow, deep shade, interiors, or mixed illumination.
7. Understanding light meters
Most camera meters measure reflected light. They do not know what the subject is. They see luminance and are calibrated to produce a midtone from the metered area. If you meter a white wall and follow the reading without interpretation, the wall may be rendered gray. The same can happen to a black coat: the meter may recommend enough exposure to make it gray.
Meters differ in coverage:
- average or center-weighted meters combine a large portion of the frame;
- spot meters read a small area and require deliberate placement;
- selective meters fall between the two;
- incident meters measure the light falling on the subject rather than light reflected from it.
Read the camera manual. A meter pattern is part of the camera’s operating logic. Leica, for example, documents the M6 as metering light reflected from a defined central spot on the shutter curtain rather than averaging the entire scene.[5]
A practical reflected-meter method
For an ordinary negative-film scene:
- Decide what the photograph is about.
- Identify the important shadows and highlights.
- Move close enough, zoom, or aim the meter so that irrelevant bright sky does not dominate.
- Take a reading from a representative midtone, or take separate shadow and highlight readings.
- Decide whether the film can hold the scene’s contrast and which tones you are willing to sacrifice.
- Set an exposure that preserves the information you need.
With negative film, photographers often prioritize enough exposure for important shadows. With slide film, protecting highlights is usually more critical because excess exposure can quickly wash out the transparency.
Common metering traps
Backlit portrait. A meter influenced by a bright background may underexpose the face. Meter the face, use exposure compensation, move the subject, add fill, or accept a silhouette intentionally.
Snow or bright sand. The meter may darken the scene. Give more exposure than the uncorrected reflected reading if you want the snow to remain bright.
Dark stage or night scene. A broad meter may brighten darkness and overexpose illuminated areas. Meter the important lit subject, not the entire black environment.
Window light indoors. The window can overwhelm the meter while the face remains underexposed. Read the subject from its position.
Strongly colored surfaces. Meter spectral sensitivity and the subject’s reflectance can produce surprising readings. Bracket critical slide work and learn how your meter responds.
Bracketing intelligently
Bracketing means making several exposures around a chosen value. It is useful when:
- the scene cannot be repeated and the exposure is uncertain;
- you are testing an unfamiliar film, meter, filter, or lighting condition;
- you need a precise slide exposure;
- you are establishing a personal EI and development method.
Do not use random bracketing as a permanent substitute for learning. Record which frame is normal, over, and under. Half-stop or one-stop intervals are usually more informative than tiny changes your lab’s automatic scan may conceal.
8. Exposure latitude, dynamic range, and why negative film likes light
Exposure latitude is the range of exposure that still produces an acceptable result in a particular process. Dynamic range describes the span of scene luminance or recordable densities. The terms are related but not interchangeable, and neither has one universal number independent of film, development, scanner, print, and quality criterion.
Color-negative and many black-and-white negative films usually tolerate moderate overexposure better than comparable underexposure. The practical reason is simple: shadows receive very little light. If too few photons affect the emulsion, there is little signal to separate from base fog, grain, and scanner noise. More development cannot recreate missing shadow exposure.
Highlights on negative film often accumulate density more gradually, leaving information that a scanner or darkroom print can compress. But “overexpose film” is incomplete advice. Excessive exposure can produce very dense negatives, long scan times, color shifts, blocked highlights, halation, and difficult printing. Some films are much less tolerant than others.
Use product-specific evidence. Kodak publishes unusually broad latitude claims for Gold 200.[1] Foma states that Fomapan 100 can give good results at EI 50 through 400 without a processing change under its test conditions.[6] Ilford documents XP2 Super across EI 50 to 800.[3] These are different materials and should not be collapsed into one rule.
For your first rolls, expose accurately. Once you can identify a thin negative, dense negative, clean shadow, and clipped slide, you can decide whether deliberate exposure bias serves your work.
9. Reciprocity failure and very long exposures
At ordinary shutter speeds, doubling exposure time approximately doubles the exposure. At long or extremely short exposures, many films depart from that simple relationship. This is reciprocity failure. The film may need more exposure than the meter predicts, and color films may require filtration because layers shift differently.
There is no safe universal correction. Fomapan 100, for example, publishes substantial corrections beginning around one second, while other modern films may require much less correction over the same range.[6] Always consult the current datasheet for the exact stock. If the manufacturer provides no data, perform a bracketed test and document temperature, metered time, corrected time, development, and scan.
For night work:
- use a sturdy tripod;
- use a cable release or self-timer when appropriate;
- prevent stray light from entering the viewfinder if the camera design requires it;
- account for filter factors;
- record metered and corrected exposure;
- protect the camera and film from condensation;
- consider how moving lights and people will accumulate during the exposure.
10. Filters and flash
Filters
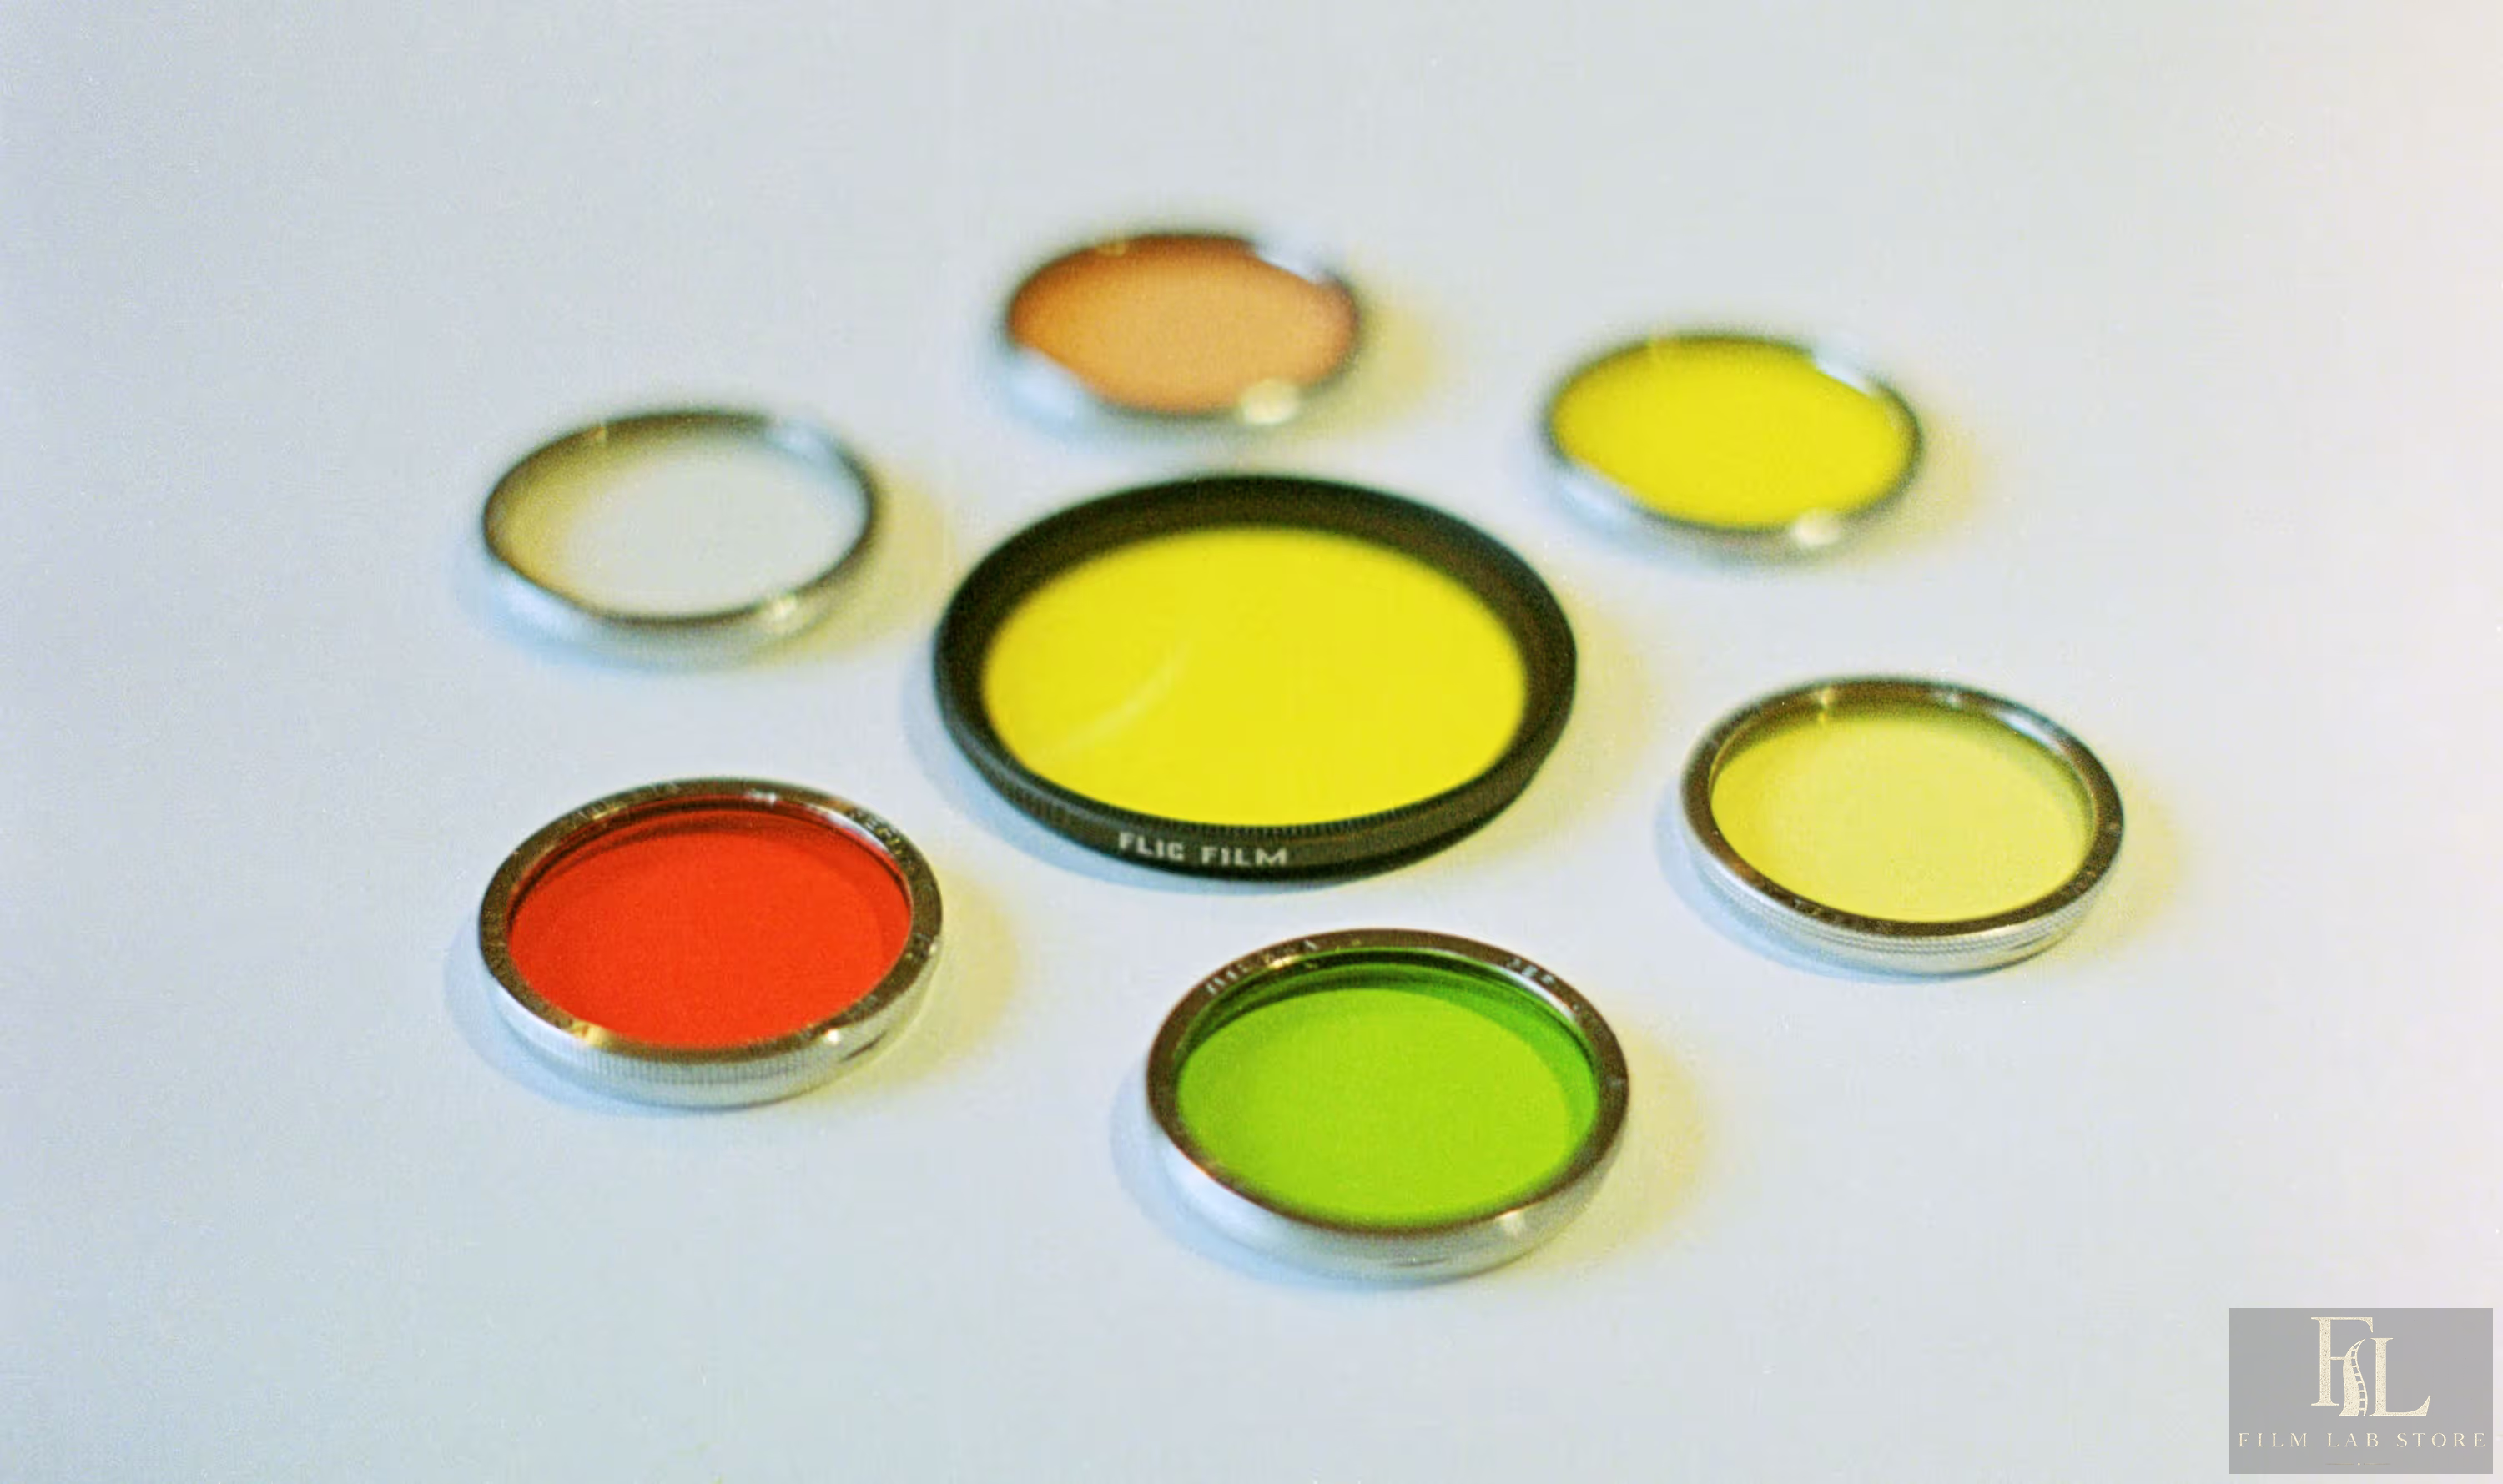
Filters remove light; they do not add it. A filter factor of 2 requires one stop more exposure. A factor of 4 requires two stops. Through-the-lens meters often compensate automatically, but meter spectral response and dense filters can cause errors. Check the manual and test critical work.
Common filters include:
- UV or clear protection filters, primarily physical protection on modern film;
- neutral-density filters, which reduce light without intentionally changing color;
- graduated neutral-density filters, which darken part of a scene;
- polarizers, which reduce some reflections and can deepen blue skies depending on angle;
- color-conversion filters, which balance daylight film under tungsten or vice versa;
- yellow, orange, red, green, and blue filters for black-and-white, which lighten similar colors and darken complementary colors in the final positive;
- infrared and specialty filters, which may be nearly opaque and require film-specific focus and exposure methods.
Record the filter and compensation. A forgotten polarizer can easily cost two stops and turn a marginal handheld exposure into underexposure.
Flash
Film does not make flash fundamentally different, but older cameras impose constraints. Find the camera’s flash synchronization speed. A focal-plane shutter used above its sync speed may expose only part of the frame. Some leaf shutters synchronize at all speeds; verify the model.
With a manual flash, guide number provides a starting relationship:
aperture = guide number / subject distance
Use matching units and ISO. Automatic thyristor flashes and TTL systems simplify the calculation but require compatible equipment and fresh batteries.
Flash falloff follows the inverse-square relationship: doubling flash-to-subject distance reduces illumination to one quarter. Moving a flash or subject slightly can therefore have a large effect. Ceiling bounce, diffusion, and modifiers also consume light and alter direction.
When mixing flash with ambient light, aperture and flash power strongly affect flash exposure, while shutter speed at or below sync controls much of the ambient contribution. This separation allows anything from a black-background flash snapshot to subtle fill in daylight.
11. Loading and unloading 35mm film
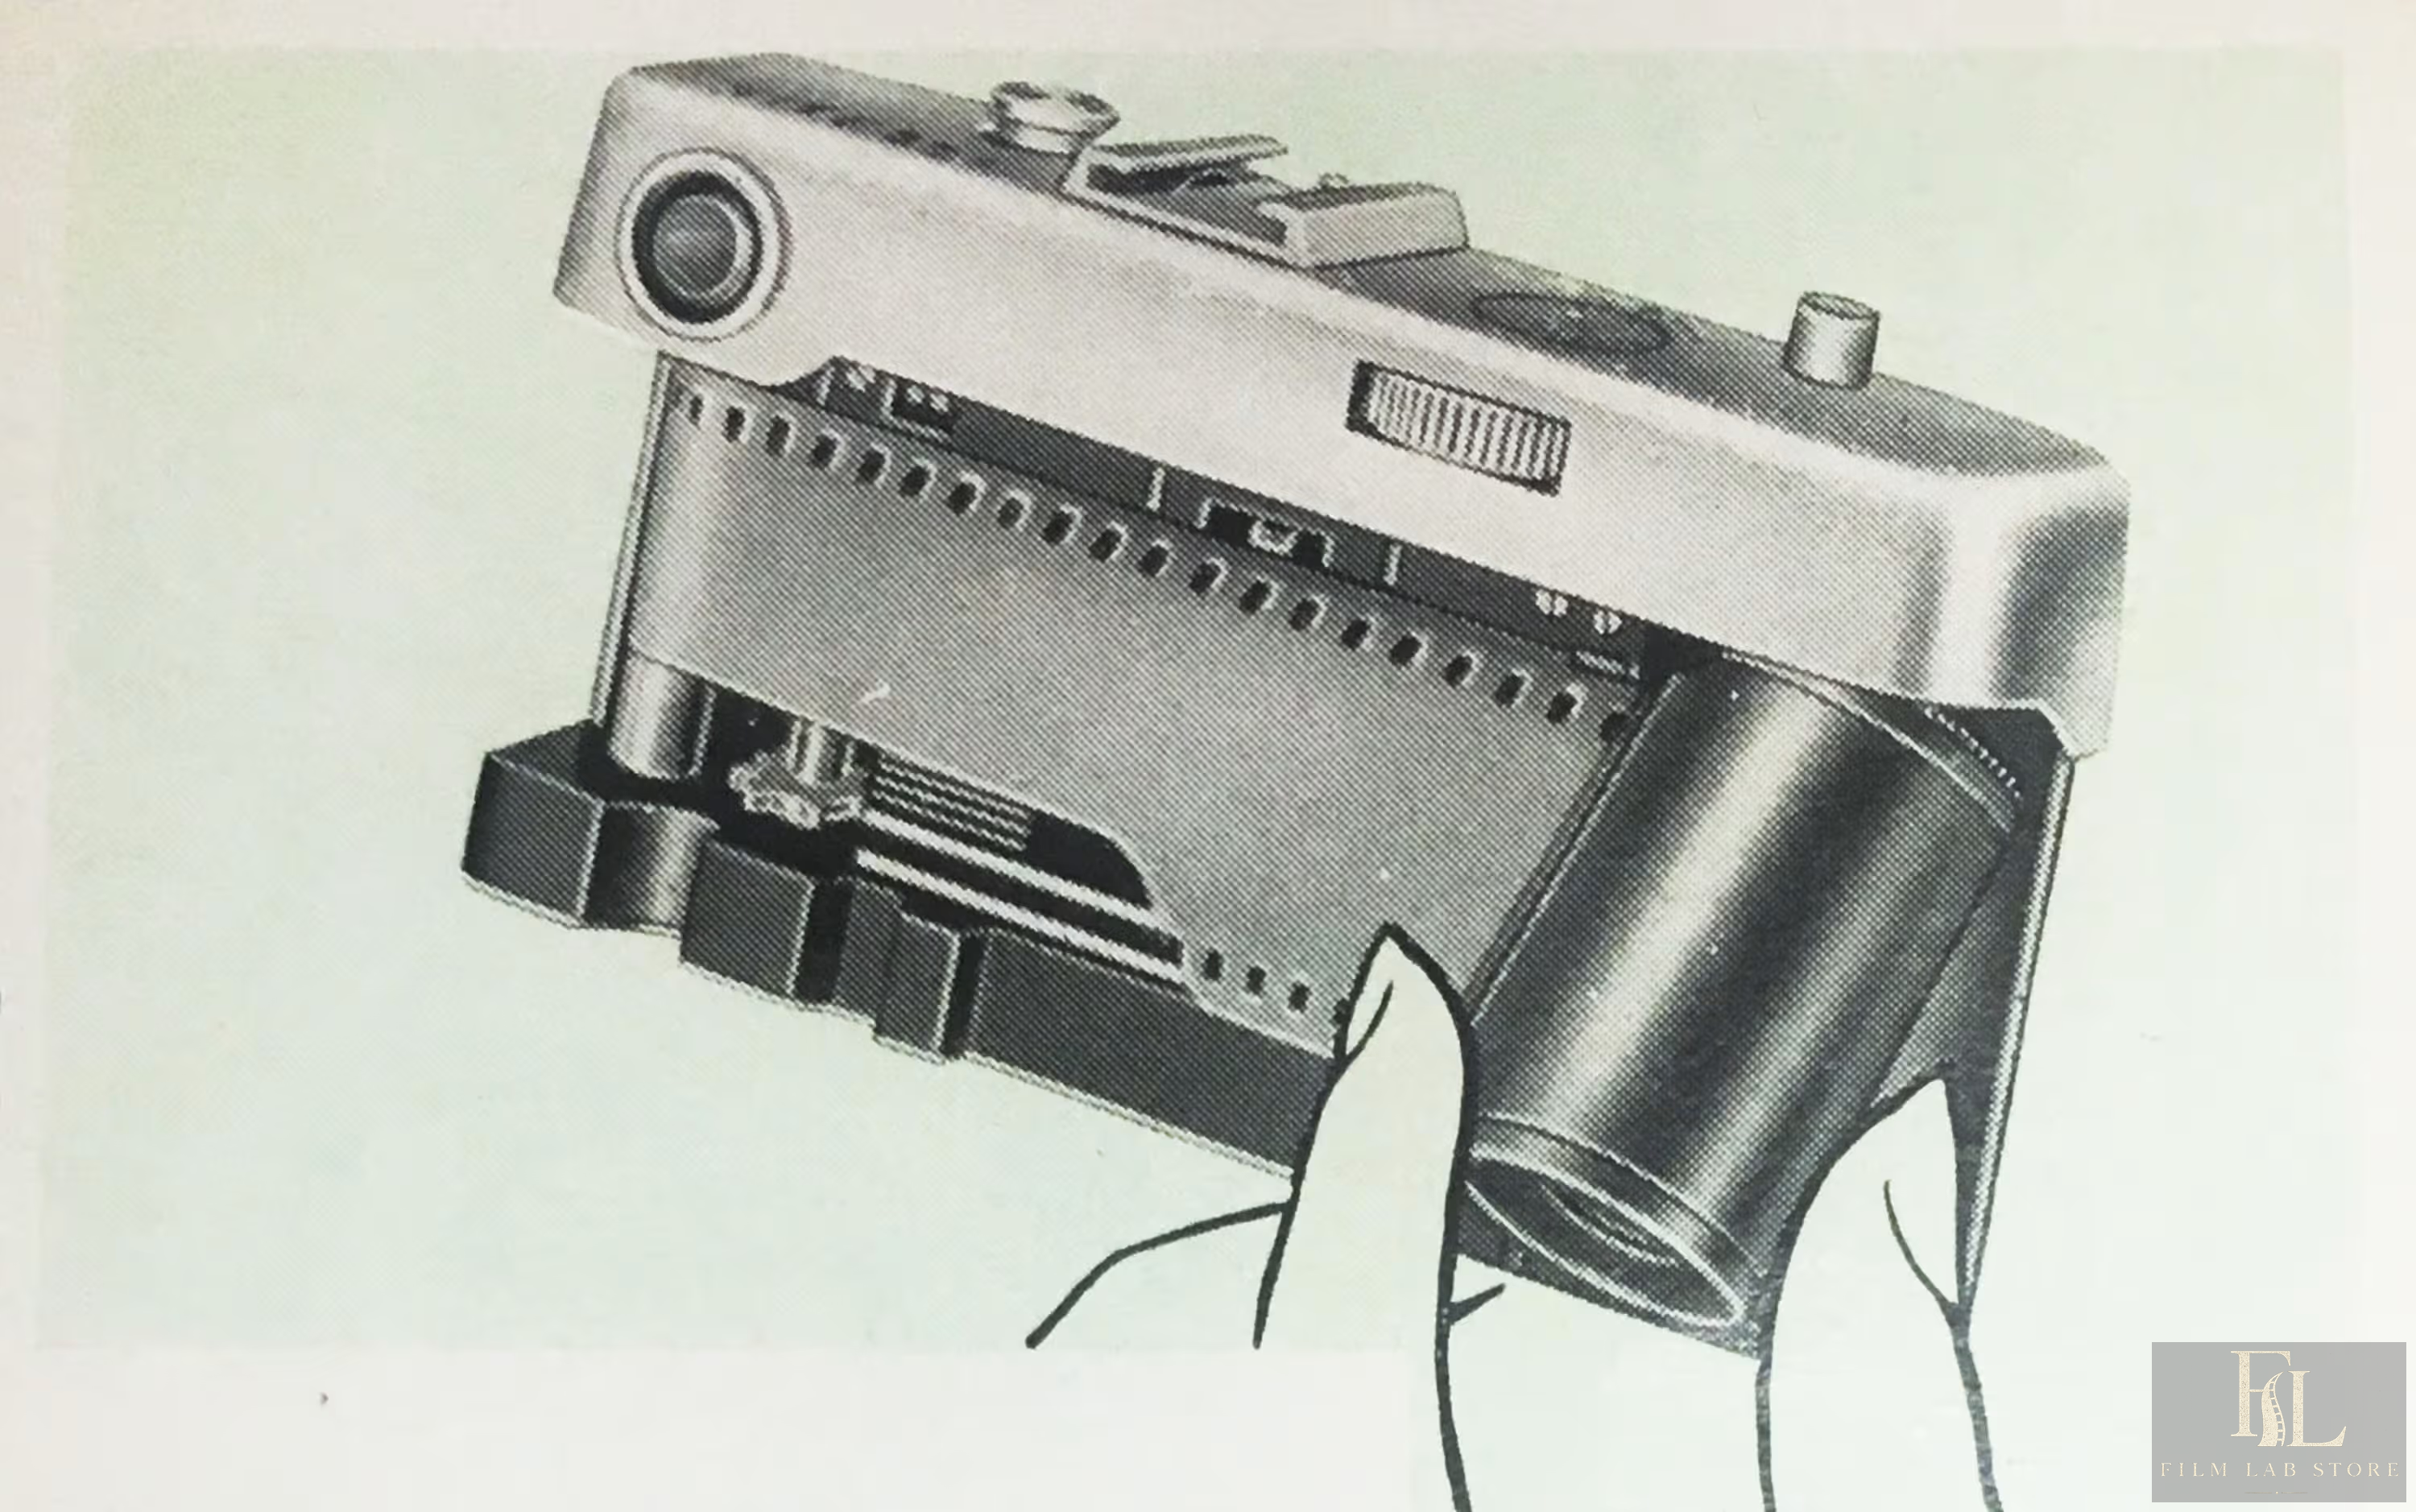
No universal paragraph can replace the camera manual. Cameras use slots, teeth, clips, automatic take-up systems, removable spools, bottom loading, or motorized loading. The following method applies to many conventional 35mm cameras.
Before loading
- confirm that no film is already in the camera;
- choose subdued light and avoid direct sun;
- set or confirm the correct battery;
- clean loose dust from the film chamber without touching the shutter;
- reset or check the rewind mechanism;
- set the meter to the film’s box speed unless your test plan specifies another EI.
Manual loading sequence
- Open the camera back as instructed.
- Place the cassette in its chamber and secure the rewind spindle.
- Draw out only enough leader to reach the take-up spool.
- Insert or attach the leader according to the camera design.
- Advance gently and confirm that sprocket teeth engage the perforations.
- If the manual permits, advance once with the back open to verify secure take-up. Do not improvise this step on cameras whose instructions warn against it.
- Close and latch the back.
- Advance to frame 1, operating the shutter as needed.
- Watch the rewind knob or crank. On many manual cameras it rotates as film advances. If there is slack, gently tension it in the rewind direction without forcing it.
If the rewind knob never moves, resistance feels wrong, or the counter advances indefinitely past the expected end, stop and investigate in a changing bag or genuinely dark room. Opening the back in daylight may sacrifice the exposed frames.
Reaching the end of the roll
Do not force the advance lever. A 36-exposure roll may end at 36, 37, or another nearby count depending on loading. When you feel firm resistance:
- stop advancing;
- press or move the rewind release;
- unfold the rewind crank or activate motor rewind;
- rewind in the specified direction;
- feel or listen for the tension to release as the leader leaves the take-up spool;
- continue until the manual’s completion indication;
- open the camera only after full rewind.
Some photographers intentionally leave the leader out for home processing. Label such cassettes immediately so an exposed roll is never mistaken for fresh film.
12. Loading and unloading 120 film
120 film uses a supply roll and an empty take-up spool. The exact start-mark procedure varies by camera.
Typical sequence:
- Move the empty spool to the take-up side.
- Break the seal on the new roll in subdued light.
- Place the new roll on the supply side with the paper feeding in the correct direction.
- Thread the paper leader into the take-up spool.
- Wind until it is straight and firmly engaged.
- Continue until the printed start arrow aligns with the camera’s index marks, unless the manual specifies a different method.
- Close the back and advance to frame 1.
After the last frame, continue winding until all film and backing paper are on the take-up spool. Remove it in subdued light, fold the paper end, and secure it with the attached seal or band. Keep the roll tight. “Fat rolls” with loose edges are vulnerable to light leaks.
13. A disciplined first-roll shooting plan
Your first roll should answer questions. It does not need to be a masterpiece.
Start with fresh film, standard processing, and one lens. Photograph in daylight so that exposure failure is easy to separate from camera failure. Take notes by frame number.
Suggested sequence:
- Frames 1-3: front-lit subject at the meter’s recommendation, then one stop over and one stop under.
- Frames 4-6: open shade, again with a controlled bracket.
- Frames 7-9: a person or object against bright backlight; meter the overall scene, then the subject.
- Frames 10-12: detailed flat subject at several apertures to check focus and lens behavior.
- Frames 13-15: distant object at infinity and near object at minimum practical focus.
- Frames 16-18: moving subject at slow, medium, and fast shutter speeds with compensated aperture.
- Frames 19-21: high-contrast scene with important shadow and highlight readings noted.
- Frames 22-24: indoor window light, keeping shutter speed safe or using support.
- Remaining frames: ordinary photographs made without bracketing.
When the scans return, first ask whether the camera and process worked. Then assess exposure. Only after that judge color and style. Automatic lab corrections can make three bracketed frames look similar, so compare negative density and request neutral scans when doing serious tests.
14. Focusing, lenses, and depth of field
Film gives no immediate focus confirmation. Good focusing therefore combines technique, suitable shutter speed, and realistic expectations.
Manual-focus SLR
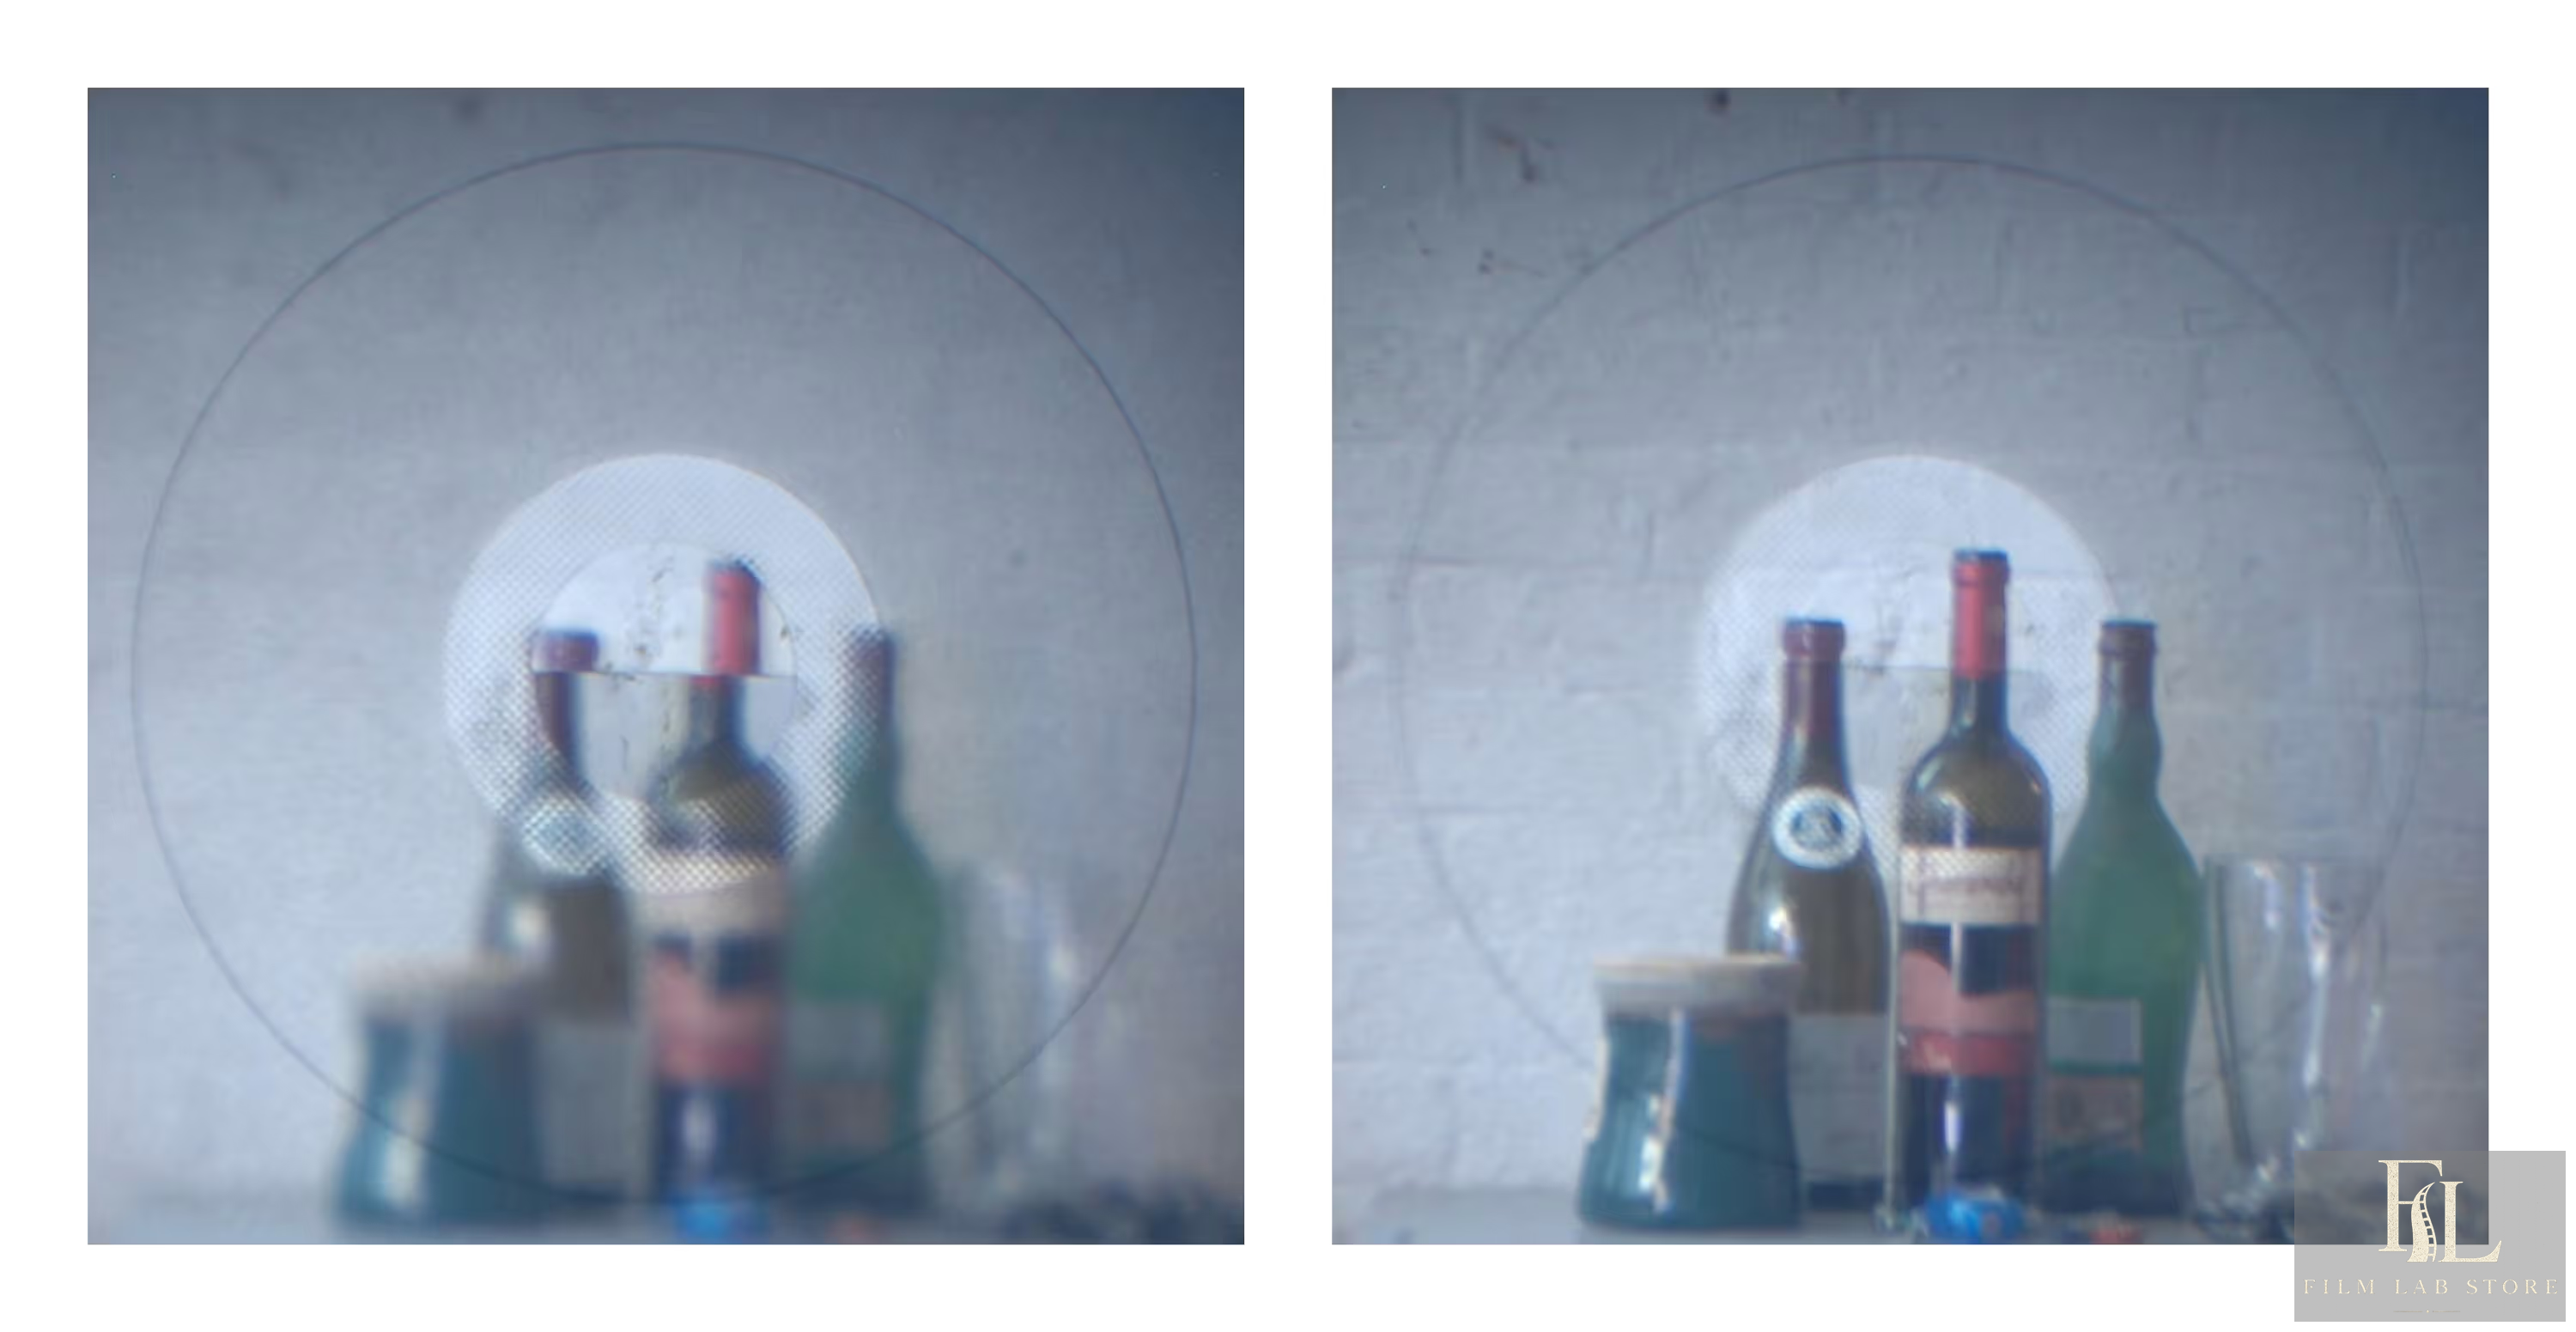
Use the focusing aid available: split-image prism, microprism collar, matte screen, or a combination. Focus at the aperture the lens normally holds open; the camera stops down during exposure. Recheck after recomposing, especially at close distance and wide aperture.
Rangefinder
Align the patch carefully on a high-contrast edge at the subject distance. If vertical images never converge or infinity alignment is wrong, the rangefinder may need service. Do not casually adjust internal screws based on a generic internet guide; model-specific calibration can affect close and distant focus differently.
Zone and scale focus
Distance scales and depth-of-field markings allow you to preselect a focus zone. This is effective for street photography and simple viewfinder cameras. Remember that depth of field is a criterion of acceptable sharpness, not a wall: larger output and closer inspection reveal more blur.
Focal length and perspective
Focal length changes angle of view for a given format. Perspective changes when camera position changes. A wide lens used close exaggerates relative distances; a longer lens used farther away compresses them. It is the change in viewpoint, not mystical lens compression alone, that creates the perspective difference.
Avoiding camera shake
- hold the camera with both hands and support the lens;
- bring elbows toward the body;
- press the shutter smoothly rather than stabbing it;
- brace against a wall or stable object;
- use a faster speed when the subject moves;
- use a tripod or monopod when appropriate;
- check whether mirror lock-up, electronic first curtain, or stabilization actually exists on your camera rather than assuming it does.
15. Light and composition
Technical correctness makes a usable negative. Light and composition make a photograph.
Learn to describe the light
Before raising the camera, identify:
- direction: front, side, back, overhead, or underlight;
- size relative to subject: large sources look softer; small sources look harder;
- distance: a nearby source changes rapidly across the subject;
- contrast: compare important shadow and highlight readings;
- color: daylight, open shade, tungsten, fluorescent, LED, neon, or mixed;
- specularity: matte surfaces and reflective surfaces respond differently;
- duration: constant light and brief flash create different motion behavior.
“Good light” is not limited to golden hour. Flat overcast can be ideal for portraits and color detail. Hard midday light can create graphic shadows. Window light can provide direction and depth. The useful question is whether the light supports the subject.
Composition as visual hierarchy
A photograph benefits from a clear hierarchy: what should the viewer notice first, second, and last? Use position, brightness, color contrast, focus, gesture, scale, repetition, and empty space to establish that order.
Practical checks before releasing the shutter:
- scan the edges and corners for distractions;
- check whether a pole, branch, or horizon intersects the subject awkwardly;
- decide whether the frame needs more context or a tighter point of view;
- look for mergers between subjects at similar tonal values;
- wait for gesture and spacing rather than photographing only the arrangement;
- make a vertical and horizontal version when both genuinely work;
- move your feet before changing lenses.
Rules such as thirds, leading lines, frames within frames, symmetry, and negative space are useful prompts. They are not scoring systems. A strong composition makes the subject’s relationships legible and emotionally specific.
16. Choosing and working with a film lab
FilmLabStore provides film development and scanning in Kyiv, including common colour, black-and-white, slide, and cinema-film workflows.
A lab is part of the imaging system. Choose it before shooting an unusual film, not after.
Ask:
- Which processes are run in-house: C-41, traditional black-and-white, E-6, ECN-2?
- Are cinema films with rem-jet accepted?
- Are push and pull services available, and in what increments?
- What scanners or camera-scanning systems are used?
- What are the pixel dimensions, file type, bit depth, and color space of each scan tier?
- Are color and density corrected automatically, individually, or to a stated neutral standard?
- Can borders, flat scans, TIFFs, or higher-resolution rescans be requested?
- How are negatives cut and sleeved?
- How long are negatives retained, and are they mailed back?
- How are damaged, old, or unknown films handled?
Do not choose by scanner brand alone. Operator decisions, maintenance, profiles, focus, transport, and output settings matter. A well-run modest scanner can beat a neglected premium machine.
Lab instructions that help
Provide the film type, process, and intentional departure from box speed. If you exposed an ISO 400 roll at EI 1600 and want push processing, say so explicitly. If the roll contains a test, request neutral and consistent corrections. If color or contrast references matter, explain the goal concisely rather than asking for an undefined “cinematic” look.
The lab cannot reliably fix an uncommunicated process decision after development. It also cannot remove X-ray fog, restore absent shadow exposure, or repair a shutter that never opened.
17. What development does
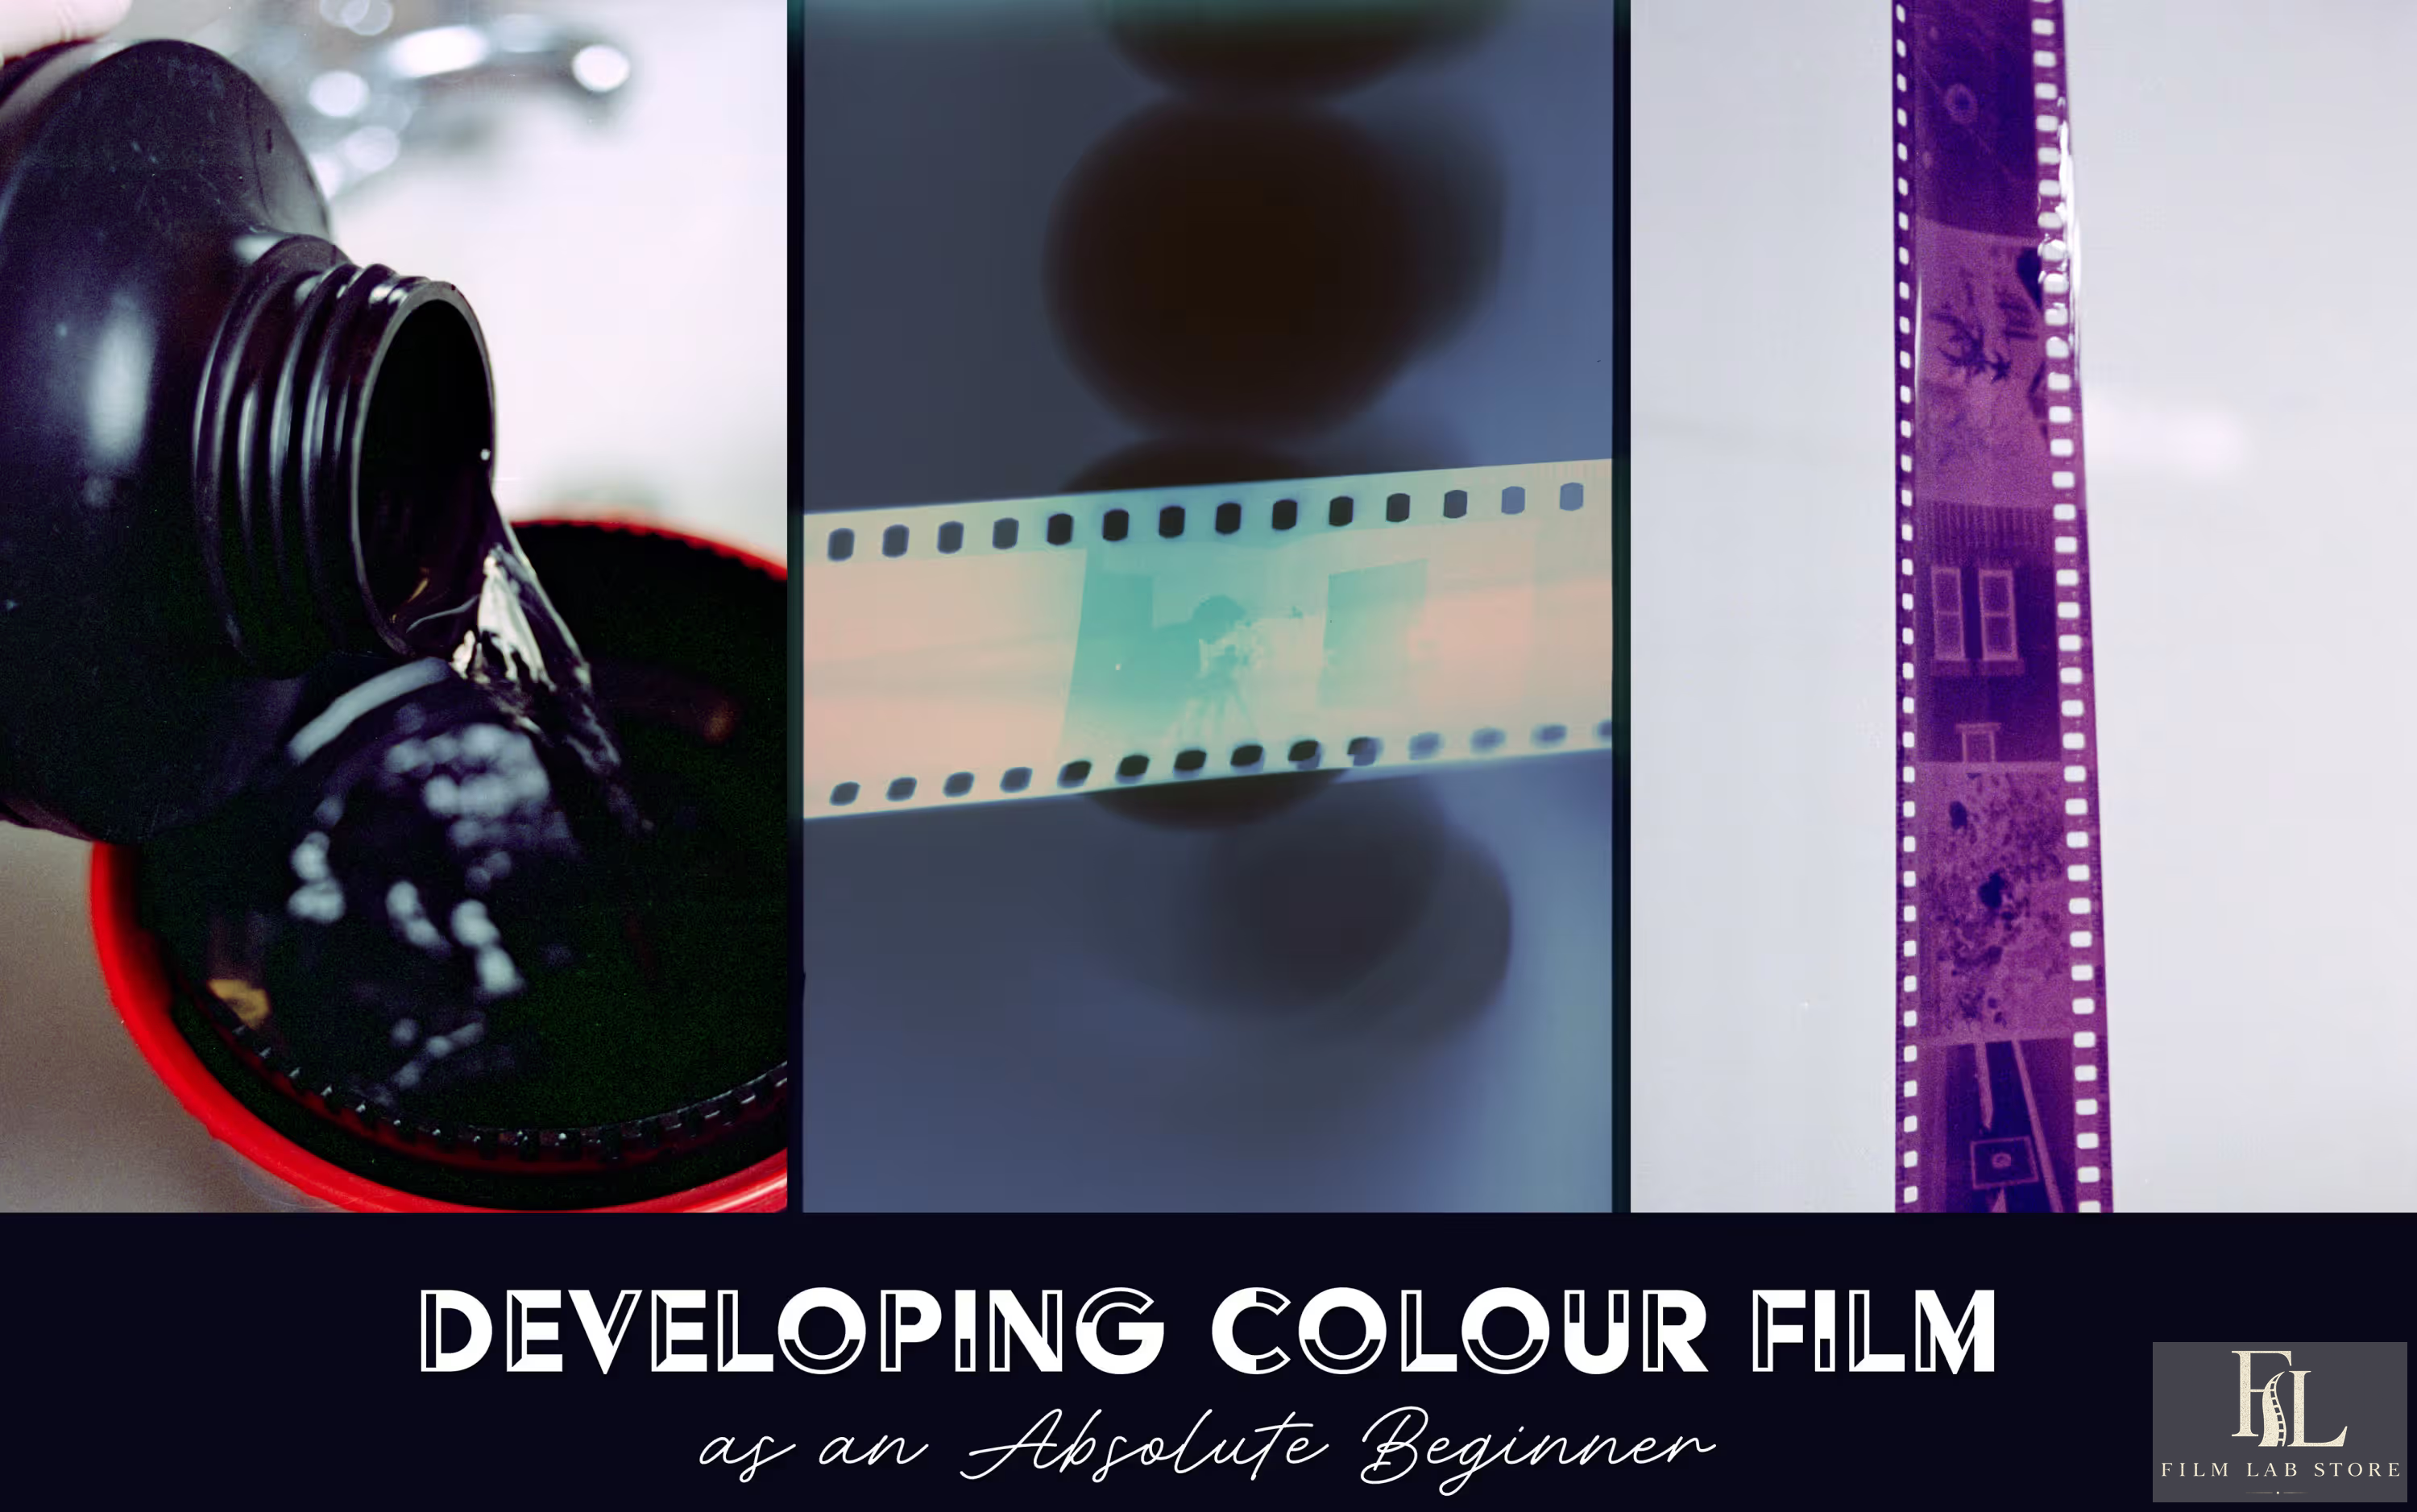
Development converts the latent image into a visible negative or positive. Its purpose is not to reveal a hidden perfect photograph but to build density and contrast from the exposure the film received.
C-41
C-41 is the standardized process for most still color-negative film. Tight temperature and process control help maintain color balance and density. A roll intentionally exposed at a different EI does not automatically require altered C-41 processing; follow the film manufacturer’s data and the lab’s supported practice.
Traditional black-and-white
Black-and-white development is flexible. Developer choice, dilution, time, temperature, agitation, water quality, and film exposure all influence the result. This flexibility is powerful but makes undocumented recipes difficult to reproduce.
Use a manufacturer’s starting time. Keep temperature, agitation, and measuring method consistent. Change one variable at a time. Evaluate negatives through real output - scan, contact sheet, or print - rather than by appearance alone.
E-6
E-6 produces color transparencies. Process errors are visible directly in the positive and exposure latitude is limited. Use a competent lab or a carefully controlled home process, and do not cross-process important film as an accidental substitute.
ECN-2
ECN-2 is designed for motion-picture color-negative workflows. It includes rem-jet removal for stocks that carry the backing and produces negatives intended for cinema scanning and grading. C-41 and ECN-2 are not merely interchangeable brand names for similar chemicals.[4]
18. Home-developing black-and-white film
Traditional black-and-white film is the safest place to begin home processing. You need total darkness only while transferring the film to a light-tight tank. After the tank is closed, processing can take place in normal room light. Ilford’s beginner instructions describe this small-tank workflow directly.[7]
Basic equipment
- changing bag or fully dark loading space;
- developing tank and compatible reels;
- cassette opener and scissors;
- accurate thermometer;
- measuring cylinders and graduates;
- timer;
- developer, stop bath or water stop as specified, fixer, and wetting agent;
- clean storage bottles and labels;
- film clips and a dust-controlled drying space;
- gloves and eye protection as required by the chemical safety data.
Basic sequence
- In total darkness, open the cassette or unwrap the roll.
- Trim the leader if needed and load the film onto a dry reel.
- Place the reel in the tank and close it before turning on the light.
- Mix chemistry at the specified dilution and temperature.
- Develop for the published starting time using a consistent agitation pattern.
- Stop development.
- Fix until the film is no longer light-sensitive, following the fixer instructions and capacity.
- Wash thoroughly using an appropriate method.
- Use wetting agent at the recommended dilution if appropriate.
- Hang in a clean space and allow the film to dry fully before cutting or sleeving.
The most common home-processing failures
- light entering during loading;
- reels or film being wet before loading, causing jams;
- developer contaminated with fixer;
- inaccurate temperature or time;
- inconsistent agitation;
- exhausted or overused chemistry;
- insufficient fixing or washing;
- hard-water marks;
- scratches from force, squeegees, dirty surfaces, or handling wet emulsion;
- dust settling during drying.
Do not pour photographic chemistry into drains without checking the product safety data and local disposal rules. Silver-bearing fixer often requires collection or specialized disposal.
19. Scanning and editing without losing the negative
Scanning translates film density into digital values. It is an interpretation, even when the operator calls it neutral.
Lab scanner
Minilab scanners are fast and can produce attractive, consistent files. Their automatic color and density corrections may hide exposure tests and crop frame edges. Ask about resolution and whether a flatter or less-corrected scan is available.
Dedicated film scanner
A dedicated scanner can provide controlled framing, focus, and repeatability. Older high-end units may still perform well but depend on aging hardware, compatible software, and clean transport mechanisms.
Flatbed scanner
Flatbeds are convenient for medium and large formats and for contact-sheet-like archives. Film holder height, flatness, focus, and stray light affect sharpness. Marketing resolution often exceeds useful optical detail.
Camera scanning
Camera scanning uses a digital camera, macro lens, stable copy setup, film carrier, and even light source. It can be fast and very detailed, but alignment, lens performance, film flatness, diffusion, color quality, exposure, flare control, and inversion software all matter.
For reliable camera scans:
- keep sensor and film planes parallel;
- use a macro lens at a well-performing aperture;
- mask stray light around the frame;
- keep the film flat without scratching it;
- use a stable, high-quality light source;
- avoid clipping any color channel in the raw capture;
- include enough border to set film base when the inversion method benefits from it;
- save the raw captures and document the inversion workflow.
Infrared dust removal
Many scanners use an infrared channel to map dust and scratches. It works well with many dye-image color negatives and chromogenic black-and-white films. It usually performs poorly with conventional silver-image black-and-white film and some infrared or unusual materials because the image itself obstructs the infrared channel.
Editing film scans
Editing does not invalidate film photography. Darkroom printing has always involved exposure, contrast, local burning and dodging, cropping, color balance, and paper choice. The ethical question depends on context and disclosure, not on whether an image was adjusted.
A restrained scan workflow might include:
- set the film base and perform a controlled inversion;
- establish black and white points without clipping needed detail;
- correct global color cast while preserving intentional lighting;
- adjust contrast and tone curve;
- remove dust carefully;
- crop and straighten;
- apply output-specific sharpening and resizing;
- export a master and separate delivery files.
Do not sharpen scanner noise until it masquerades as grain. Do not judge a negative only from a compressed social-media JPEG. Keep the physical negative and a high-quality master file so that future tools can produce a better interpretation.
20. Storing unexposed, exposed, and processed film
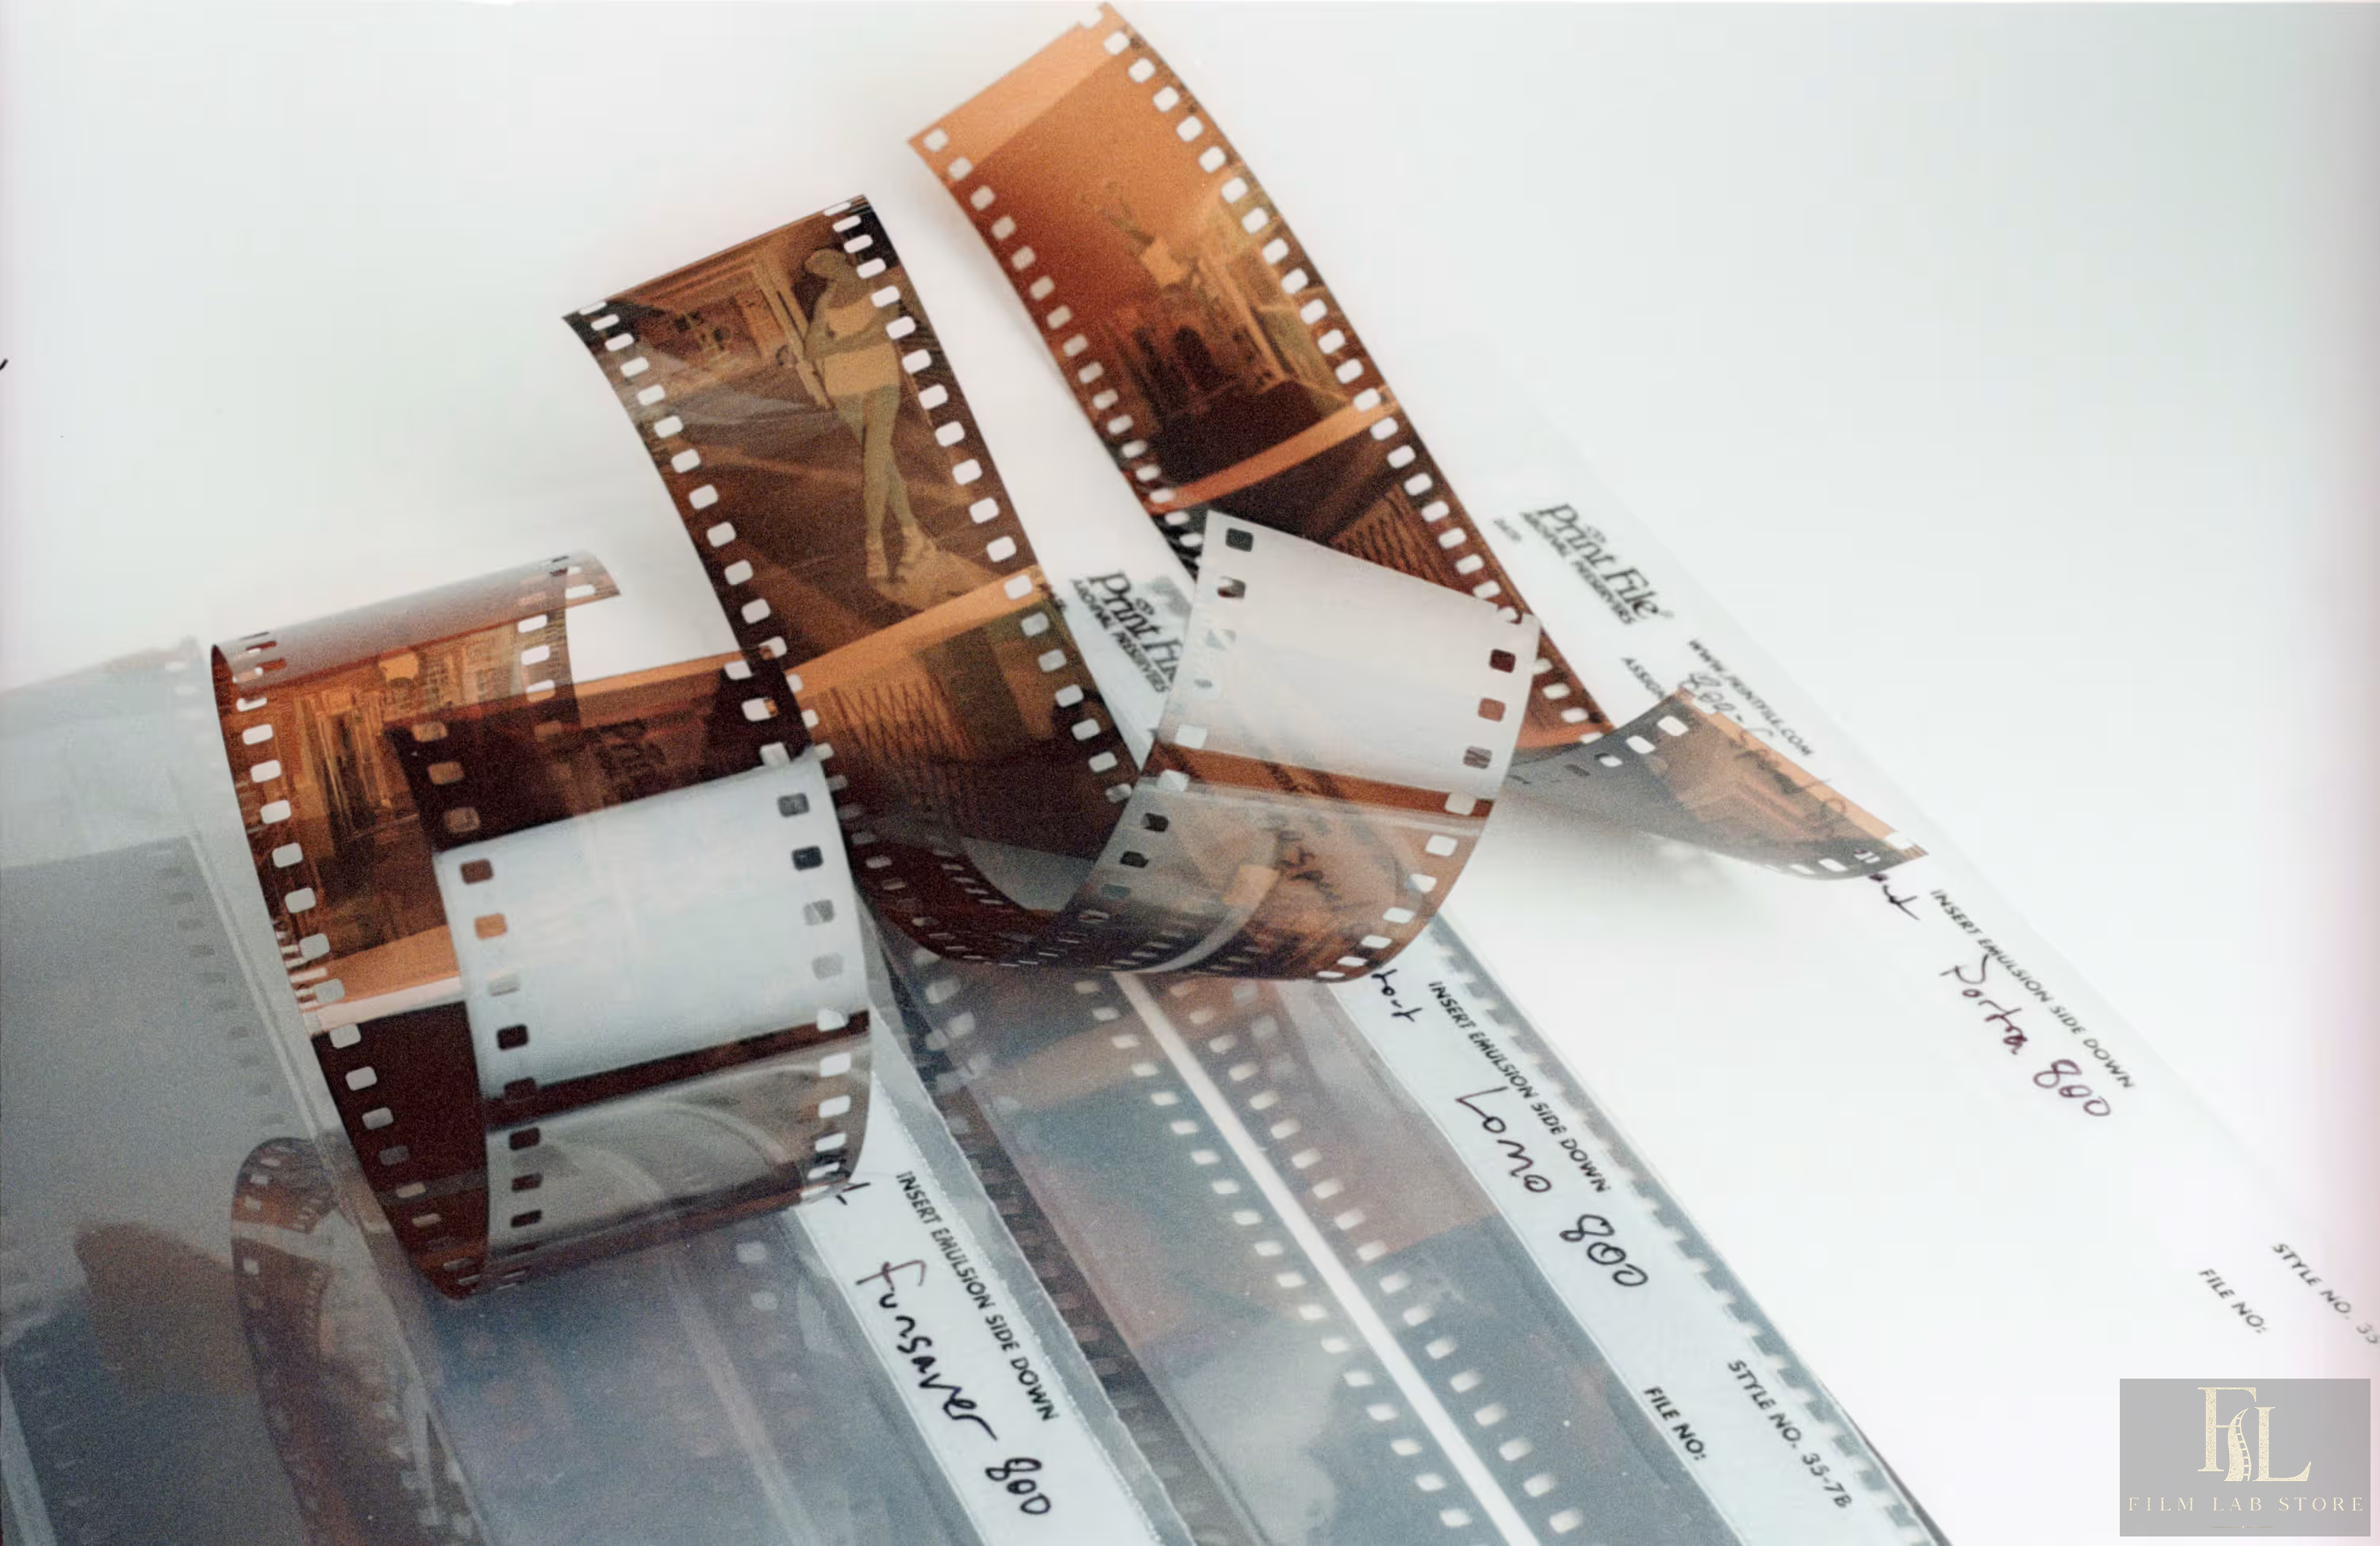
Film changes over time. Heat, humidity, chemical contamination, background radiation, and poor physical handling can increase fog, alter color, weaken contrast, or damage the base and emulsion. The priorities differ before exposure, after exposure, and after processing.
Unexposed film
Keep film in its original sealed package in a cool, dry place. Refrigeration slows many age-related changes. Freezing may be appropriate for long-term storage of some products, but it is not a universal requirement and does not stop background-radiation effects.
Before opening refrigerated or frozen film, allow the sealed package to reach room temperature. Opening cold film in humid air can cause condensation on the emulsion or inside the package. Warm-up time depends on package size and temperature; a small 35mm cassette warms faster than a large sealed roll. Kodak explicitly advises gradual equilibration before opening cold-stored film.[8]
Do not store film in a parked car, near heaters, in a damp basement, or next to solvent, exhaust, mothball, cleaning, or chemical fumes. A household refrigerator is useful only when the film is sealed against moisture and food contamination.
Exposed but unprocessed film
Once exposed, the film contains a latent image. It is not an emergency that disappears in hours, but it is not infinitely stable. Process exposed film without unnecessary delay, particularly after heat, high humidity, questionable storage, or important work. Kodak recommends prompt processing and cooler storage when exposed film must wait.[8]
If you cannot finish a roll quickly, protect the camera from heat rather than opening it. Once rewound, label the cassette as exposed and keep it cool and dry until processing.
Processed negatives and transparencies
Processed film is the primary physical record. Store it:
- fully dry;
- in archival-quality sleeves or enclosures intended for photographic film;
- in a stable, cool, dry environment;
- away from direct light, dust, smoke, solvents, and reactive papers;
- without tight rolls, folds, fingerprints, adhesive tape, or pressure;
- with enough labeling to reconnect it to dates, rolls, cameras, and scans.
Handle film by the edges with clean, dry hands or suitable lint-free gloves. Never apply household glass cleaner or an unknown solvent. Wet emulsion scratches easily, and some cleaning fluids can soften film components.
A practical archive
Give every roll a stable identifier, for example 2026-014. Use it on:
- the lab order;
- negative sleeve;
- contact sheet;
- scan folder;
- notes;
- backup catalog.
Store master scans in at least two independent locations, with one copy off-site or in a reputable cloud service. A folder name such as 2026-014_HP5_Nikon-FM2_50mm is more useful than new scans final 2.
21. Airports, CT scanners, shipping, and travel
Processed film can pass through airport scanners without the same risk because development has made the image stable. Unprocessed film - whether exposed or unexposed - is vulnerable to ionizing radiation.
The old phrase “film under ISO 800 is safe” is incomplete. It arose from lower-dose carry-on X-ray systems and never accounted for every machine, repeated exposure, checked baggage, or current CT scanners. Kodak’s current guidance warns that high-intensity and CT carry-on systems can fog unprocessed film of any speed, and states that hand inspection may not be granted in every airport.[9]
Travel procedure
- Research the airports and security authority before departure.
- Keep film in a transparent resealable bag, outside bulky packaging.
- Carry it in hand luggage, never checked baggage.
- Arrive early and request hand inspection politely before the bag enters the scanner.
- Keep the request simple and do not obstruct security procedures.
- Understand that rules and staff discretion vary, especially internationally.
- Consider buying film at the destination or processing locally before the return flight.
- Keep high-value or professional quantities in clearly labeled packaging with supporting documentation.
Lead-lined bags are not a reliable solution. An opaque object may trigger a higher-dose inspection or manual opening. The goal is to avoid scanning, not to challenge the machine.
Shipping is not automatically safer. Air freight and postal systems may use inspection methods that are not visible to the customer. Ask the carrier specifically whether unprocessed photographic film can avoid X-ray or high-energy scanning. Ground shipping is generally easier to control, but confirm rather than assume.
22. Diagnosing failures from the film, not the story
When a roll fails, separate four stages:
- camera and loading;
- exposure and focus;
- film condition and processing;
- scanning or printing.
The negative often identifies the stage. View it over a diffuse light source or make a contact sheet. Do not diagnose solely from edited scans.
Quick diagnostic table
| What you see on the processed film | Likely interpretation | Checks |
|---|---|---|
| Entire strip clear, no edge markings | Film may not have been developed, fixer may have been used first, or severe processing failure occurred | Ask lab; check whether edge markings should be present for that film |
| Edge markings present, frames clear | Film was developed but received little or no camera exposure | Loading, advance, shutter, lens cap, exposure settings |
| No image across most of roll, one dense leader | Film may not have advanced beyond the leader | Take-up, sprockets, rewind rotation |
| Very thin frames with faint images | Underexposure, weak development, or both | Compare edge density and lab control; review metering |
| Very dense frames with visible images | Heavy exposure, overdevelopment, fog, or X-ray | Check whether density is frame-specific or covers edges |
| Dense fog extending across frames and edges | Light leak during handling, opened back, processing fog, heat, age, or radiation | Pattern, location, roll history, lab report |
| Bright streaks on scans, dark streaks on negative | Light leak or accidental exposure | Door seals, hinge, cassette, loading conditions |
| Repeating band or wavy fog | Airport scanner or processing/transport pattern may be involved | Travel history, lab, physical pattern |
| Evenly spaced overlaps or changing gaps | Film transport fault | Advance mechanism, sprockets, take-up spool |
| Scratches running lengthwise | Dirty camera track, cassette felt, squeegee, scanner, or lab transport | Identify whether scratch is emulsion/base and appears on negative |
| Crescent-shaped marks | Film kinked during loading onto a processing reel | Home-processing technique |
| Milky film after drying | Incomplete fixing or washing, depending on appearance | Refix promptly if appropriate; consult process instructions |
| Water spots or drying marks | Hard water, contaminated final rinse, or uneven drying | Distilled-water final rinse where appropriate, correct wetting-agent dilution |
Black or nearly black scans
A dark scan can come from a thin negative caused by underexposure, a frame never exposed because the shutter or loading failed, or an inversion/scanner setting error. If the negative is dense rather than thin, the scan may be dark because the scanner failed to penetrate or interpret it correctly. The words “black photos” are not a diagnosis.
Washed-out or white scans
These may come from very dense negatives caused by massive exposure or fog, including opening the camera. They can also result from incorrect inversion or a scan made from a blank area. Examine density and frame boundaries.
Grainy, muddy, or color-shifted shadows
The common cause is underexposure followed by aggressive scanner correction. The scanner lifts weak shadow information along with grain, base fog, and channel noise. Give the negative more exposure, use faster film, add light, stabilize the camera, or accept darker shadows intentionally.
Soft photographs
Softness can result from:
- focus error;
- subject motion;
- camera shake;
- shallow depth of field;
- lens haze or aberration;
- pressure-plate or film-flatness problems;
- rangefinder misalignment;
- scanner focus or low-resolution output;
- excessive noise reduction;
- diffraction at a very small aperture.
Look at the character and direction of blur. Camera shake often creates directional doubling. Subject motion affects the moving subject while static objects remain sharper. Focus error usually leaves another distance sharper. Scanner softness affects grain and image together.
Color casts
Color casts can originate in the light source, film balance, age, heat, exposure, chemistry, scanner profile, or editing. A tungsten-balanced film in daylight and a daylight film under tungsten should not be expected to look neutral without filtration or correction. Mixed LED, fluorescent, window, and practical light may not be correctable with one global white balance.
Before blaming the stock, compare the negative with another roll from the same lab and, if possible, a second scan.
Light leaks by pattern
Leaks near the film-door hinge or seals often repeat in a similar position. Red or orange streaks on color negative can indicate light entering through the back and passing through the film base; white or blue leaks may have entered from the lens side, though construction and scan inversion can complicate this rule. Diagnose the camera with a controlled test rather than replacing every seal blindly.
23. Caring for cameras and lenses
Vintage equipment benefits from regular use, careful observation, and professional service when needed.
After each outing
- remove external dust with a blower and soft brush;
- wipe moisture from the body;
- let a cold camera warm gradually inside a closed bag to reduce condensation;
- check that the lens cap, strap, battery door, and accessories are secure;
- note any inconsistent shutter, advance, focus, or meter behavior;
- store the camera dry, ventilated, and away from direct heat.
Long-term storage
Remove batteries if the camera will sit unused for a long period. Battery leakage can destroy contacts and circuits. Avoid sealing a damp camera in an airtight case. Do not store valuable equipment in foam that is decomposing or producing fumes.
Exercise mechanical shutters periodically, but do not force controls. A delayed slow speed, oily aperture, capping shutter curtain, failing foam, or inaccurate rangefinder calls for service, not a stronger finger.
Cleaning optics
First remove grit with a blower. Use a clean brush if needed. Then use a suitable lens tissue or clean microfiber with minimal lens-cleaning fluid applied to the cloth, not poured onto the lens. Excessive polishing can damage coatings and drive fluid into lens edges.
Fungus is not safely solved by sunlight alone. It may etch coatings and spread through unsuitable storage conditions. Isolate affected equipment and seek qualified cleaning if the lens matters.
Repairs and calibration
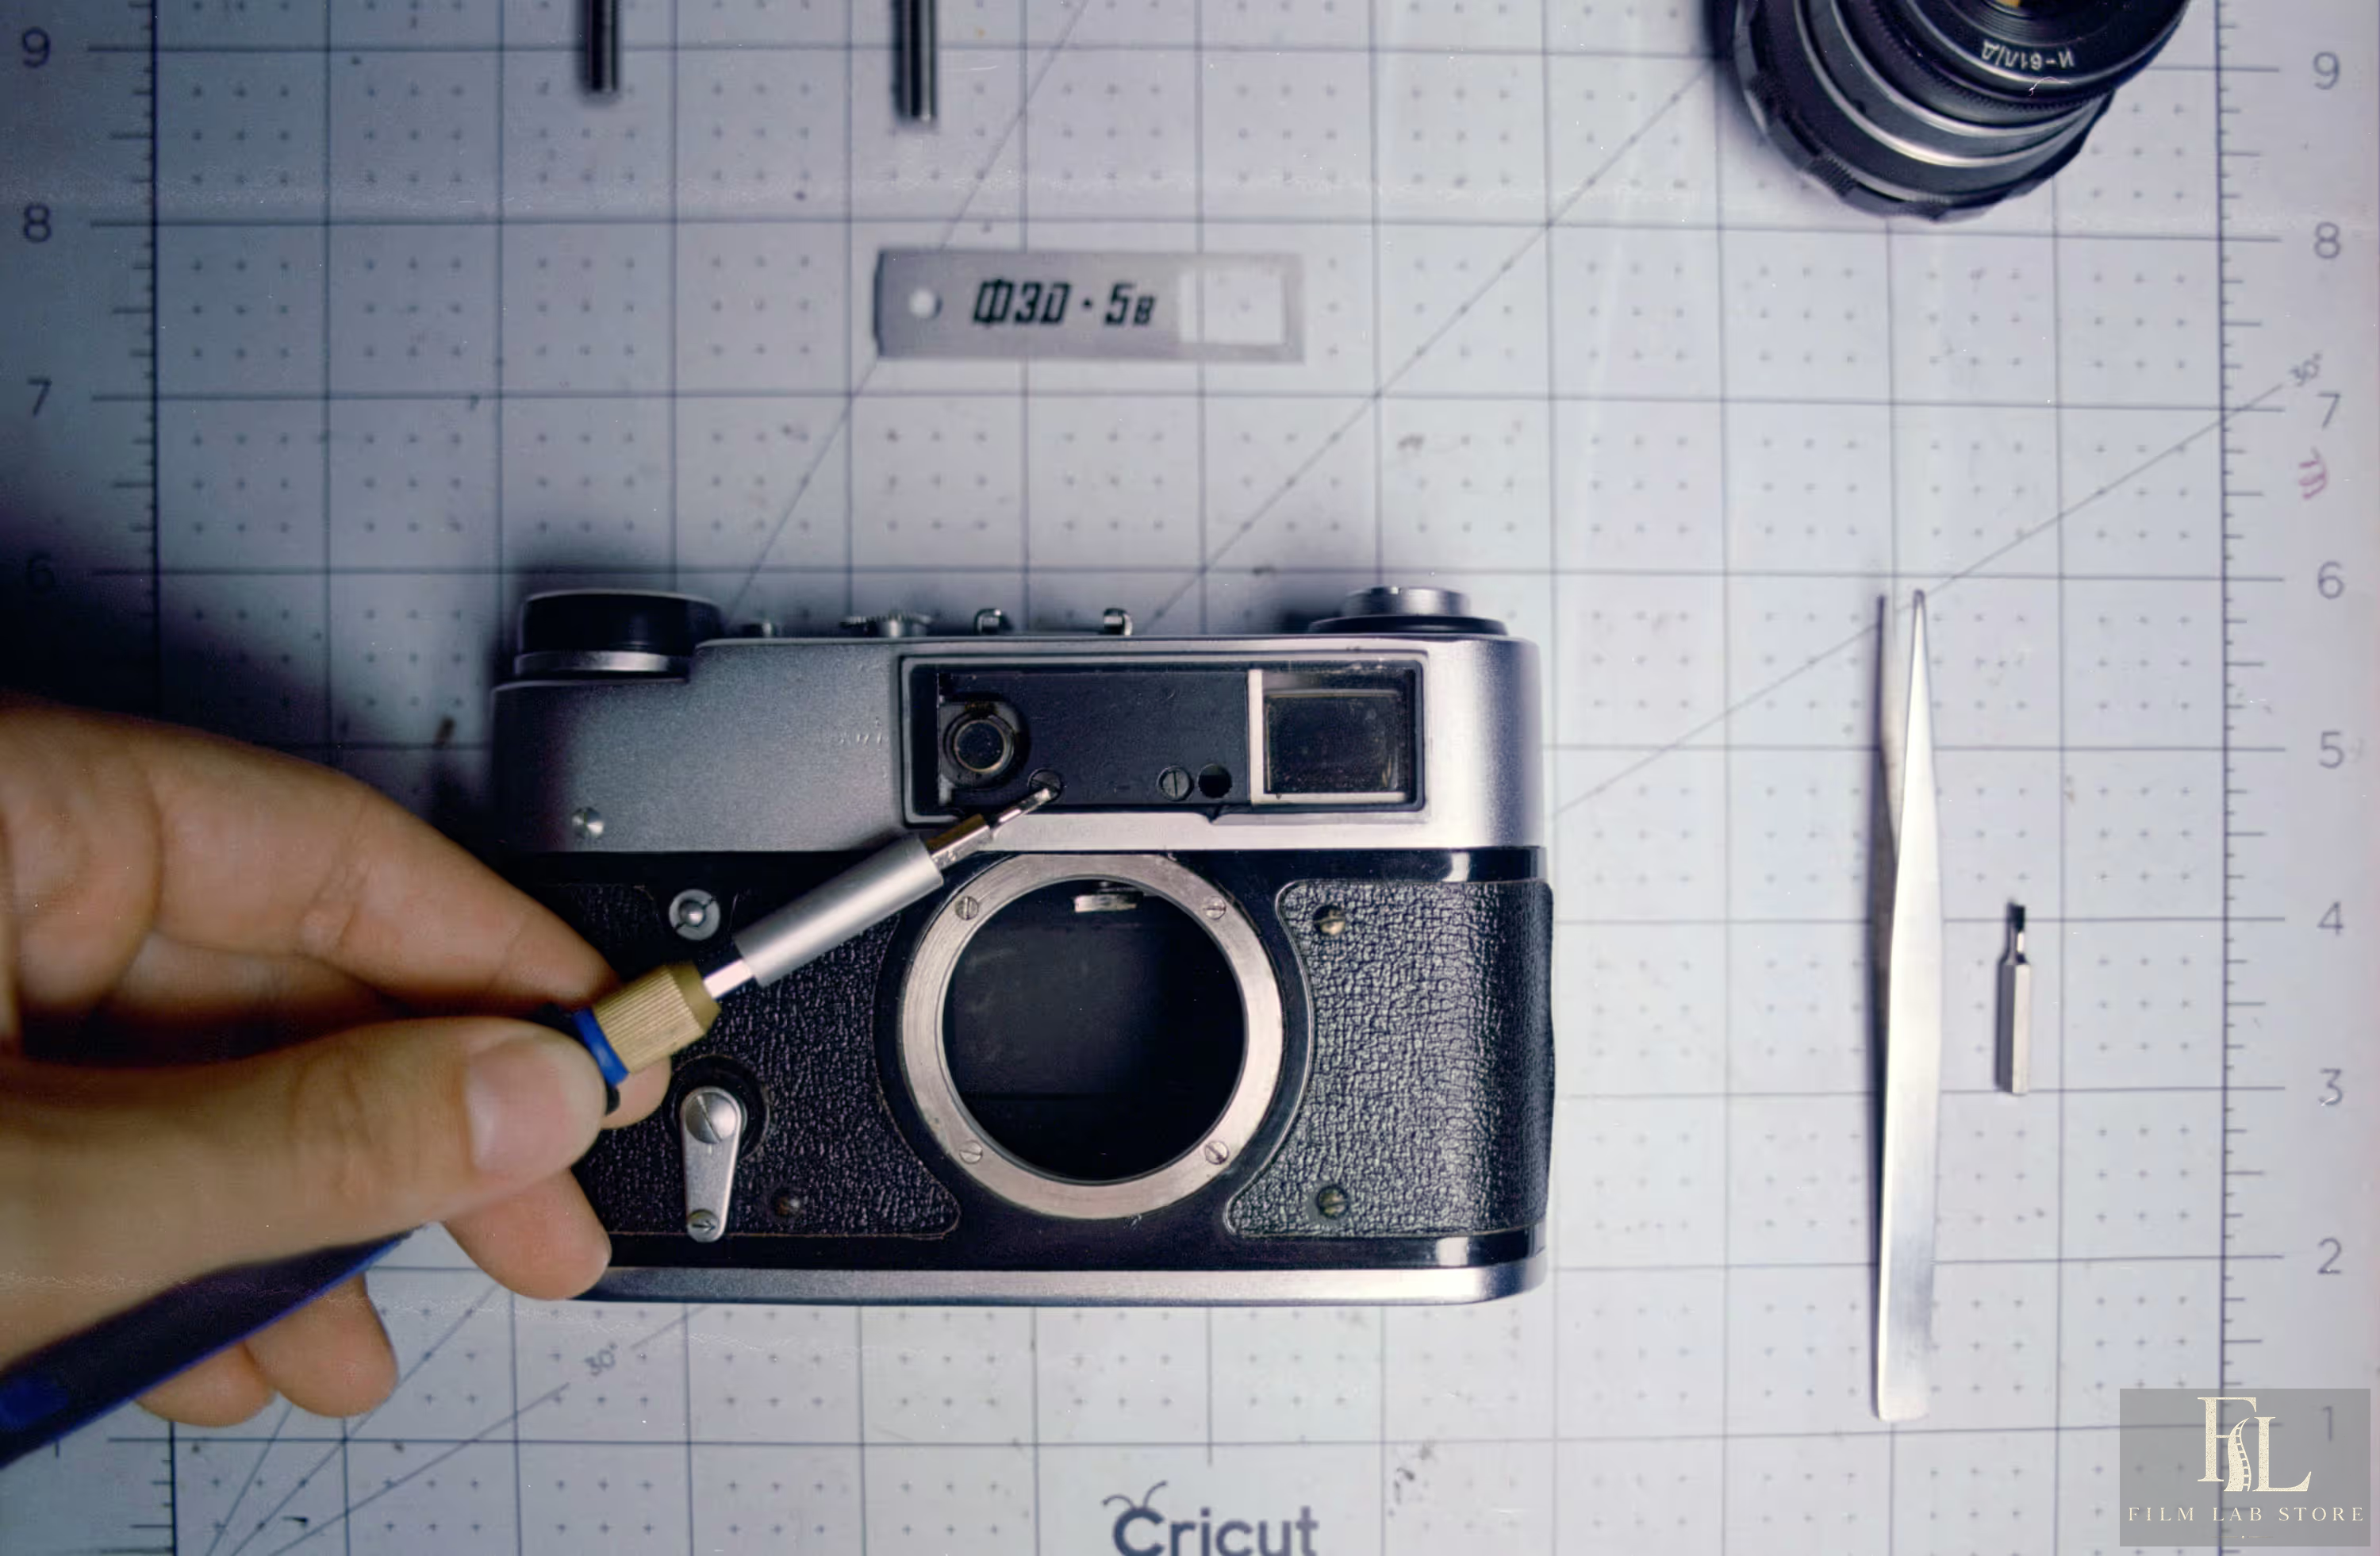
Online repair instructions can be helpful for identifying a problem, but a camera is an interdependent mechanism. Adjusting a rangefinder to look correct at infinity may leave it wrong at close distance. Increasing spring tension may hide old lubricant. Replacing light seals may introduce debris into the shutter.
Use a technician for shutter timing, meter calibration, curtain repair, rangefinder adjustment, lens separation, electronic faults, and valuable equipment. Ask what was measured, not merely whether the camera was “cleaned.”
24. Controlling cost without sacrificing the learning process
Film photography has recurring costs: film, processing, scanning, sleeves, shipping, and failed tests. The useful unit is not the price of a camera but the cost of a repeatable finished photograph.
Spend first on reliability
A serviced ordinary camera is often better value than an untested collectible. A sharp inexpensive prime lens and accurate shutter produce more usable photographs than a prestigious body with leaks. A trustworthy lab and returned negatives matter more than a tiny low-cost scan that prevents diagnosis.
Practical ways to spend less
- stay with one camera, lens, and film until you understand them;
- buy multi-packs from reliable sellers when storage is known;
- use black-and-white film and home development after learning safe, repeatable technique;
- bulk-load 35mm black-and-white only after accounting for loader, cassettes, scratches, and storage;
- scan at home if the volume justifies the setup and time;
- request basic scans for routine proofing and rescan only the best negatives;
- test cameras with inexpensive fresh film, not unknown expired film;
- combine lab orders when turnaround and latent-image storage remain sensible;
- maintain equipment before a small fault becomes a destructive one;
- print selectively and with intention.
Cheap expired film is not economical if it prevents you from distinguishing camera, exposure, and processing failures. Nor is home development automatically cheap once water, chemistry capacity, equipment, time, and scanning are counted. Choose it for control and learning first; savings follow with volume and discipline.
25. A complete roll-to-archive workflow
Before the shoot
- Confirm camera, lens, meter, flash, and battery operation.
- Choose film for the process, light, and output.
- Check the lab accepts that film and requested process.
- Label the roll in your notes.
- Set the correct EI.
- Pack spare batteries and a meter if failure would matter.
- For travel, plan film inspection and storage before reaching the airport.
While loading
- Use subdued light.
- Attach the film according to the manual.
- Confirm take-up and sprocket engagement.
- Advance to the first frame.
- Check rewind rotation where applicable.
While photographing
- Read the light before selecting settings.
- Protect important negative shadows and slide highlights.
- Keep shutter speed realistic for movement and handholding.
- Focus deliberately and recheck after recomposing.
- Inspect frame edges and background.
- Note unusual filters, EI, flash, brackets, or long-exposure corrections.
- Never force film advance.
At the end of the roll
- Rewind fully.
- Label the cassette or roll as exposed.
- Record push/pull request and process.
- Protect from heat, humidity, and scanners.
- Deliver to the lab promptly.
When results return
- Confirm all frames and edge markings are present.
- Inspect the negatives before evaluating the scan style.
- Match failures to frame notes.
- Separate camera, exposure, process, and scan problems.
- Select a few frames for careful editing or higher-quality scanning.
- Sleeve and label the negatives.
- Back up scans and notes.
- Change one variable on the next roll.
26. Frequently asked questions
Is 35mm or 120 better for a beginner?
Usually 35mm. It provides more frames per roll, a larger used-camera market, smaller cameras, and broad lab support. Start with 120 if a particular medium-format camera or square/large-negative workflow is central to your goal and you accept the higher cost per frame.
Which film should I buy first?
Use fresh color-negative or black-and-white negative film around ISO 200-400. Choose a stock that your lab processes routinely and that you can afford to shoot more than once. Repetition teaches more than a sampler of unrelated films.
Should I rate every color-negative film one stop slower?
No. Begin at box speed. Deliberate overexposure can improve shadow density in some workflows, but the effect depends on the stock, scene, development, scanner, and intended output. Test rather than repeat a slogan.
Can I change ISO between frames?
You can change the meter’s EI setting, but the film itself remains the same. A special film such as XP2 Super can tolerate a broad EI range with standard C-41, but most rolls should be exposed consistently if you plan a single development treatment.
Is pushing the same as underexposing?
No. Underexposure describes reduced exposure. Pushing describes a workflow that pairs reduced exposure with modified development. A roll can be underexposed and processed normally, or push-processed after being metered at a higher EI.
Why are my scans dark and grainy?
Often the negative was underexposed and the scanner lifted weak shadows, amplifying grain and noise. Check the negative density, shutter, meter, film transport, and scan settings before changing films.
Why did opening the back ruin only part of the roll?
The outer layers and film near the gate receive the most direct light. Film tightly wound inside the cassette or take-up roll may receive partial protection. Damage depends on light intensity, duration, camera design, and film position.
Can airport scanners damage film below ISO 800?
Yes. Checked-baggage and modern CT systems can damage unprocessed film at any speed. Risk is cumulative and machine-specific. Carry film separately and request hand inspection, knowing it may be refused.[9]
How soon must exposed film be developed?
Promptly is better, especially after heat or for critical work, but an exposed roll does not normally vanish overnight. Store it cool and dry, avoid repeated temperature cycling, and do not leave it in a hot vehicle.
Does developing at home require a darkroom?
For small-tank processing, total darkness is needed only to load the film into the light-tight tank. A changing bag can replace a dark room. The remaining steps happen in room light.[7]
Are lab scans the true colors of the film?
No single scan is uniquely true. The negative requires inversion and interpretation. Exposure, chemistry, scanner, operator, profiles, and editing all affect color. A good lab aims for consistent, defensible choices, not metaphysical neutrality.
Is grain the same as digital noise?
No. Film grain arises from the image-forming material and its development; digital noise arises from the electronic capture and processing chain. A film scan can contain both grain and scanner or camera noise.
Should I keep negatives after scanning?
Always. The negative is the highest-value physical source and can be rescanned or printed with future equipment. A low-resolution lab JPEG is not a replacement.
Can I fix a badly underexposed negative in editing?
You can improve presentation, but you cannot recreate reliable shadow information that the film did not record. Strong corrections may reveal grain, scanner noise, color artifacts, and weak separation.
How many rolls does it take to learn film photography?
There is no useful number. One carefully documented roll can teach more than twenty random rolls. Progress comes from controlled repetition: same camera, same meter, same film, known process, inspected negatives, and one change at a time.
27. Final principle: make the process observable
Film becomes predictable when you can see the chain of causes. Record what you loaded, how you metered, which light you used, what the lab did, how the negative looks, and how the scan was made. Keep the negatives. Test the camera before important work. Use manufacturer data for long exposure and development. Treat community advice as a hypothesis until your film confirms it.
The goal is not technical perfection for its own sake. Technical control creates freedom. Once the process is stable, you can choose blur, grain, flare, unusual color, dense negatives, expired materials, cross-processing, handmade chemistry, or imperfect cameras because those choices serve the photograph - not because you could not identify what went wrong.
Sources and further reading
This handbook is an independent synthesis. Technical claims were checked against current manufacturer material where available.
- Kodak, KODAK GOLD 200 Film. Product-specific exposure-latitude claim and current format listing.
- Ilford Photo, HP5 PLUS Technical Information. Exposure-index and development guidance.
- Ilford Photo, XP2 SUPER 35mm and XP2 SUPER technical information. EI 50-800 guidance and standard C-41 processing.
- CineStill, Frequently Asked Questions and C-41 versus ECN-2 processing. Rem-jet, halation, process compatibility, and contamination risk.
- Leica Camera, Leica M6 Instructions. Example of model-specific metering, loading, rewind, focusing, and flash instructions.
- Foma Bohemia, FOMAPAN 100 Classic. Product-specific latitude and reciprocity data.
- Ilford Photo, Processing Your First Black-and-White Film. Small-tank equipment and daylight workflow after loading.
- Kodak, Storage and Handling of Unprocessed Film and Storage Information. Refrigeration, condensation, contaminants, latent image, and prompt processing.
- Kodak, Transporting and Storing Film. Current CT/high-intensity scanner warning, checked-baggage advice, and limits of hand inspection.