Photos: Nelli Shylova. Text and recommendations: FilmLabStore.
Yellow ship hulls, a lilac sky over a street, a face caught in a band of light. In Nelli Shylova’s photos on expired Svema DS-100, familiar scenes take on unfamiliar colour. I have put together 25 frames to show how this film looks in the city, by the sea and in everyday life.
Svema DS-100 (Свема ДС-100) is a Soviet colour negative film. At FilmLabStore I offer it in 135 format, 24 exposures. For this expired batch I recommend EI 3–6. I develop this film only in the ORWO C-5168 process. Below are Nelli’s photos and my notes on where to start with your own roll.
Nelli Shylova’s photos: a look at the everyday
Nelli travels around Europe and works in video and filmmaking. What interests me most in this series is her choice of subjects: next to the harbour and the shoreline you find empty café tables, kitchen appliances and a person in a doorway. The camera lingers on things that are easy to walk past.
I have arranged the photos by subject so they read as one connected story. The order is mine, not the route or the chronology of the shoot: from wide views of streets and the coast to people, interiors and small details.
The city: from a sunlit façade to evening shop windows
In the daytime frame the orange corner building, bare branches and parked cars read clearly. In other shots the façades sink into green shadows and the sky turns pinkish-lilac. Small bright areas — a sign, a shop window, a gap between buildings — help you find your way around a dark image.
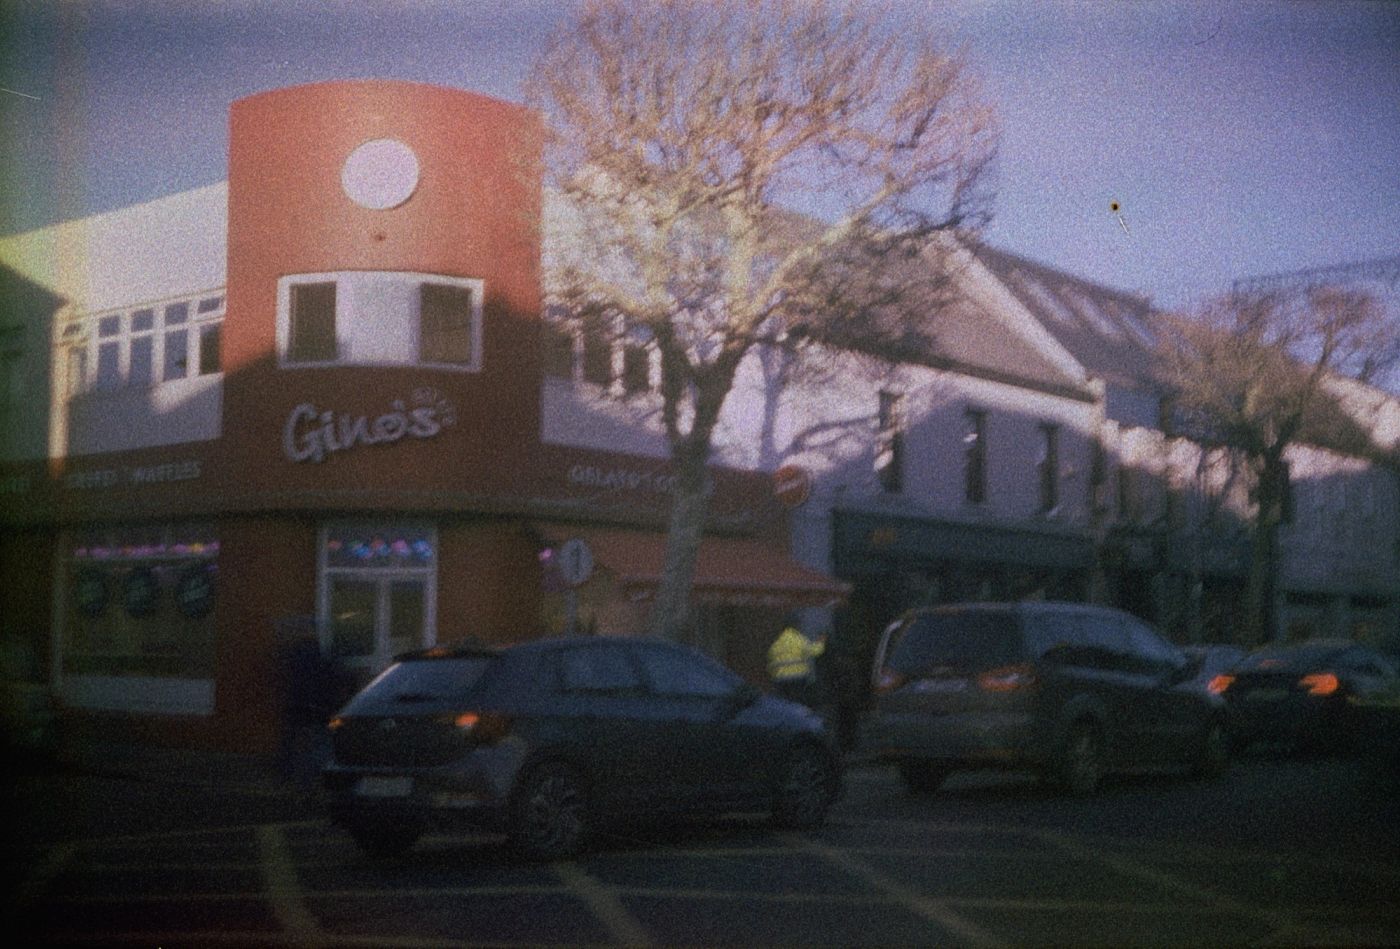
Photo: Nelli Shylova
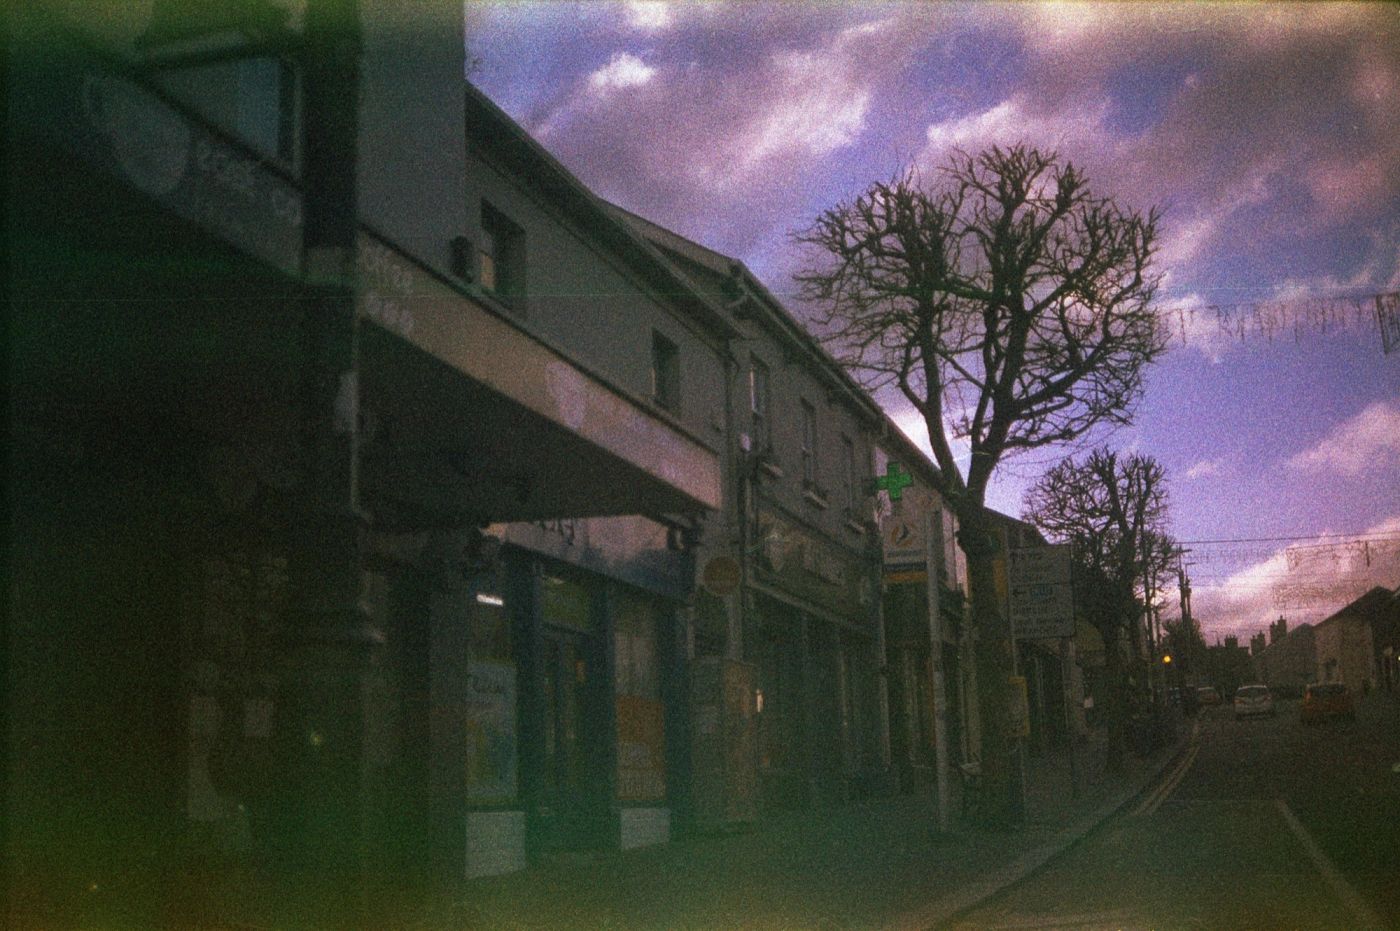
Photo: Nelli Shylova
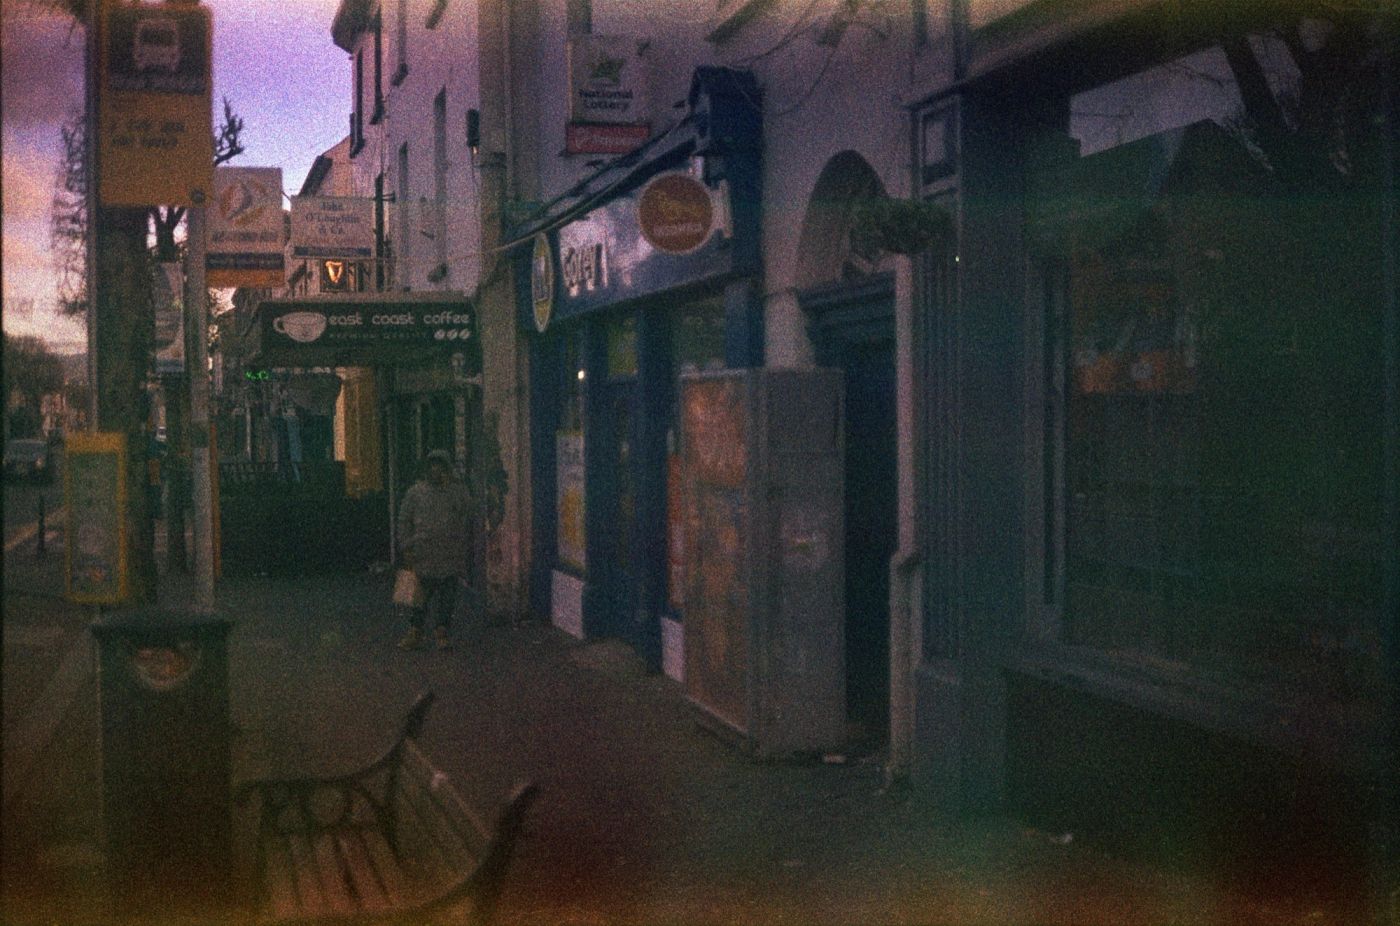
Photo: Nelli Shylova
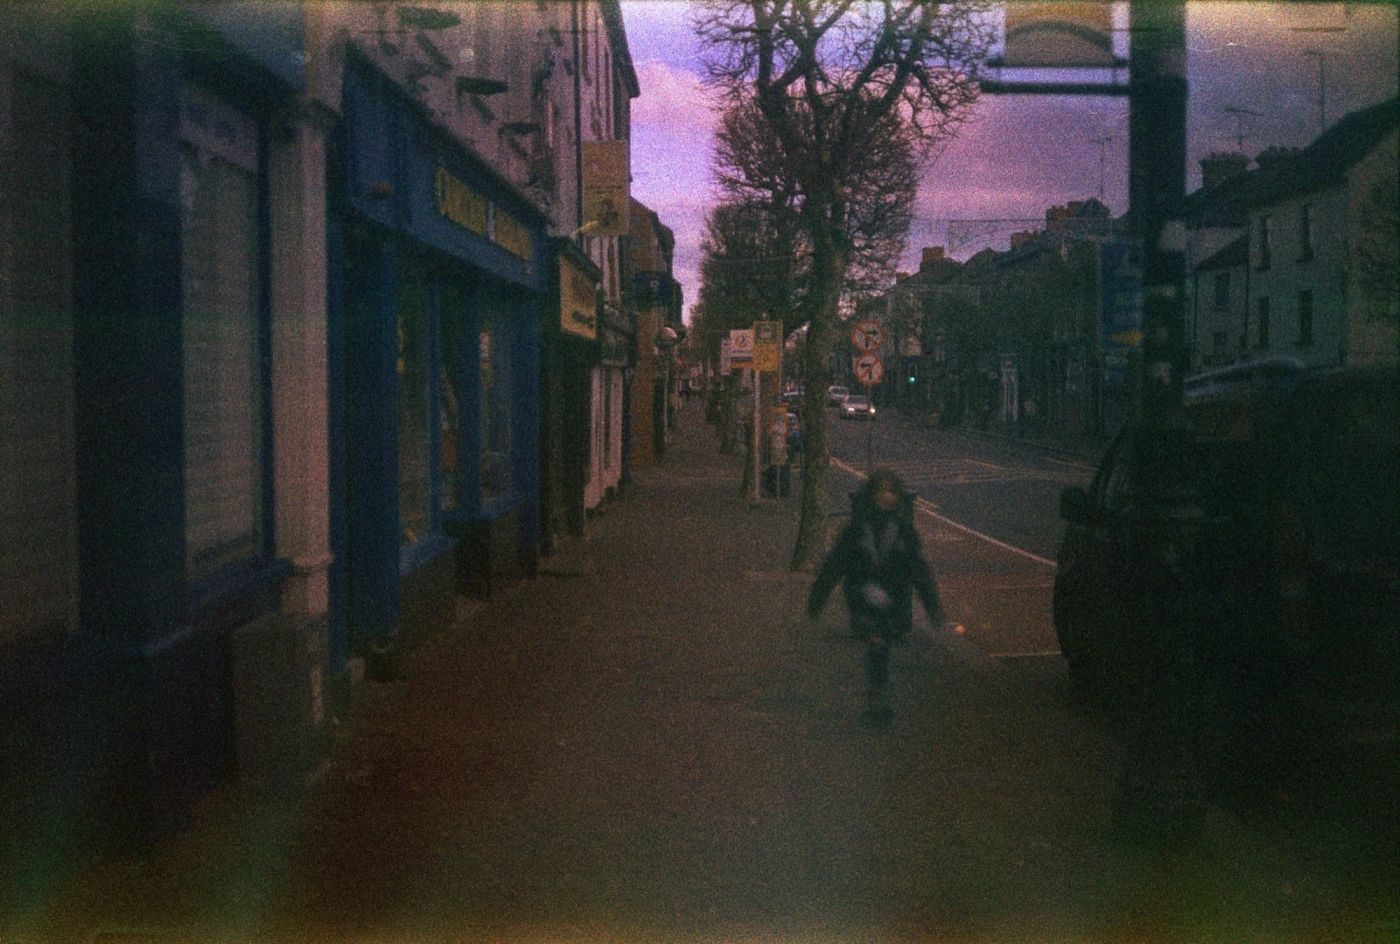
Photo: Nelli Shylova
I like that the street views keep a human scale. Two passers-by on the pavement or a few tables against a wall are enough to make a street more than a view of architecture. At the same time, the photographer leaves plenty of space around people.
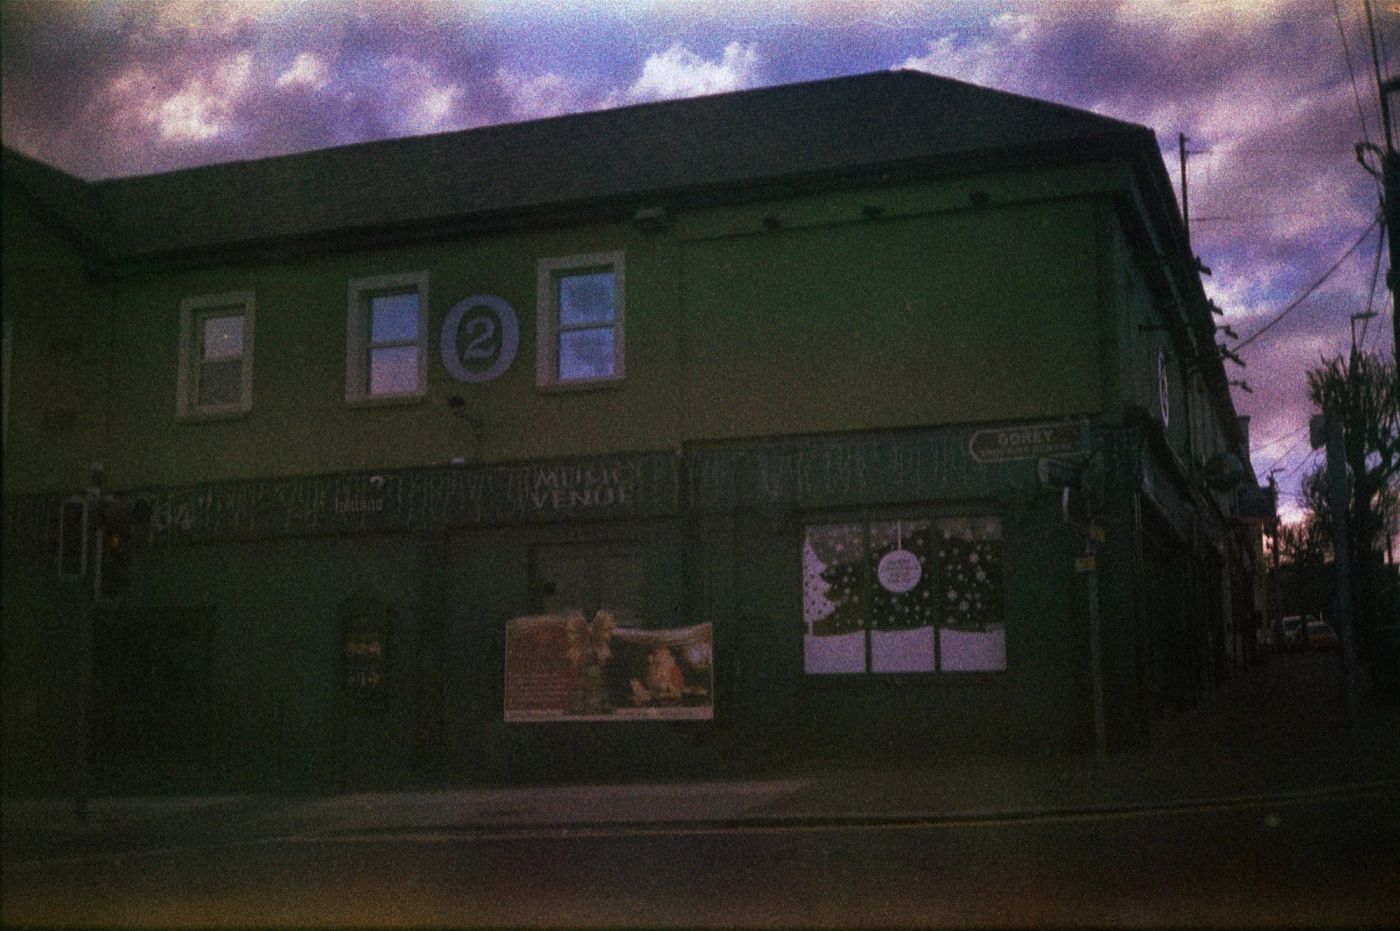
Photo: Nelli Shylova
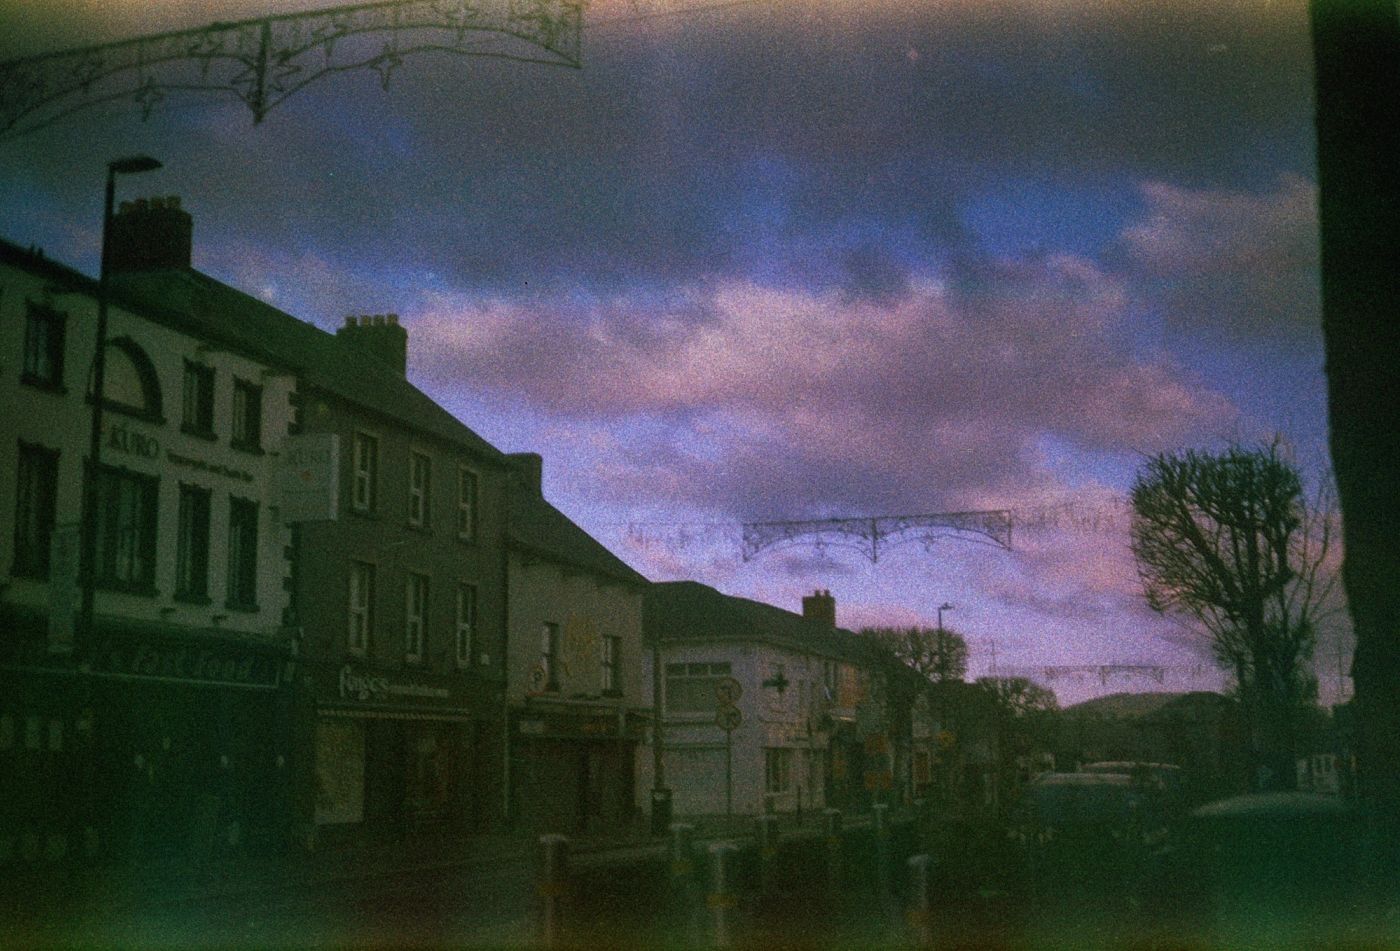
Photo: Nelli Shylova
Harbour and coast: more sky, closer to people
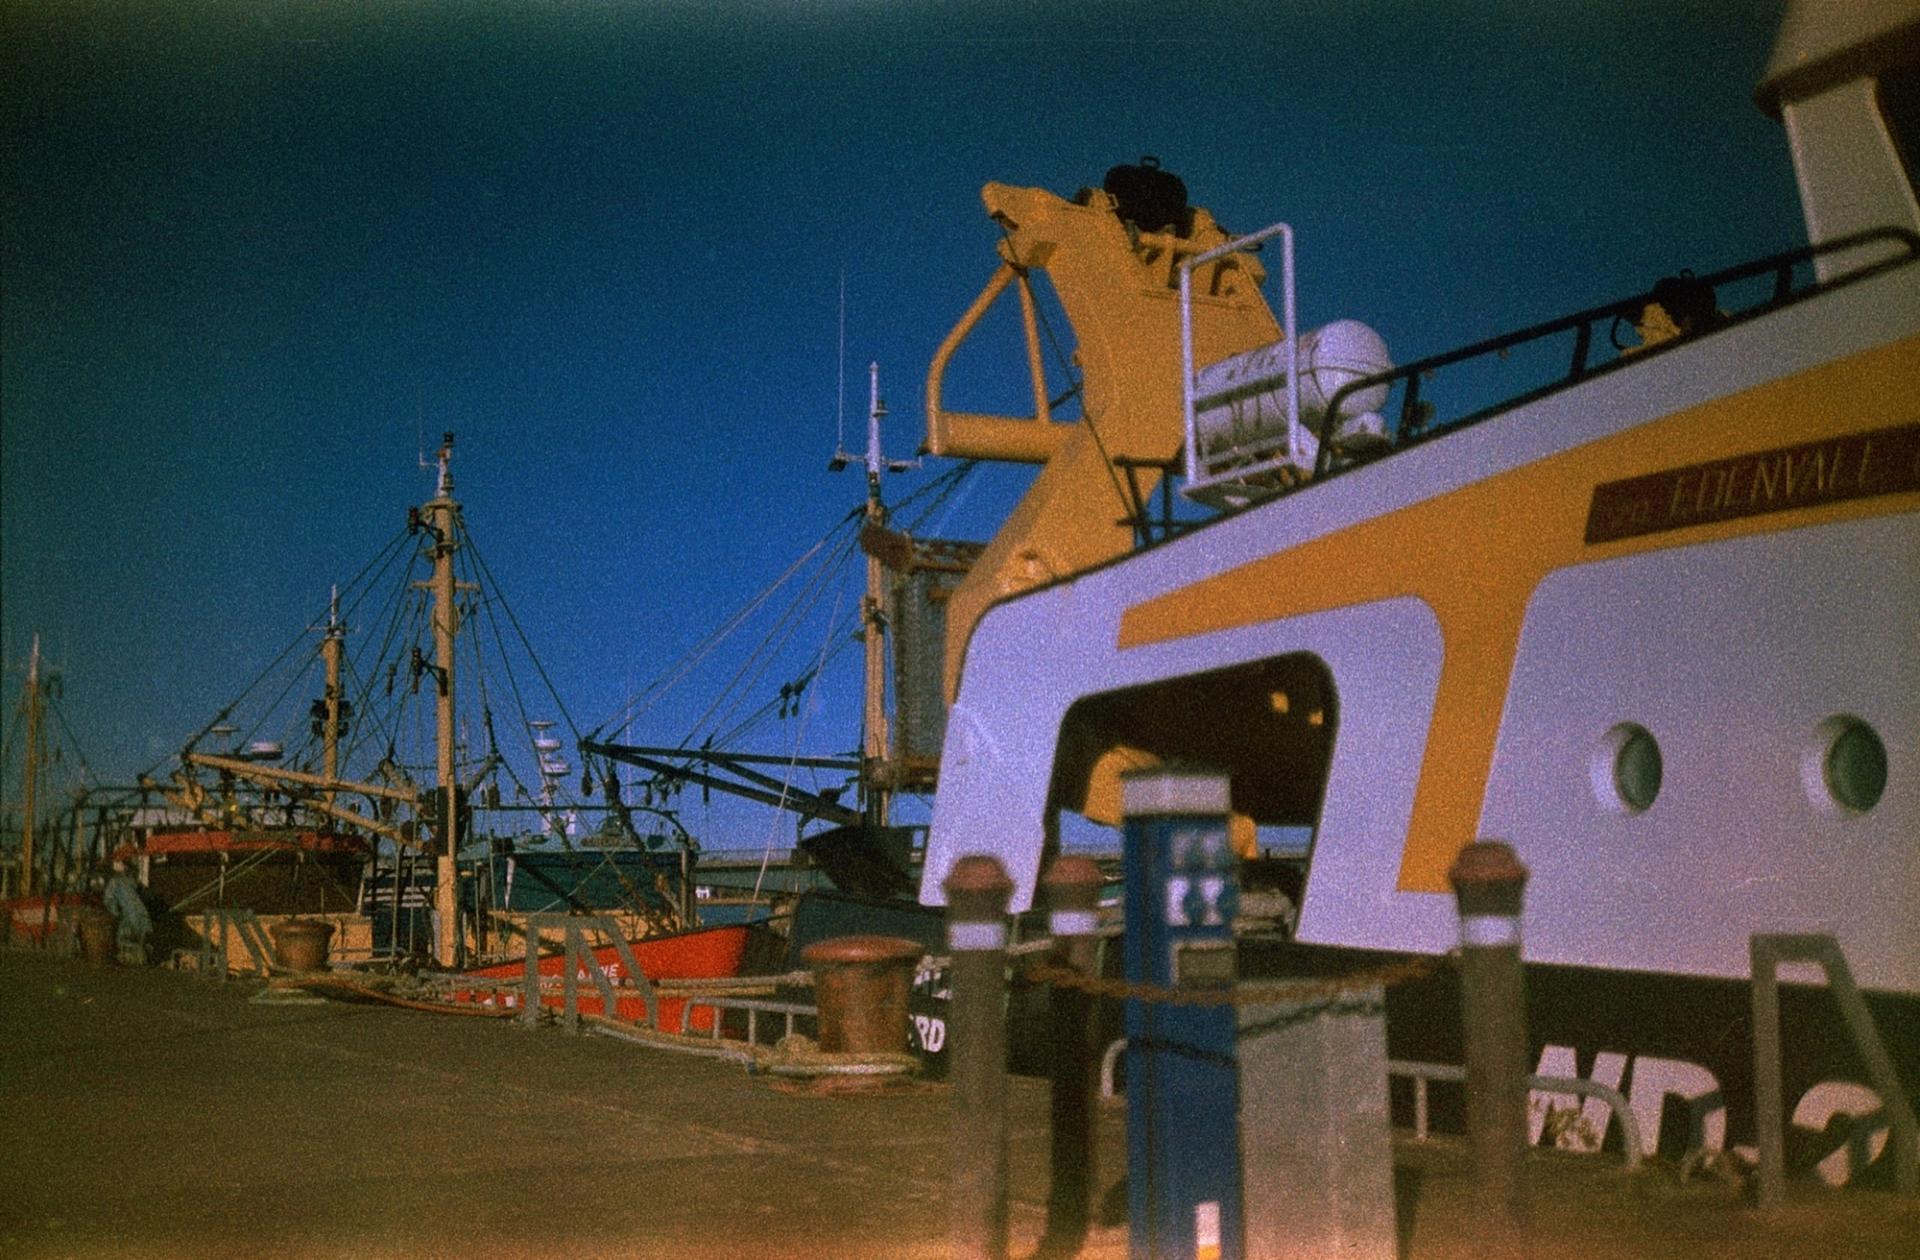
The harbour photos bring saturated yellow and deep blue into the series. Masts, cables and machinery form a crisp pattern, although some detail is lost in the shadows. These frames show how different the palette can be within a single selection.
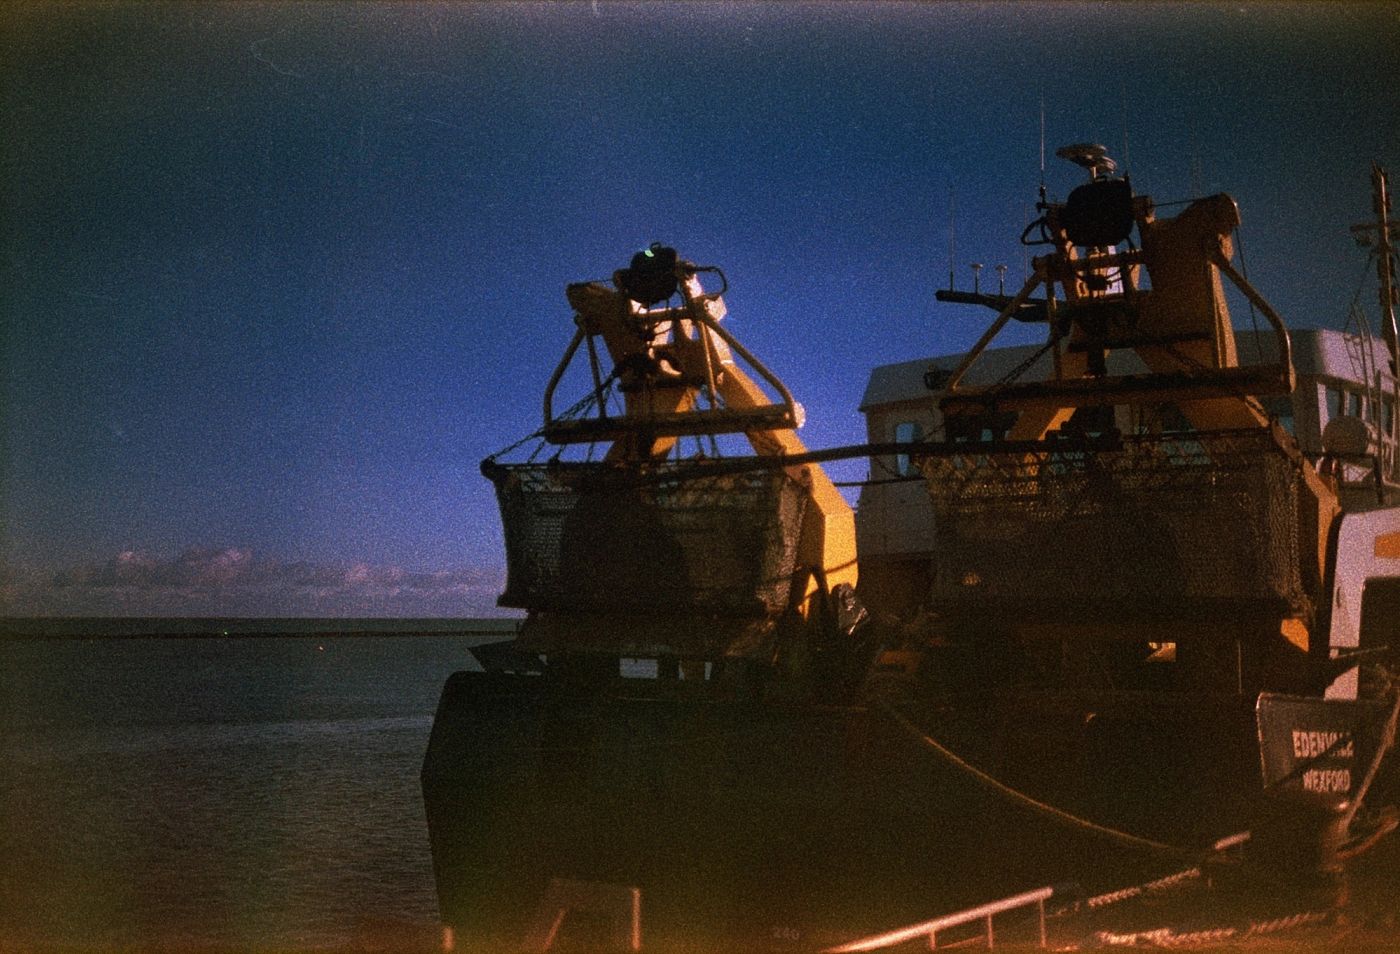
Photo: Nelli Shylova
In the frame with the coastal path the people are small against the sky and shore. In the portrait of a person in a hood the balance flips: the face takes almost all the attention, while the water and clouds stay in the background. That move from a wide shot to a close-up is what keeps the photo story alive.
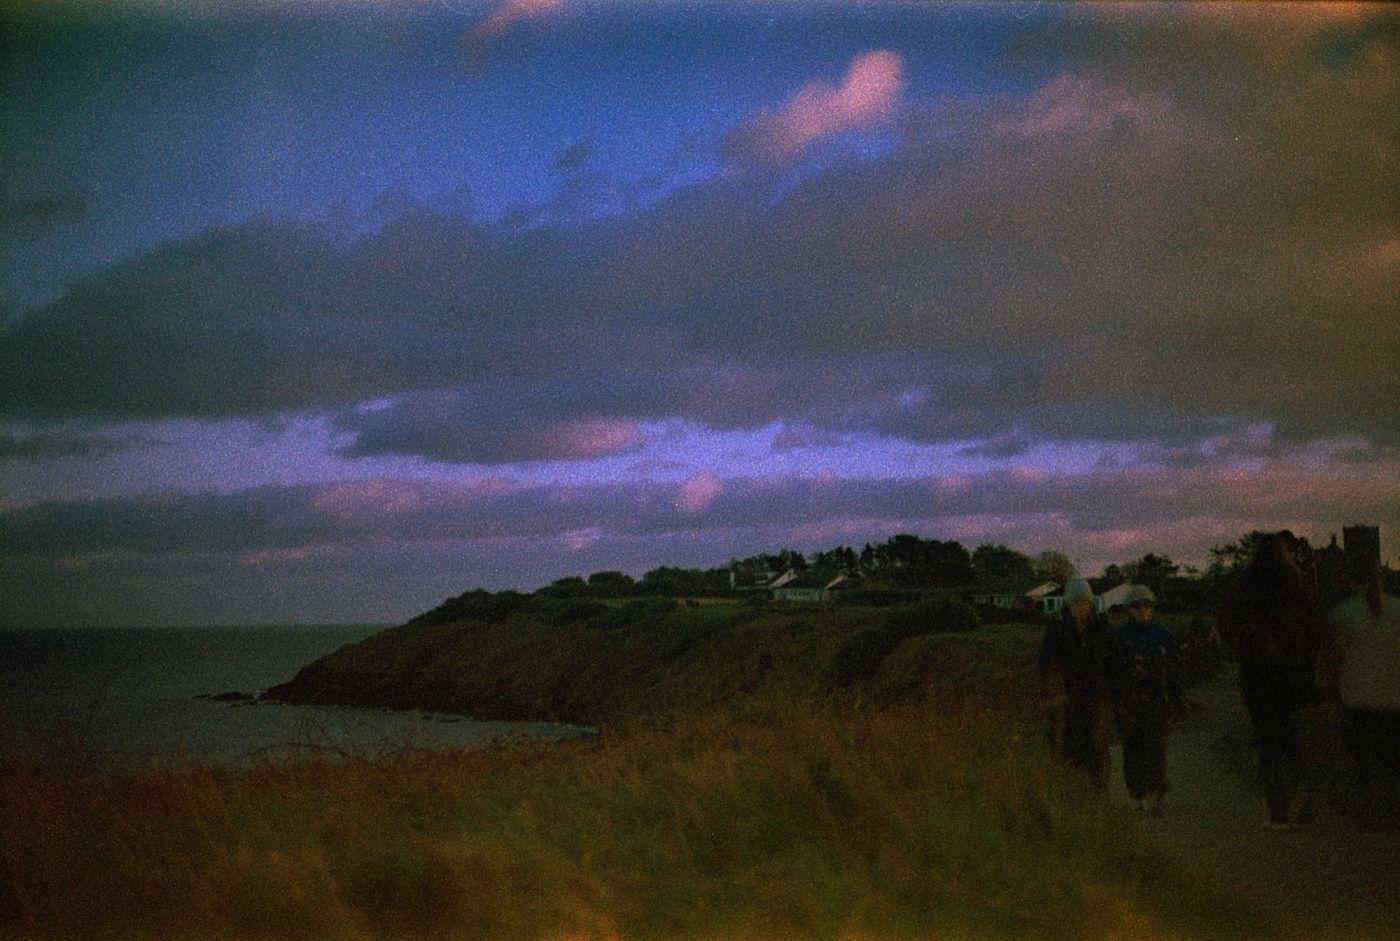
Photo: Nelli Shylova
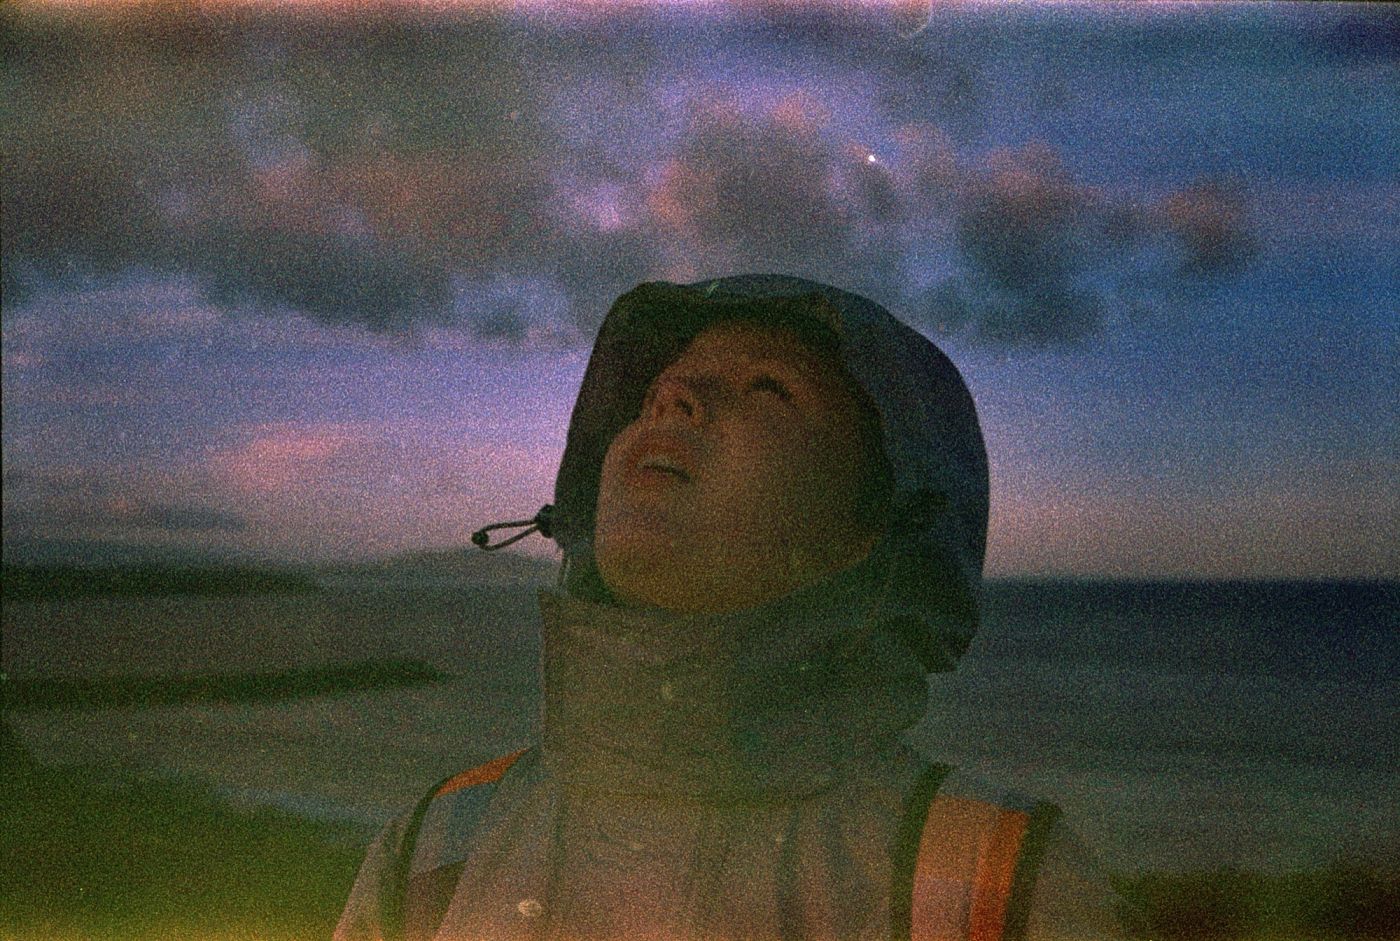
Photo: Nelli Shylova
Lawn and trees: how the greens change
I kept the two tree shots side by side. In one the grass is muted; in the other the sunlit lawn looks vivid green and the light suit stands out clearly against the foliage. This is an observation about the finished images: there is not enough information about how each frame was exposed for a technical comparison.
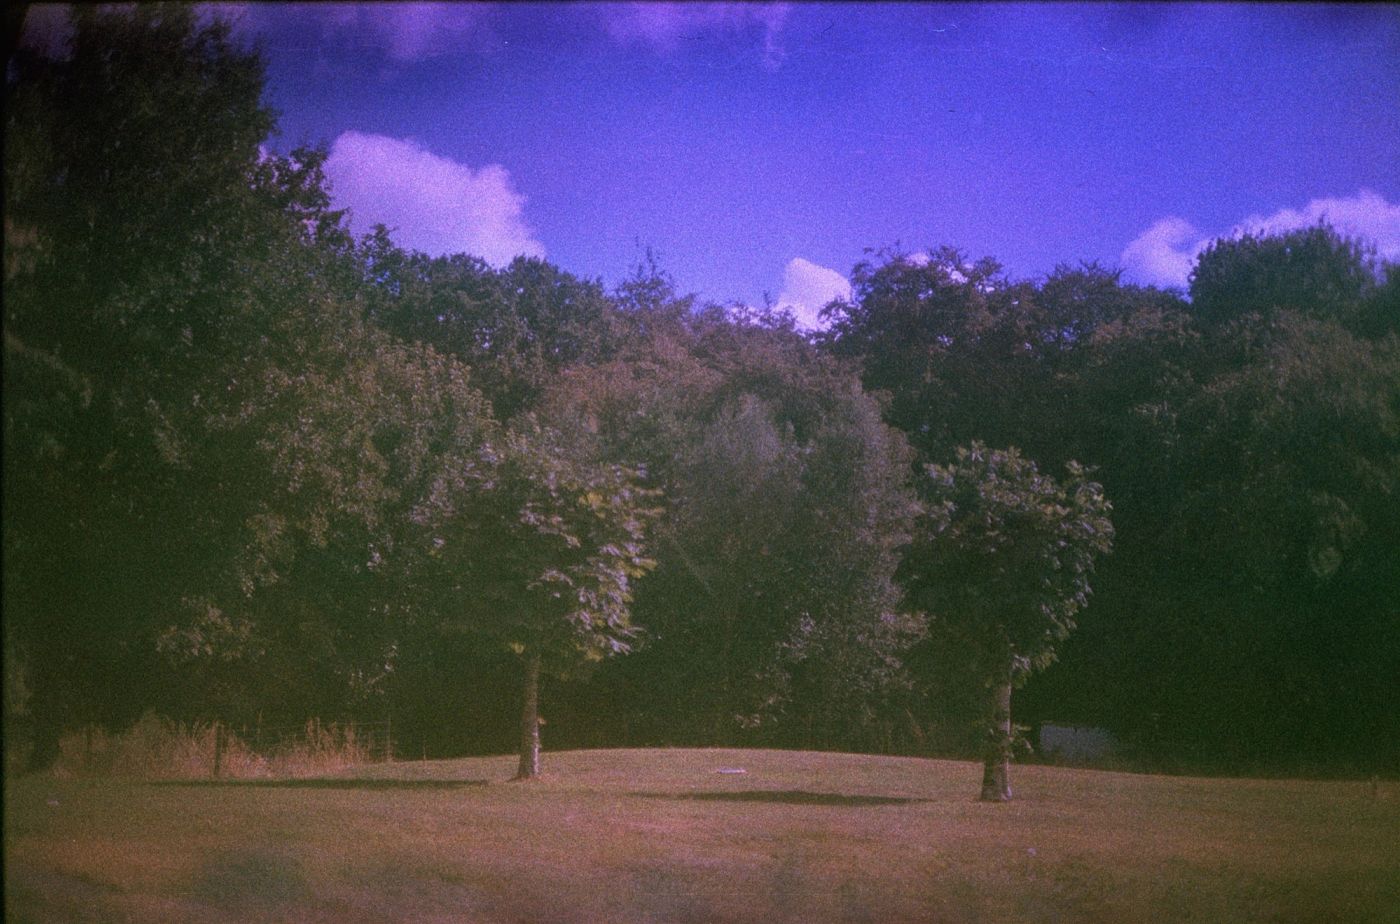
Photo: Nelli Shylova
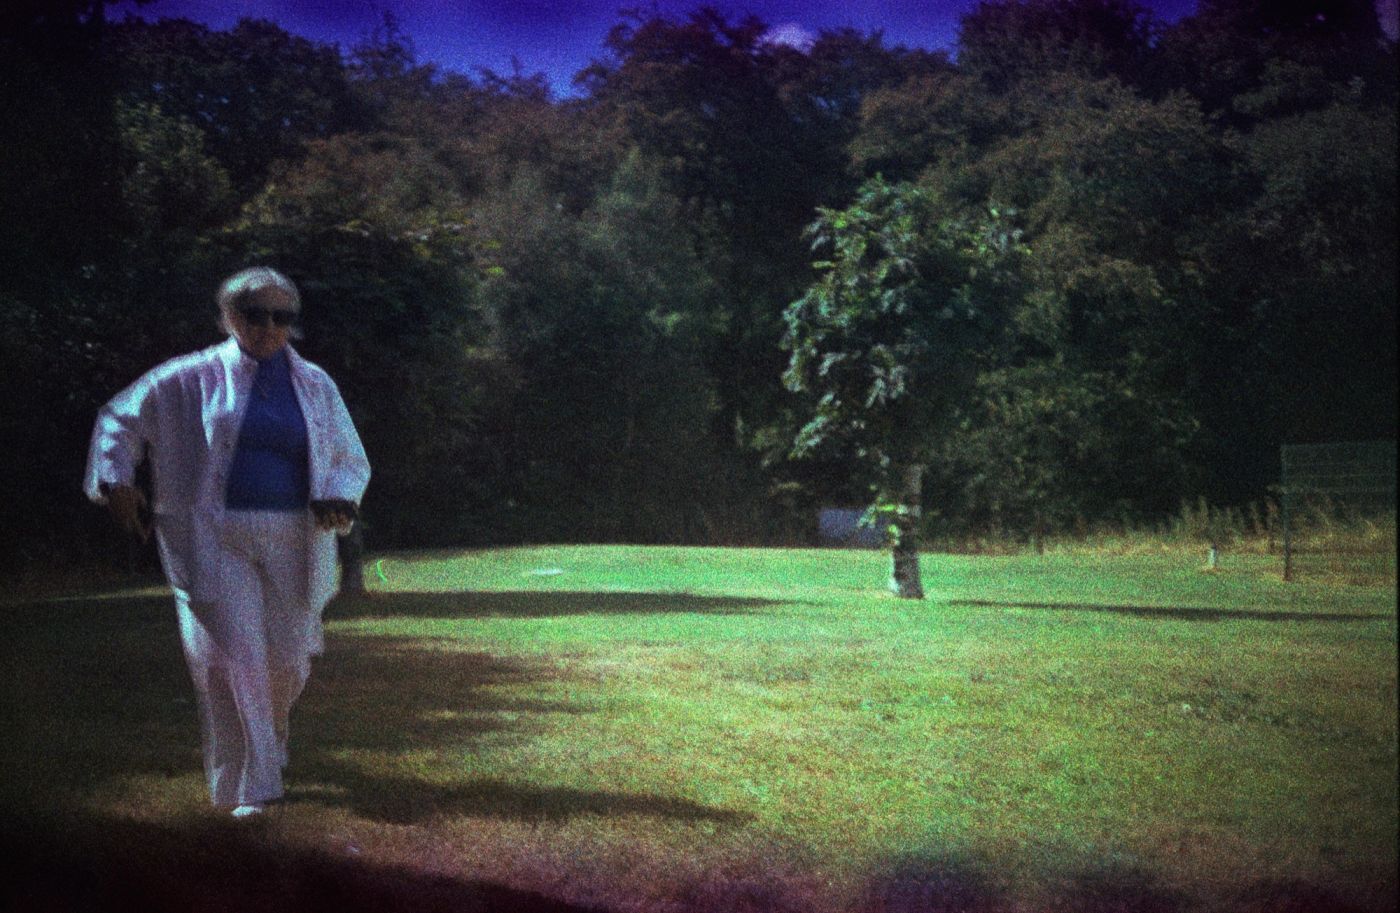
Photo: Nelli Shylova
Faces and interiors: light at close range
The close portraits show especially clearly the gap between the lit part of a face and deep shadow. One frame rests on a bright face, the other on a profile, an earring and the outline of hair. I value that restraint: not every detail is visible, but the gesture and the direction of the gaze remain.
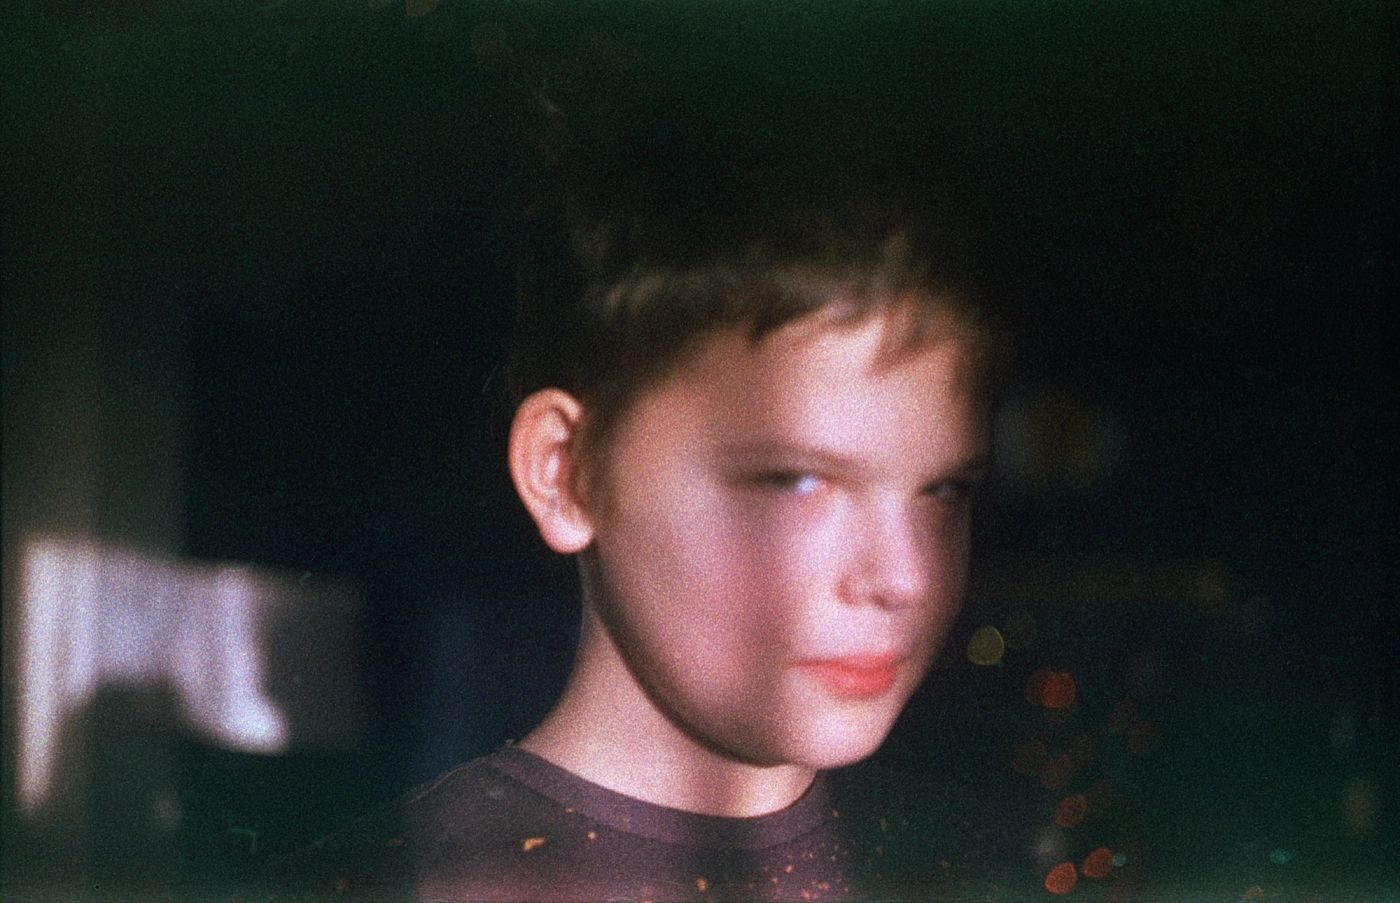
Photo: Nelli Shylova
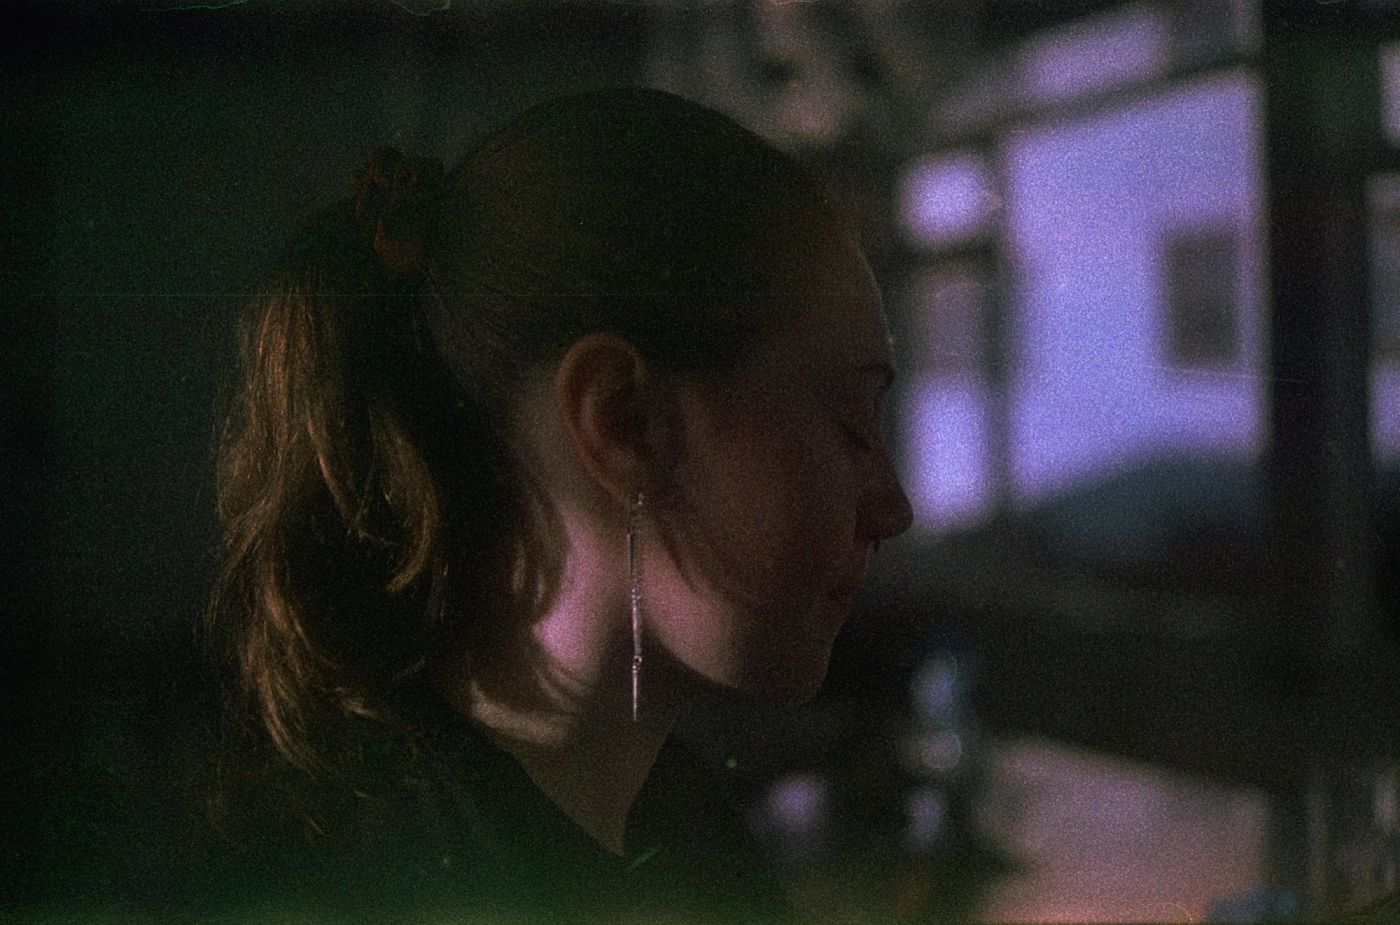
Photo: Nelli Shylova
The kitchen frames take the story beyond the walk. Bananas by the microwave, a coffee machine, a red fire extinguisher on the wall — everyday things that rarely become the main subject. Here they are tied together by side light and the cool tint of pale surfaces.
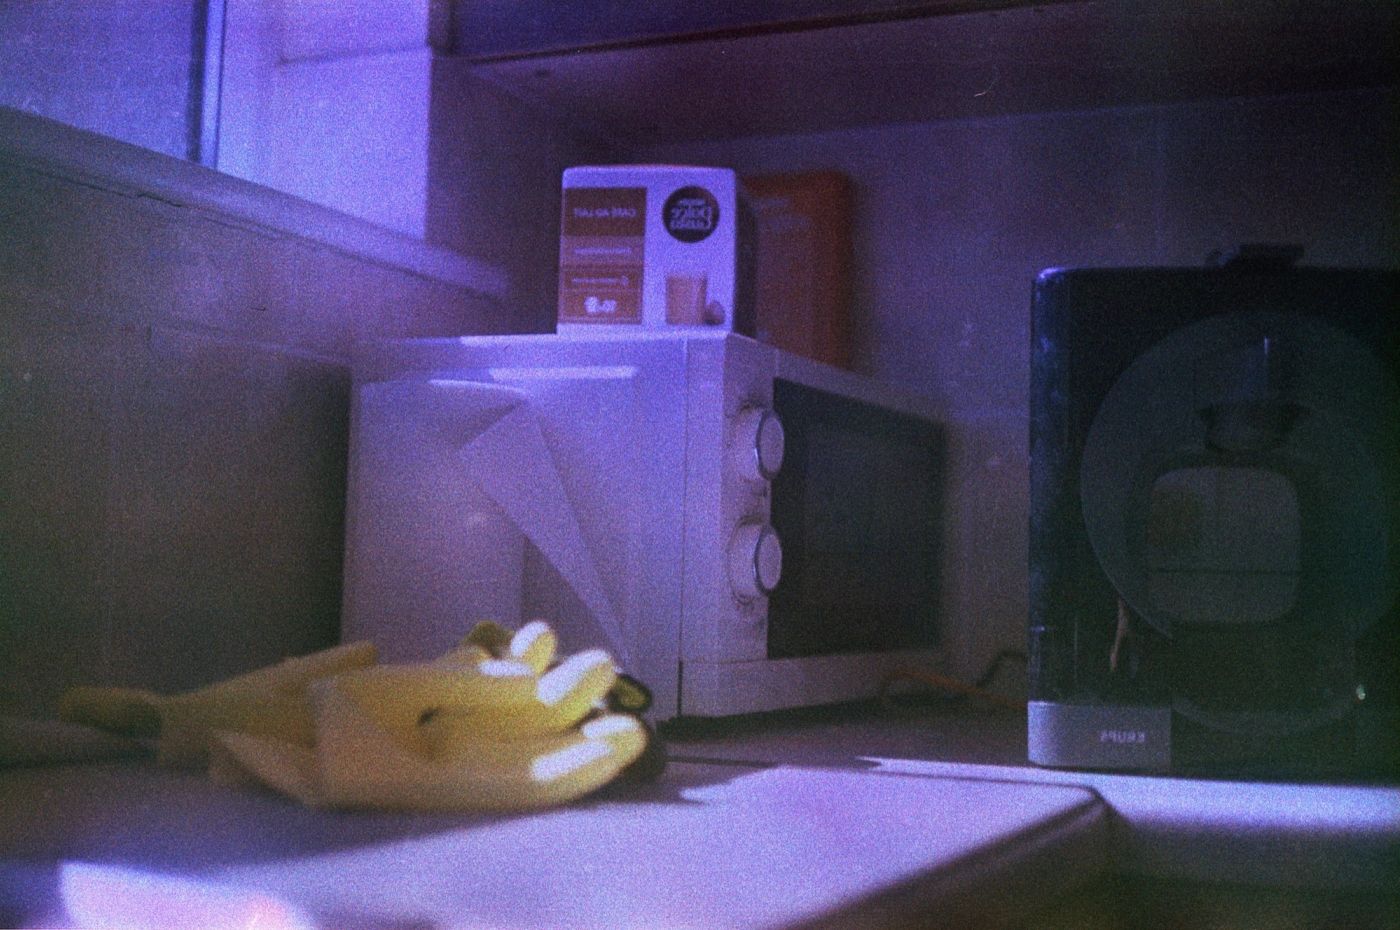
Photo: Nelli Shylova
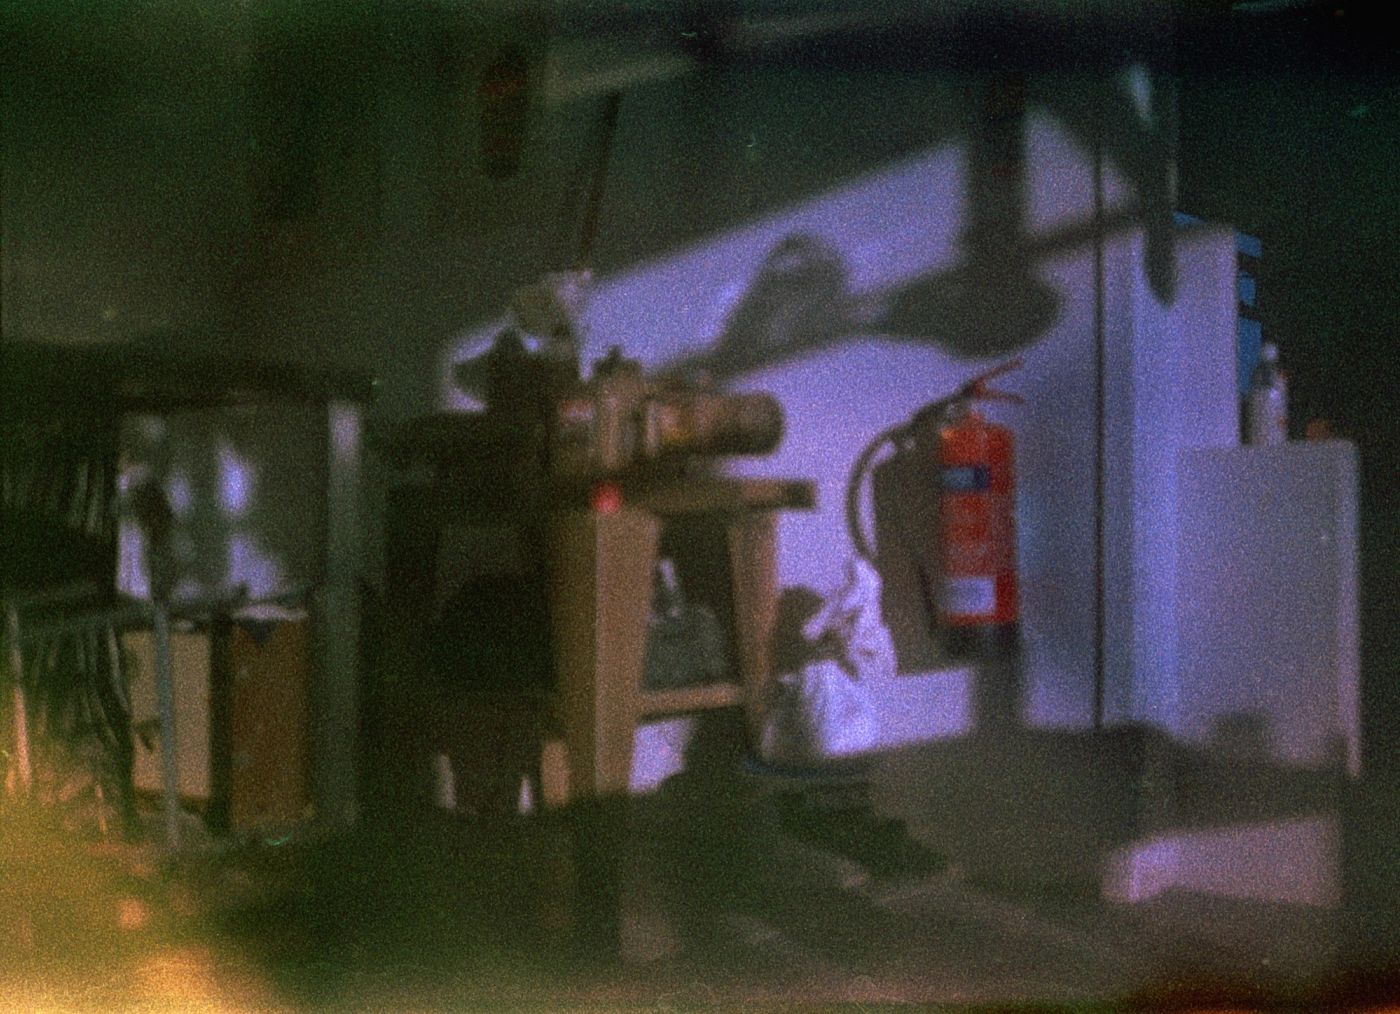
Photo: Nelli Shylova
In the photos from a café and from a space with direction signs you have to piece the scene together: a face, the edge of a table, a reflection, a strip of light. I included these frames for their sense of observation. They add to the views of the city by showing what life looks like inside it.
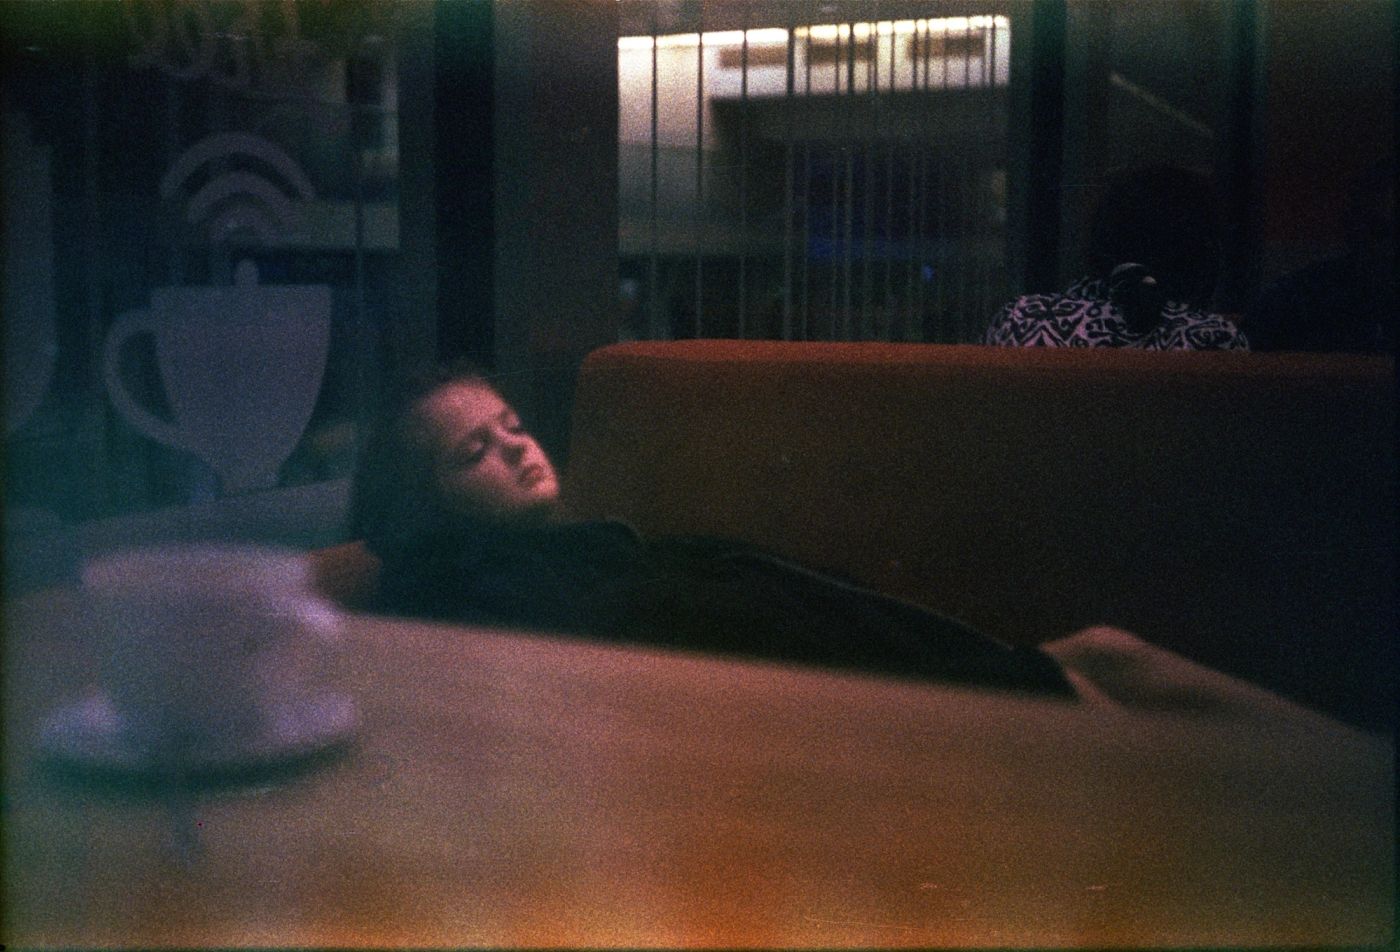
Photo: Nelli Shylova
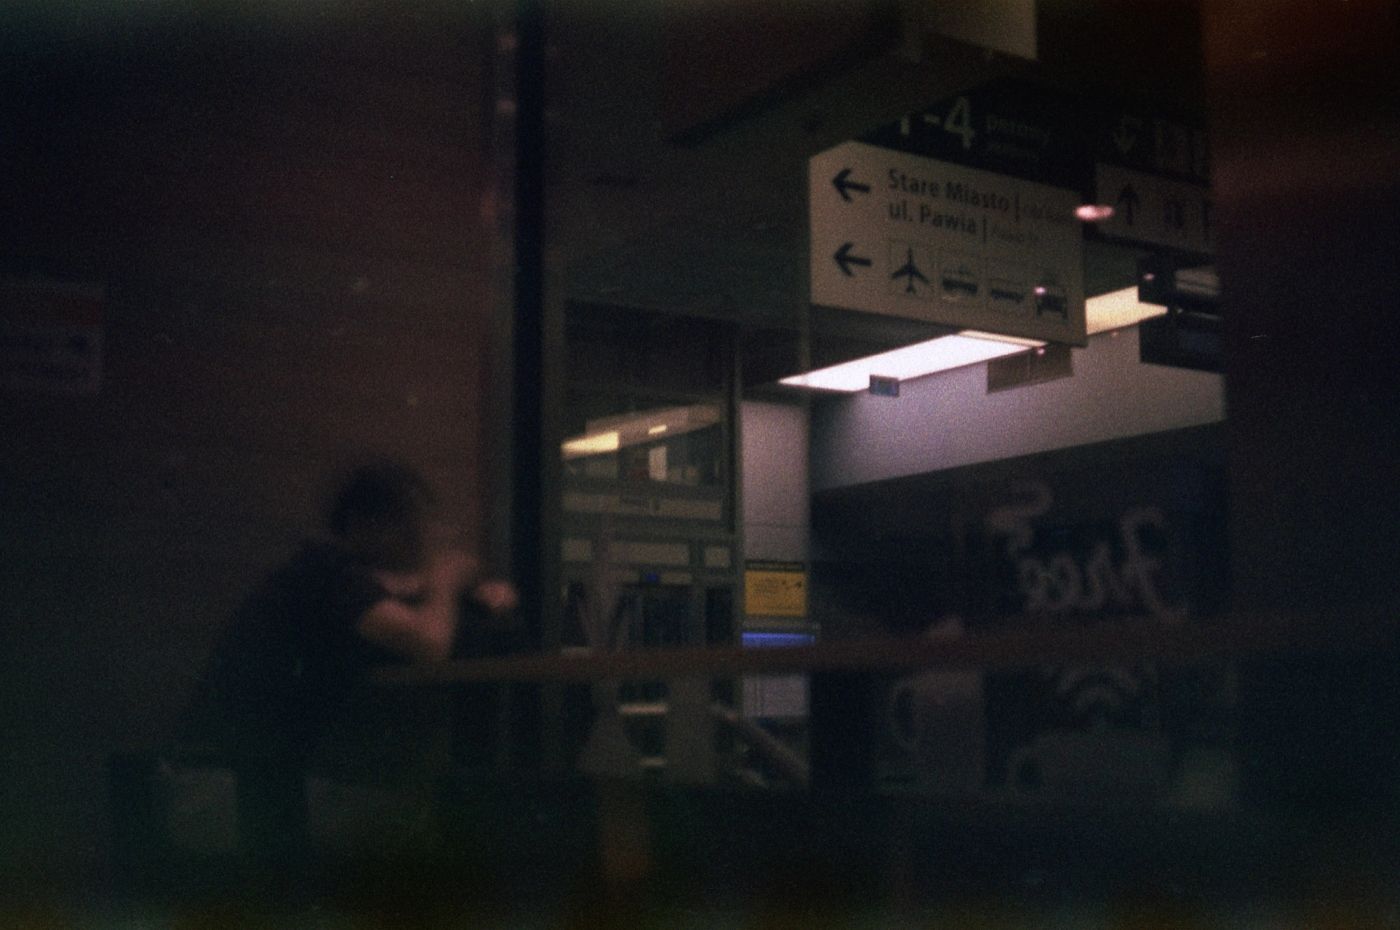
Photo: Nelli Shylova
Motion and colour: what the scans show
Red and white headlight trails, a blurred figure in front of a house, silhouettes at café tables — motion is most noticeable in this part of the series. I would not put it down to the age of the film: blur comes from the shutter speed and from movement of the camera or the subject. Old emulsion does not create light trails on its own.
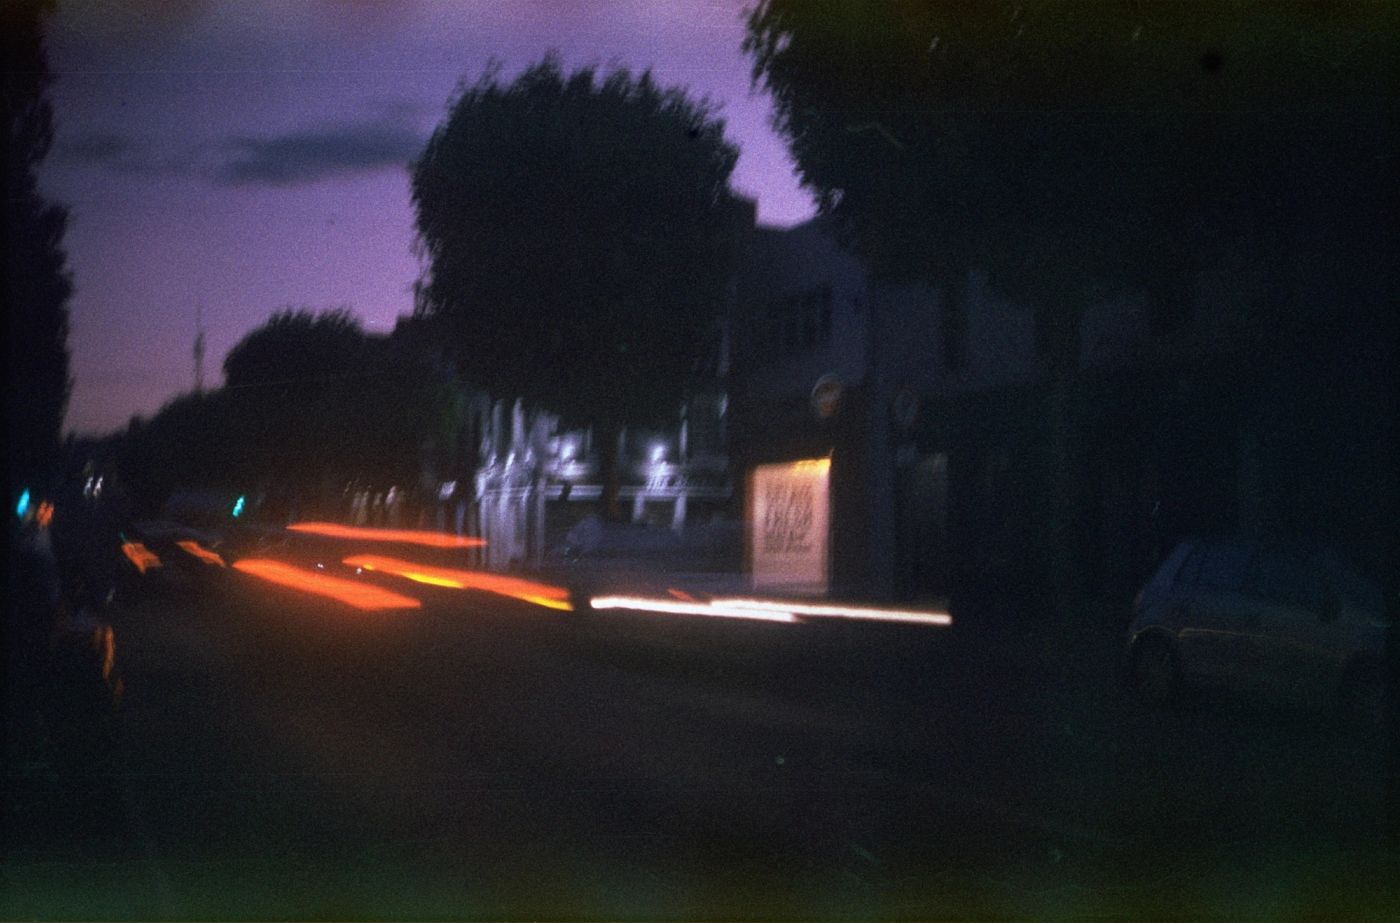
Photo: Nelli Shylova
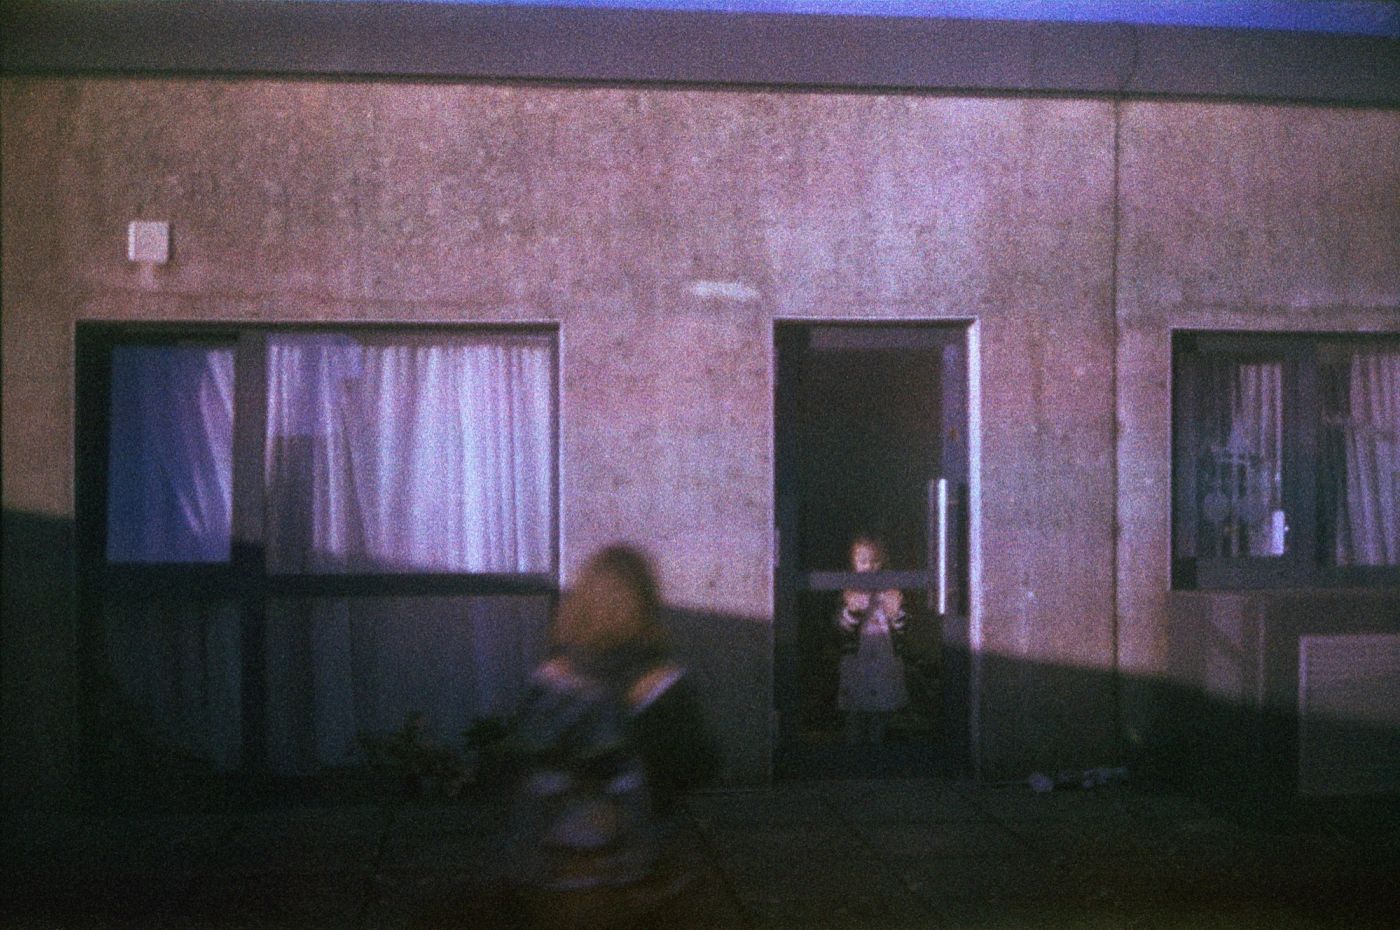
Photo: Nelli Shylova
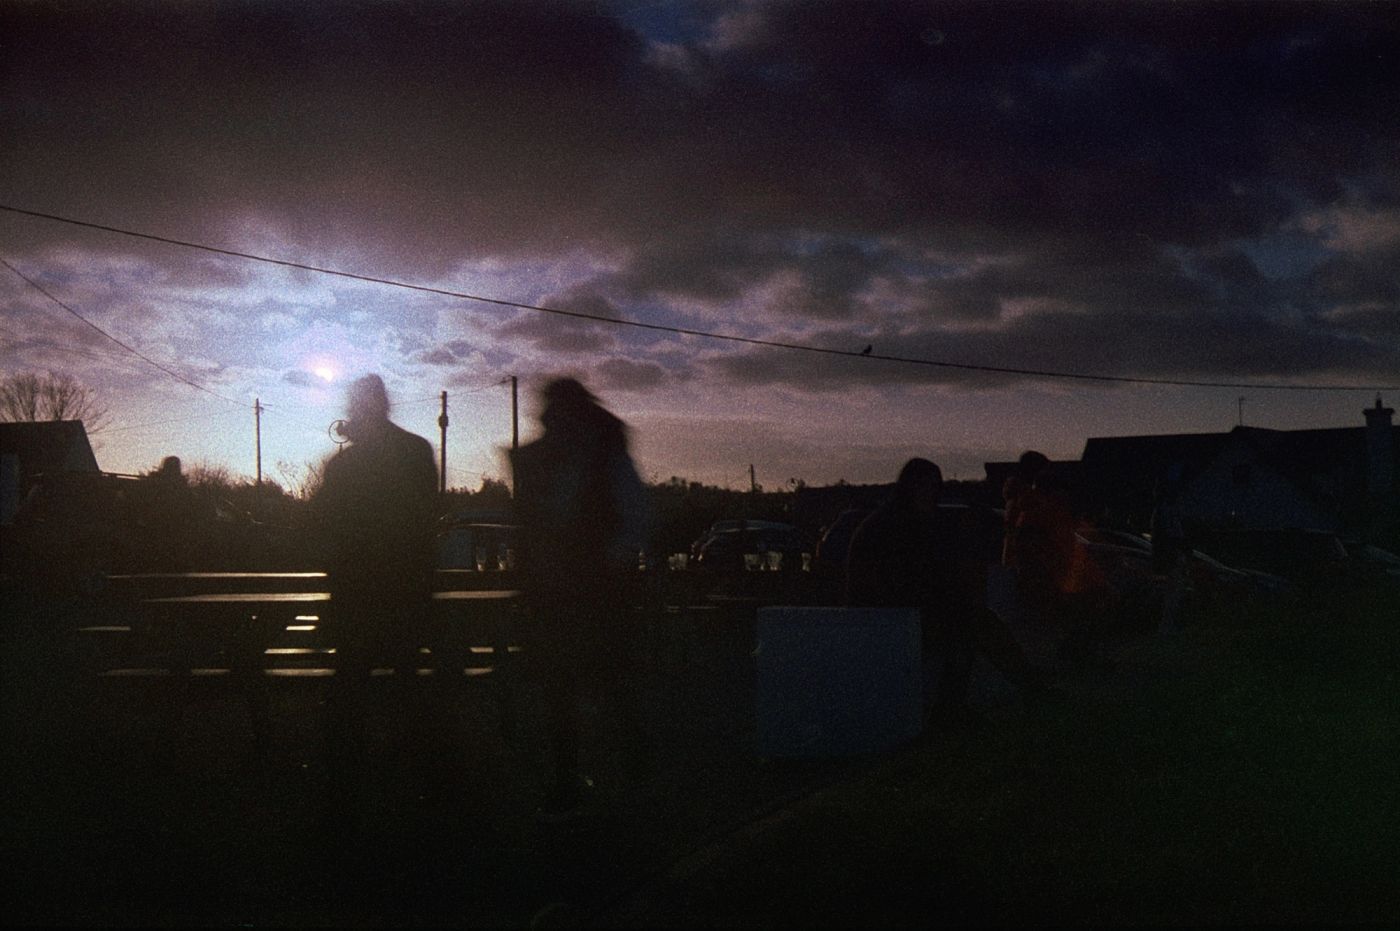
Photo: Nelli Shylova
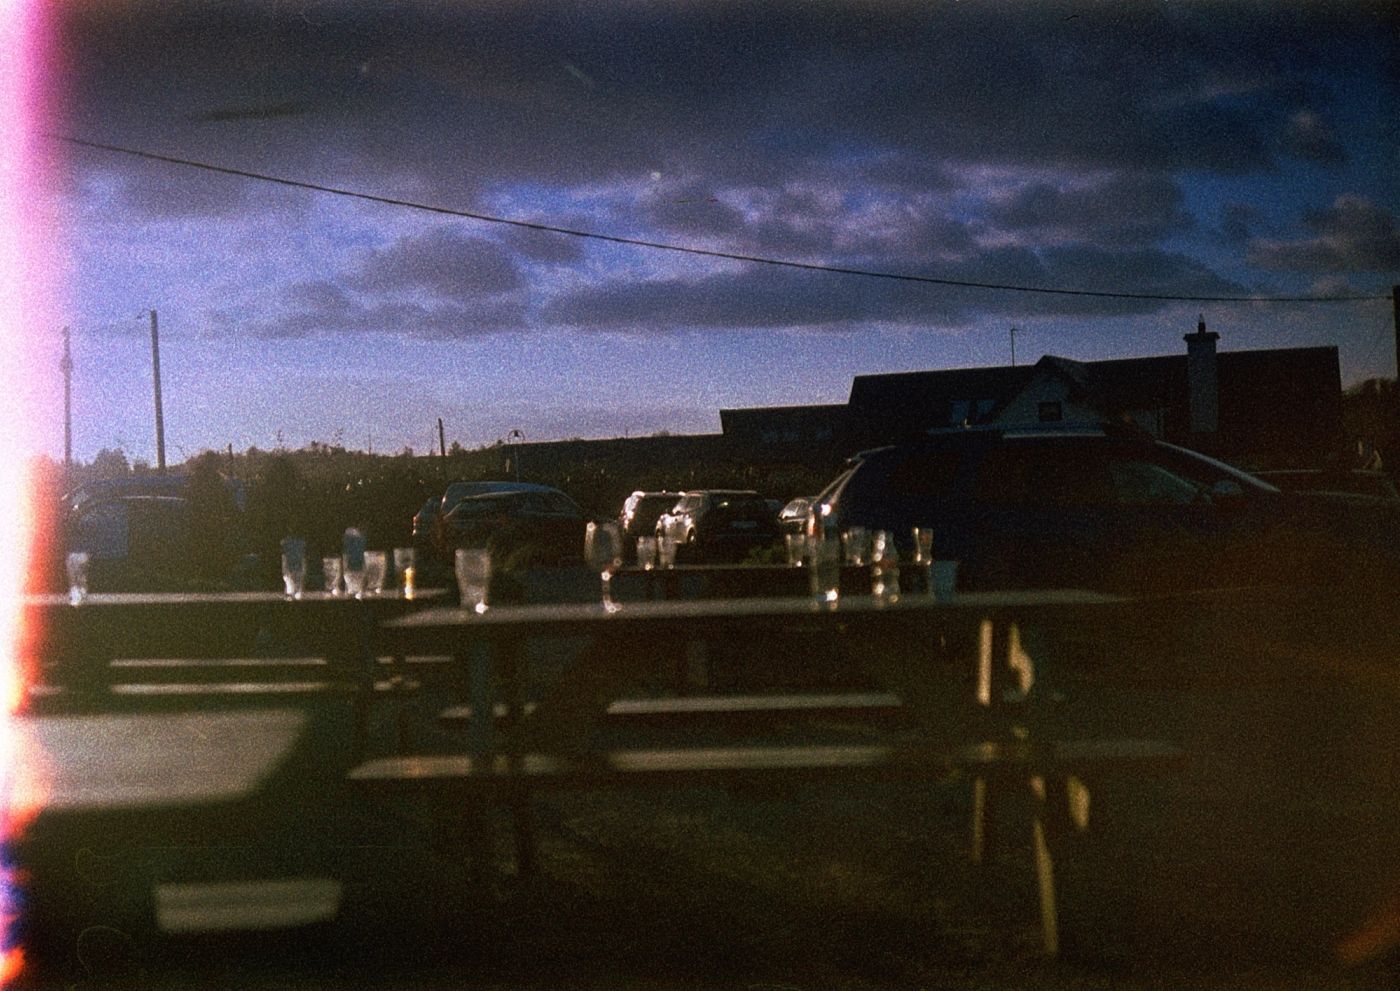
Photo: Nelli Shylova
Another pair is the portrait by a gate and the blue silhouette beside an orange field. In the first, the eye stays on the clothing and the wall; in the second, on the relationship between two colours. I find the result expressive, but I would not try to pin down the cause of that colour pattern from a single scan.
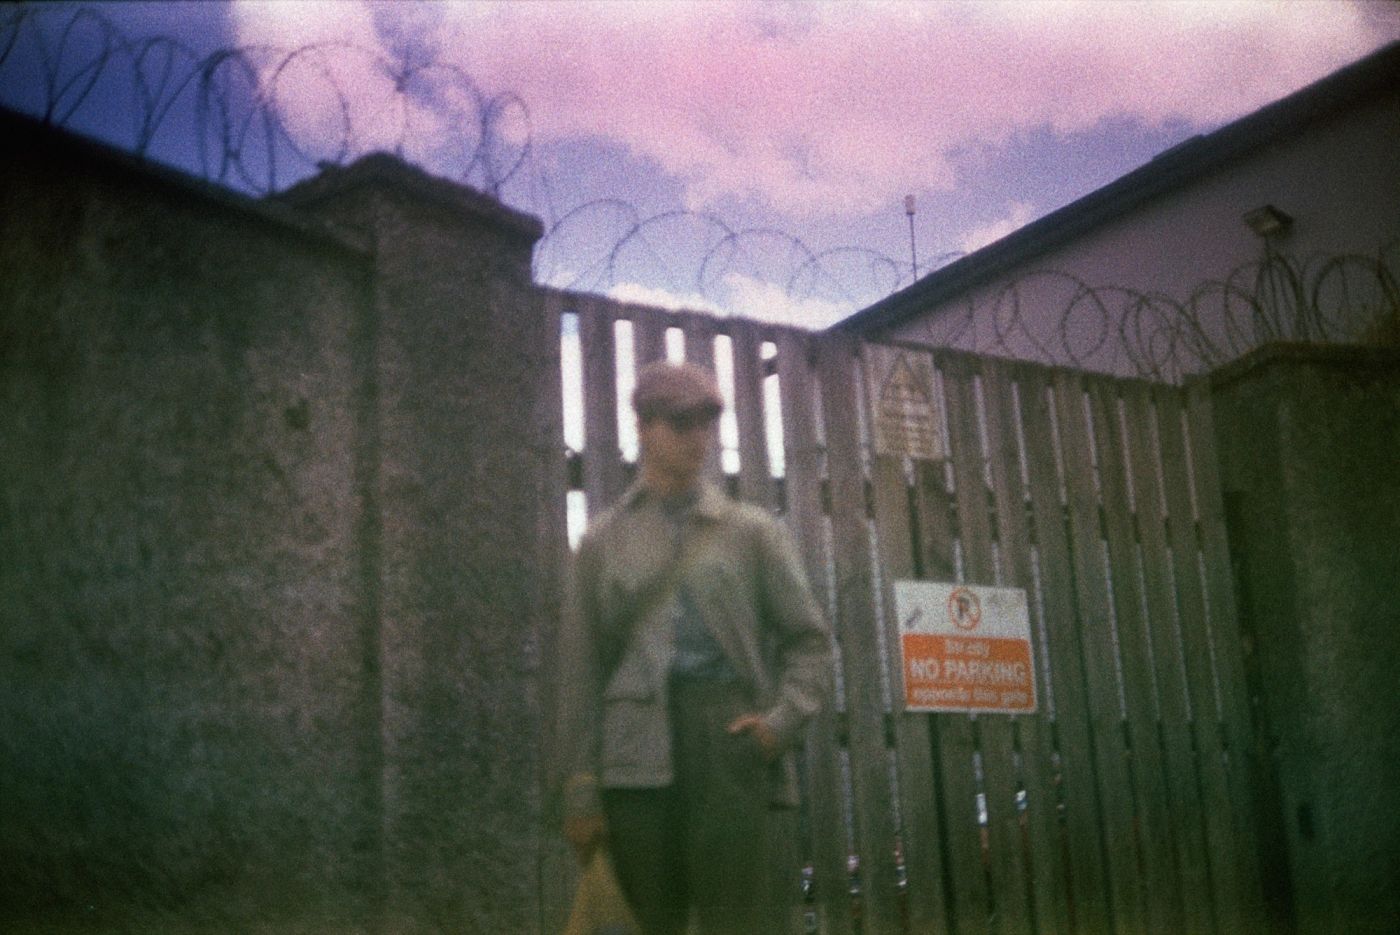
Photo: Nelli Shylova
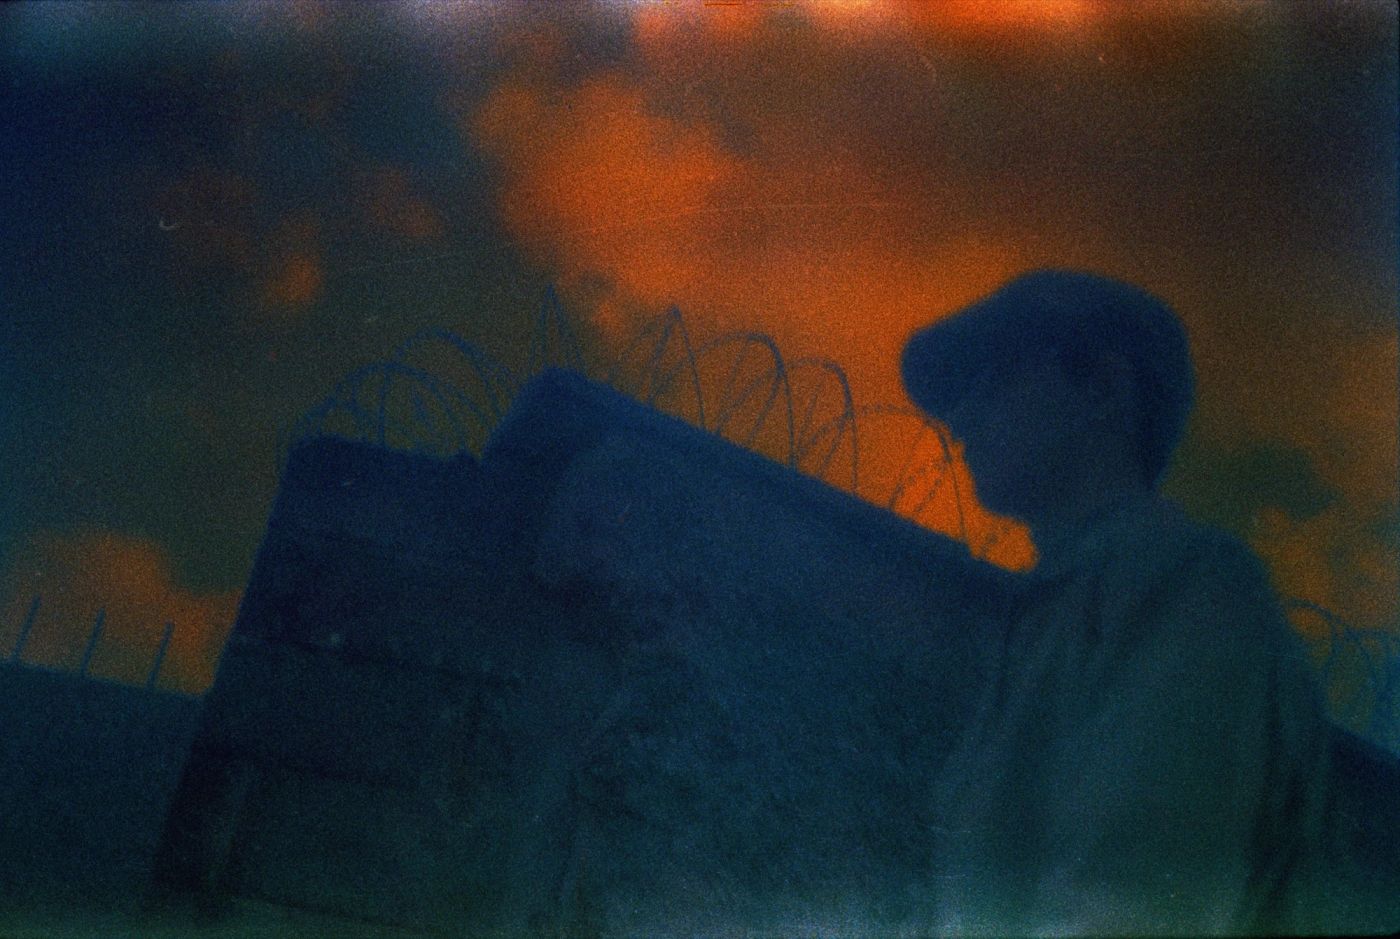
Photo: Nelli Shylova
Long storage can change a film’s sensitivity and increase fog and visible grain. Storage conditions matter here. General information on how photographic materials age helps you understand the risk, but it does not explain every tint in a particular frame.
What you see here are finished scans. Their look depends on the light, the exposure, the development and the colour work during scanning. So I treat this series as the result of one particular shoot and one particular processing run. You cannot reproduce its palette just by choosing the same film.
To close the series I chose neither a portrait nor the most unusual colour effect, but the sky over the rooftops. After the busy street scenes it holds only a few large shapes. To me, that pause is a chance to look back over the whole series.
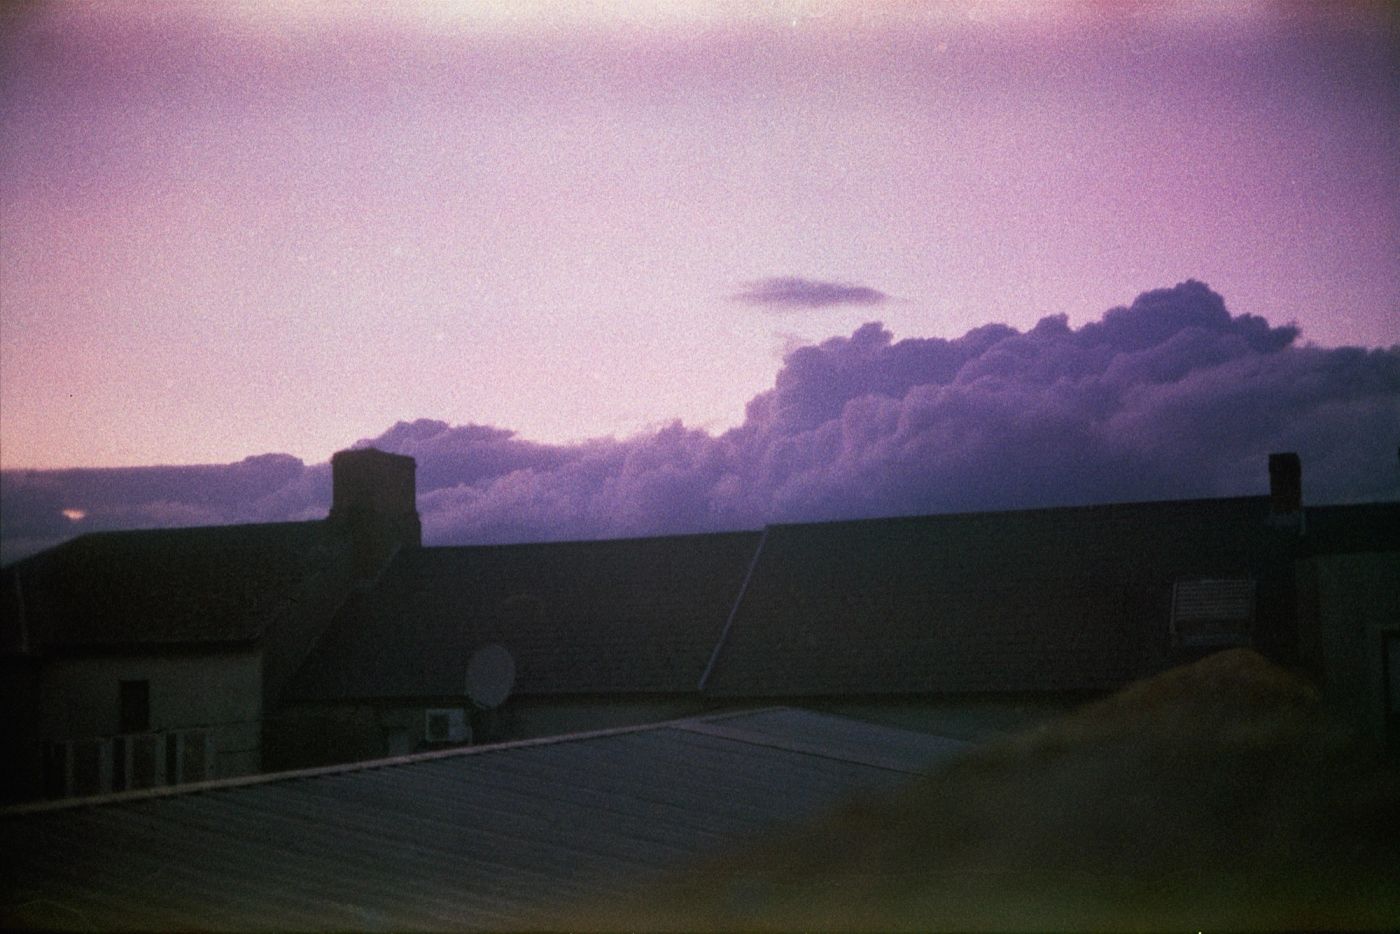
Photo: Nelli Shylova
How to shoot Svema DS-100: my recommendation is EI 3–6
If these photos make you want to try the film, I suggest starting in daylight with a test roll. For the batch from FilmLabStore the starting point is EI 3–6, not the nominal ISO 100. This recommendation is for this specific old stock; do not carry it over to any other roll of Svema.
EI, the exposure index, is the value you calculate exposure from. Setting 3 or 6 on a light meter does not change the sensitivity of the emulsion. Compared with metering at ISO 100, EI 6 needs about four stops more exposure and EI 3 about five. EI 3 and EI 6 are one stop apart.
Where I suggest you start
- Pick a still subject in good daylight.
- Shoot a few pairs of frames at EI 3 and EI 6. Write down the shutter speed and aperture.
- Watch your shutter speed. A tripod keeps the camera steady but does not freeze a moving person.
- After identical processing, compare the negatives and scans, especially the shadow detail. That makes it easier to choose a working exposure for your next shoot.
I do not recommend deliberately underexposing this film to get a dark picture or more visible grain. A dark finished scan is not proof of underexposure in itself, and too little exposure can rob the negative of the detail you need.
If your camera does not go down to ISO 3 or 6
The easiest option is a handheld light meter with the right range: take its reading and set it on the camera in manual mode. If you meter at a different value, use these corrections:
Approximate corrections to the meter reading
| Meter set to | For EI ≈ 6 | For EI ≈ 3 |
|---|---|---|
| ISO 12 | +1 stop | +2 stops |
| ISO 25 | +2 stops | +3 stops |
| ISO 100 | +4 stops | +5 stops |
Check whether your camera allows that much compensation in the mode you use. In manual mode, change the shutter speed or the aperture. If your meter is already set to EI 3 or EI 6, no extra correction from the table is needed.
A Sunny 16 guide for expired film
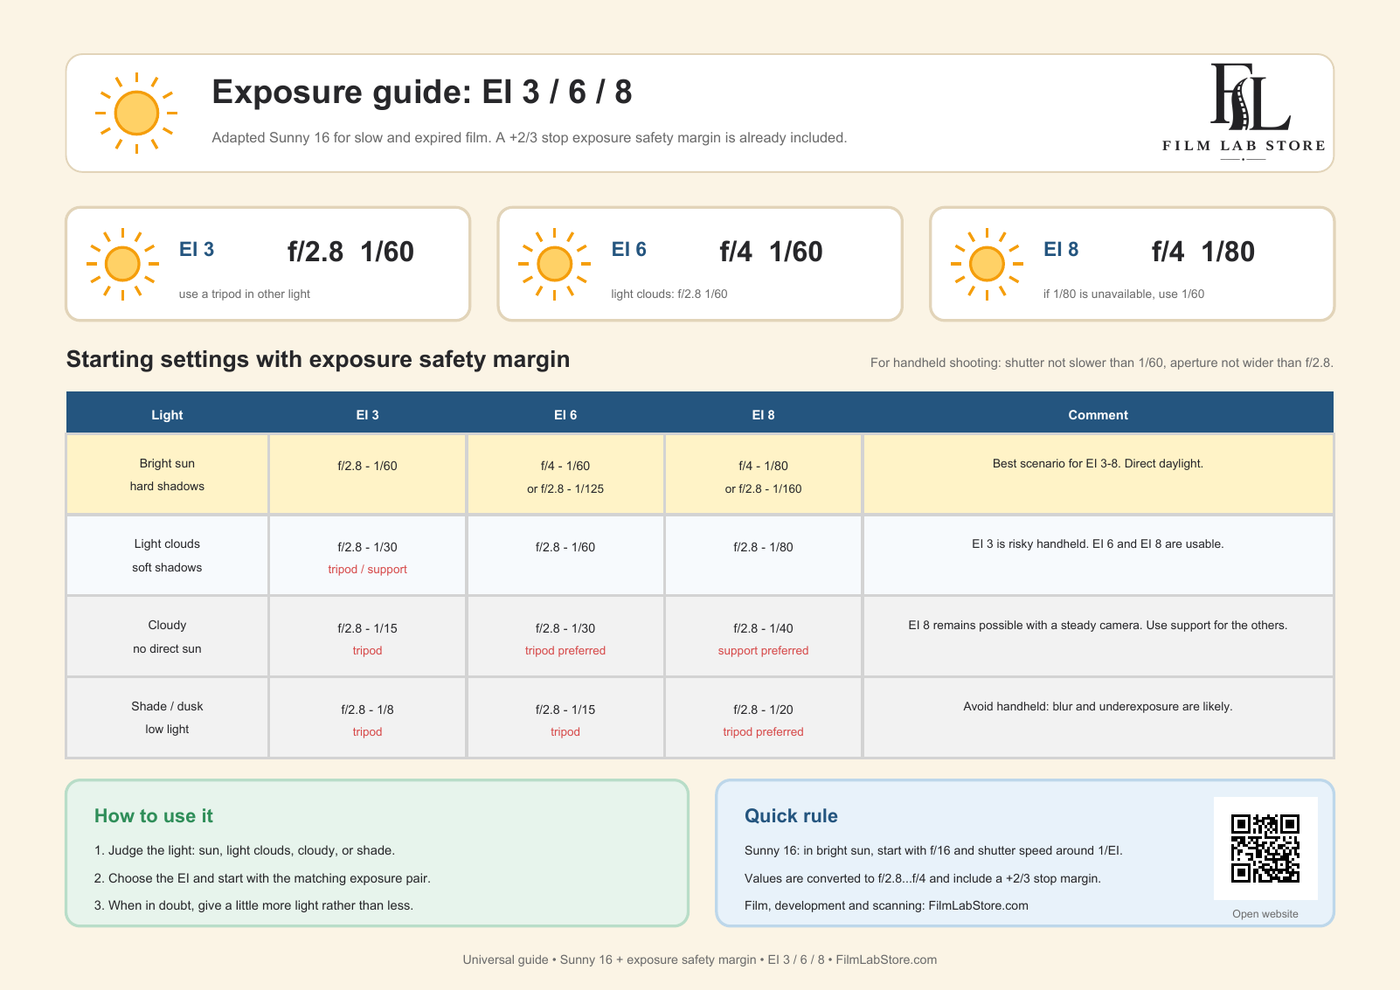
For shooting without a meter I have made a guide with starting exposure pairs for EI 3, 6 and 8. It is not tied to a brand: you can use it with any expired film for which you have chosen one of these EI values. The table itself does not tell you how much sensitivity a particular roll has kept. For the Svema DS-100 batch in this article my recommendation stays the same — EI 3–6.
It is based on an adapted Sunny 16 rule. A +2/3 stop safety margin is already built into the values, so do not add it again. For bright sun, for example, the table gives f/2.8 at 1/60 s for EI 3 and f/4 at 1/60 s for EI 6. These are starting points: in changing light it is better to check with a meter.
Download the guide in English · PDF, A4
When you use the guide, take the ready-made exposure pair from the right column. The corrections in the previous table are only for converting a meter reading taken at another ISO; do not add them to the guide’s values. For slow shutter speeds use a tripod or a support, and keep any movement in the frame in mind. 1/60 s as a handheld limit does not guarantee a sharp picture with every lens.
Developing Svema DS-100: ORWO C-5168 only
I develop Svema DS-100 only in the ORWO C-5168 process. If you are sending it to another lab, check in advance that they work with this process. When you hand the film over, give its name, say that it is expired and tell them the EI you shot at. A low exposure index on its own does not mean the film needs pull processing.
I wrote about identifying old Soviet film and choosing a process for it in “Svema, Tasma and ORWO: how to identify old film”.
At FilmLabStore you can send me Svema DS-100 for ORWO C-5168 development and scanning. Message me before you send it: I will explain how to get the film to me and answer your questions. The service is described on the film development and scanning page.
What stayed with me from Nelli’s series is both the harbour machinery and the tiny details: an earring in shadow, glasses on a table, light on a kitchen wall. Observations like these are exactly why I find shooting old film worthwhile. If you decide to try it, start with a simple subject and give yourself time to look at the result.
Frequently asked questions
Is this film suitable for an important event?
For a shoot that cannot be repeated I would choose fresh film and a camera I trust. Old film can give heavy fog, uneven colour and a weak image. A test roll helps you judge the state of the batch, but it does not guarantee how the next roll will turn out.
Can I copy the exposure from these photos?
No. The settings of the individual frames are not known. Meter on location for the light and the EI you have chosen rather than copying from a photo that looks similar.
Where can I read more about old film?
In my article on shooting expired film I go through what the result depends on and how to set up a first test. If the film came to you with no history, see “Found old film — what to do?”. For this DS-100 batch, stick to the EI 3–6 recommendation.
Sources
- Svema DS-100 at FilmLabStore — format, number of exposures and the EI 3–6 recommendation for this batch.
- Nikon: shutter speed and motion — general exposure principles, not tied to the photographer’s camera.
- Kodak: storage and ageing of film — general information on sensitivity, fog and grain, not a technical data sheet for DS-100.
- Film ISO and EI: how to choose an exposure; Kodak: EI and exposure stops. The corrections in the table are rounded to whole stops.
Photos: Nelli Shylova. Text and recommendations: FilmLabStore.